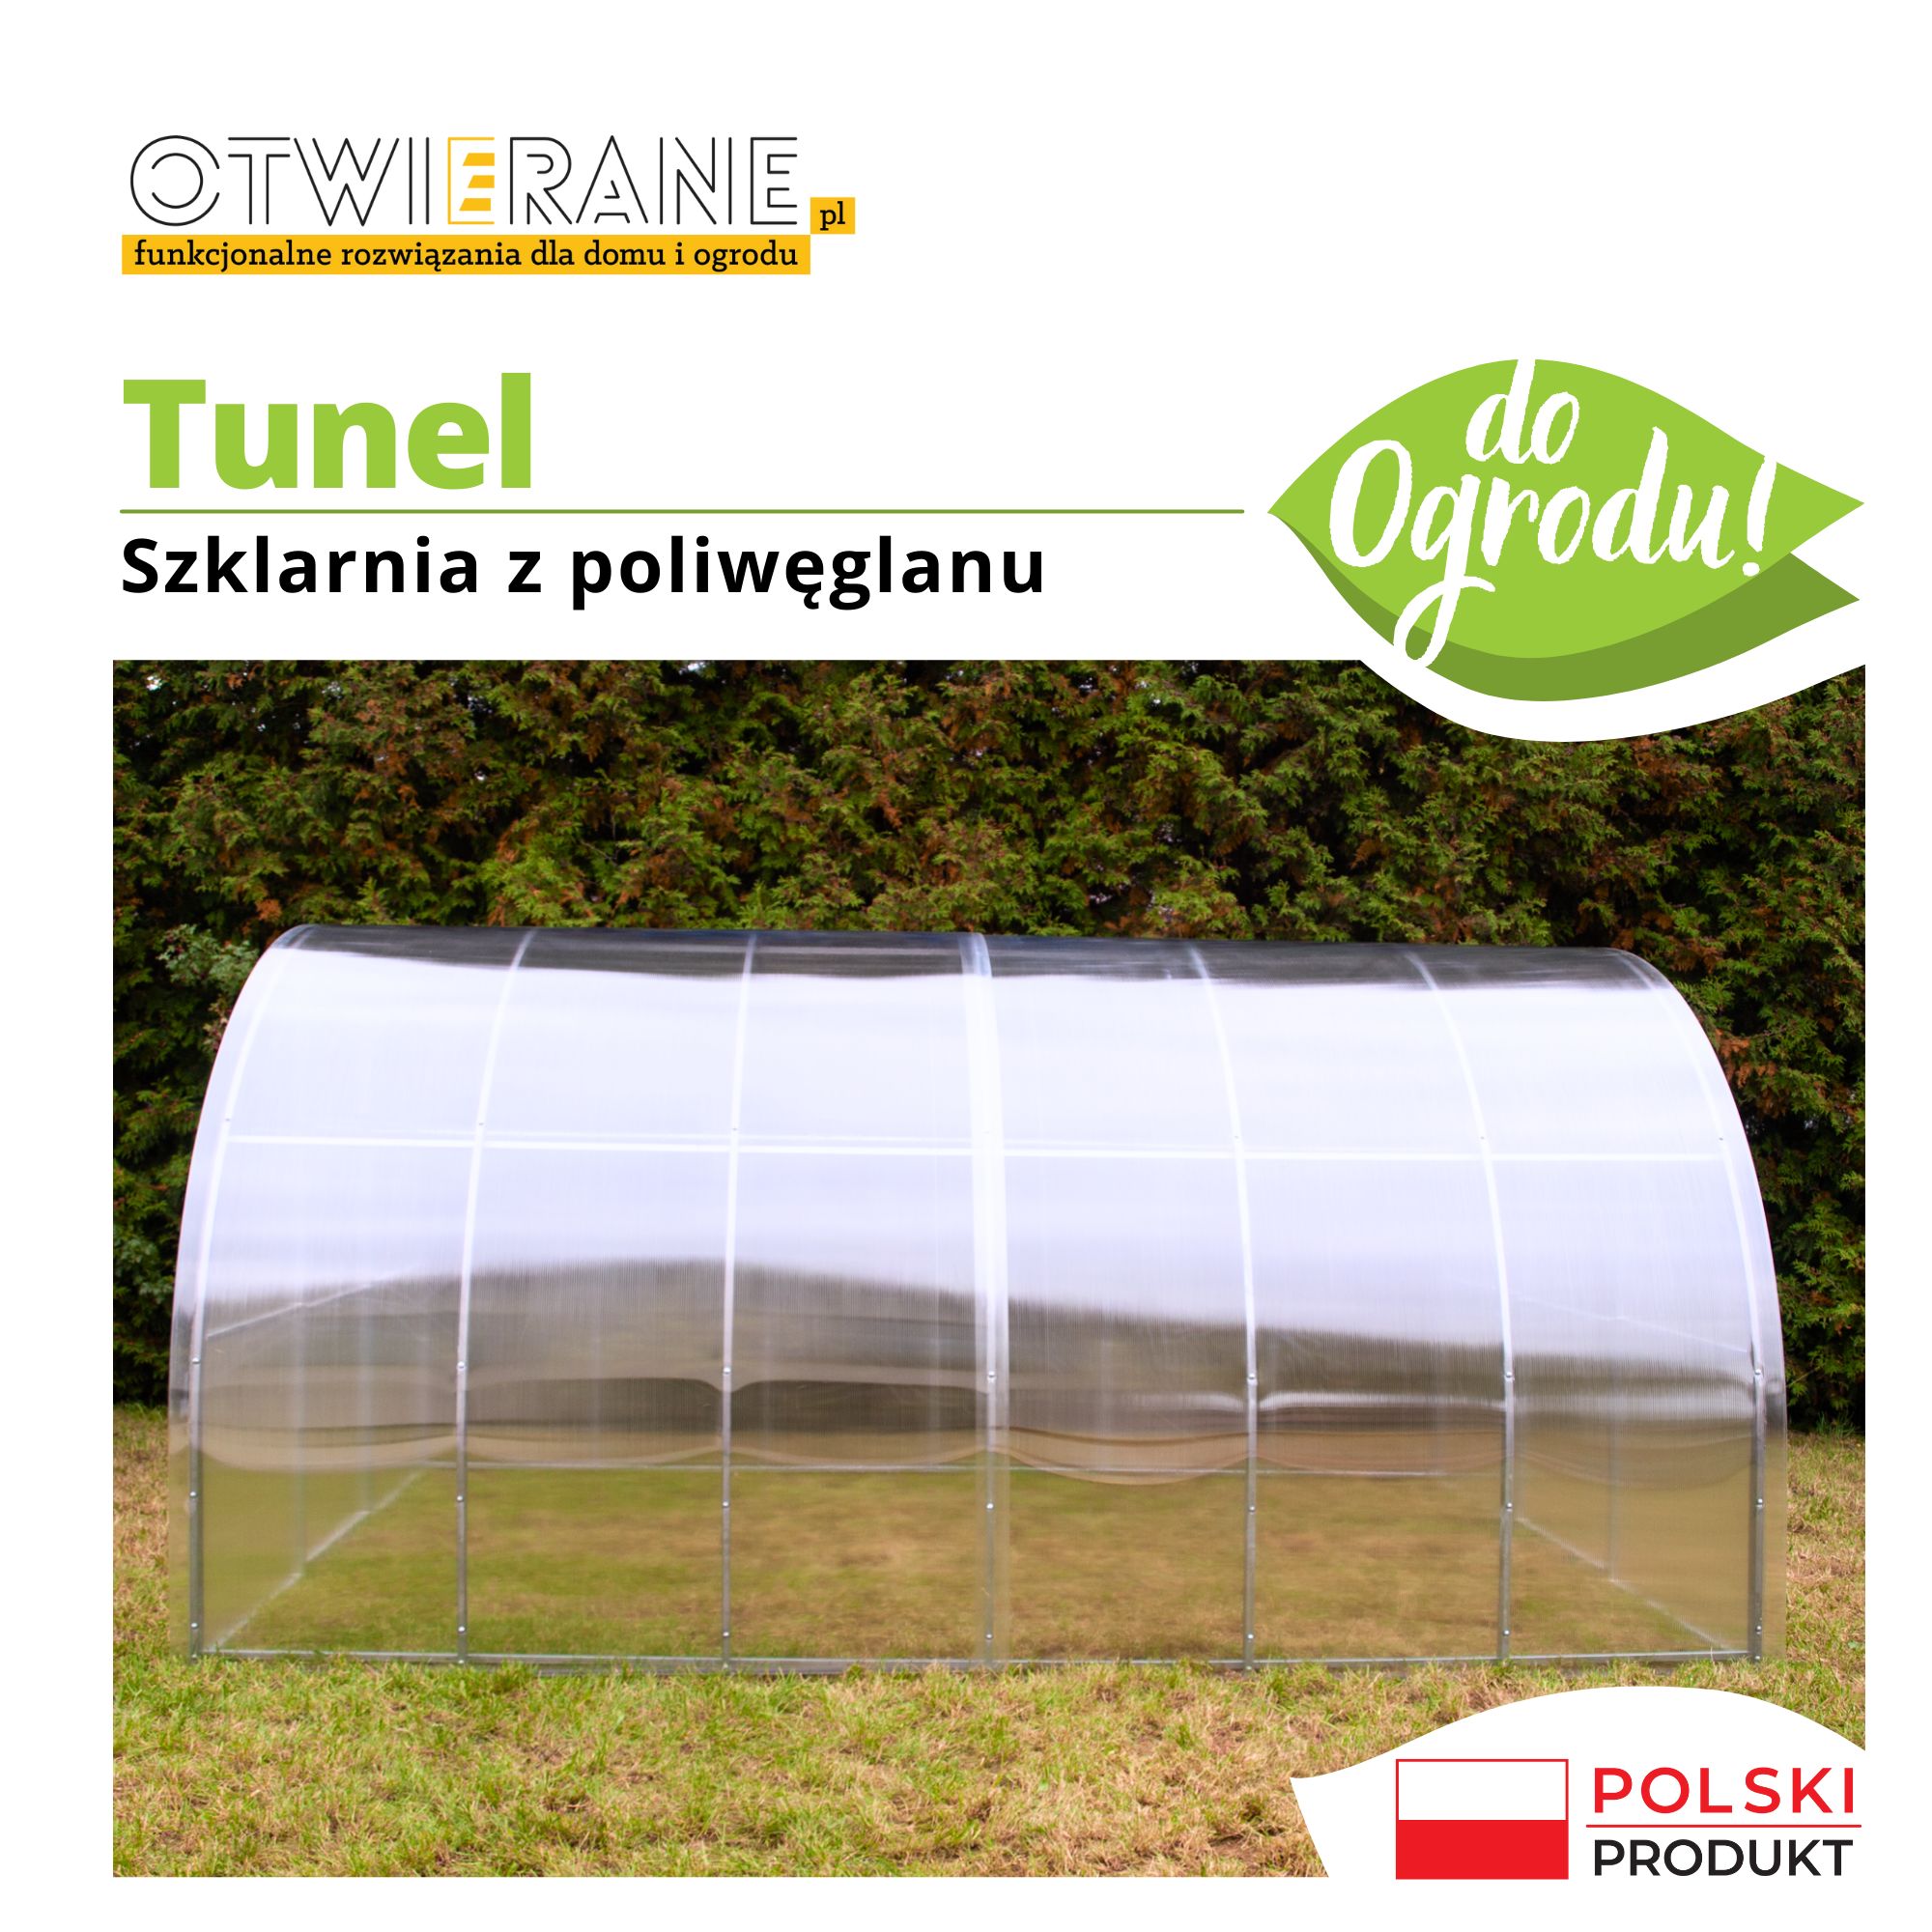
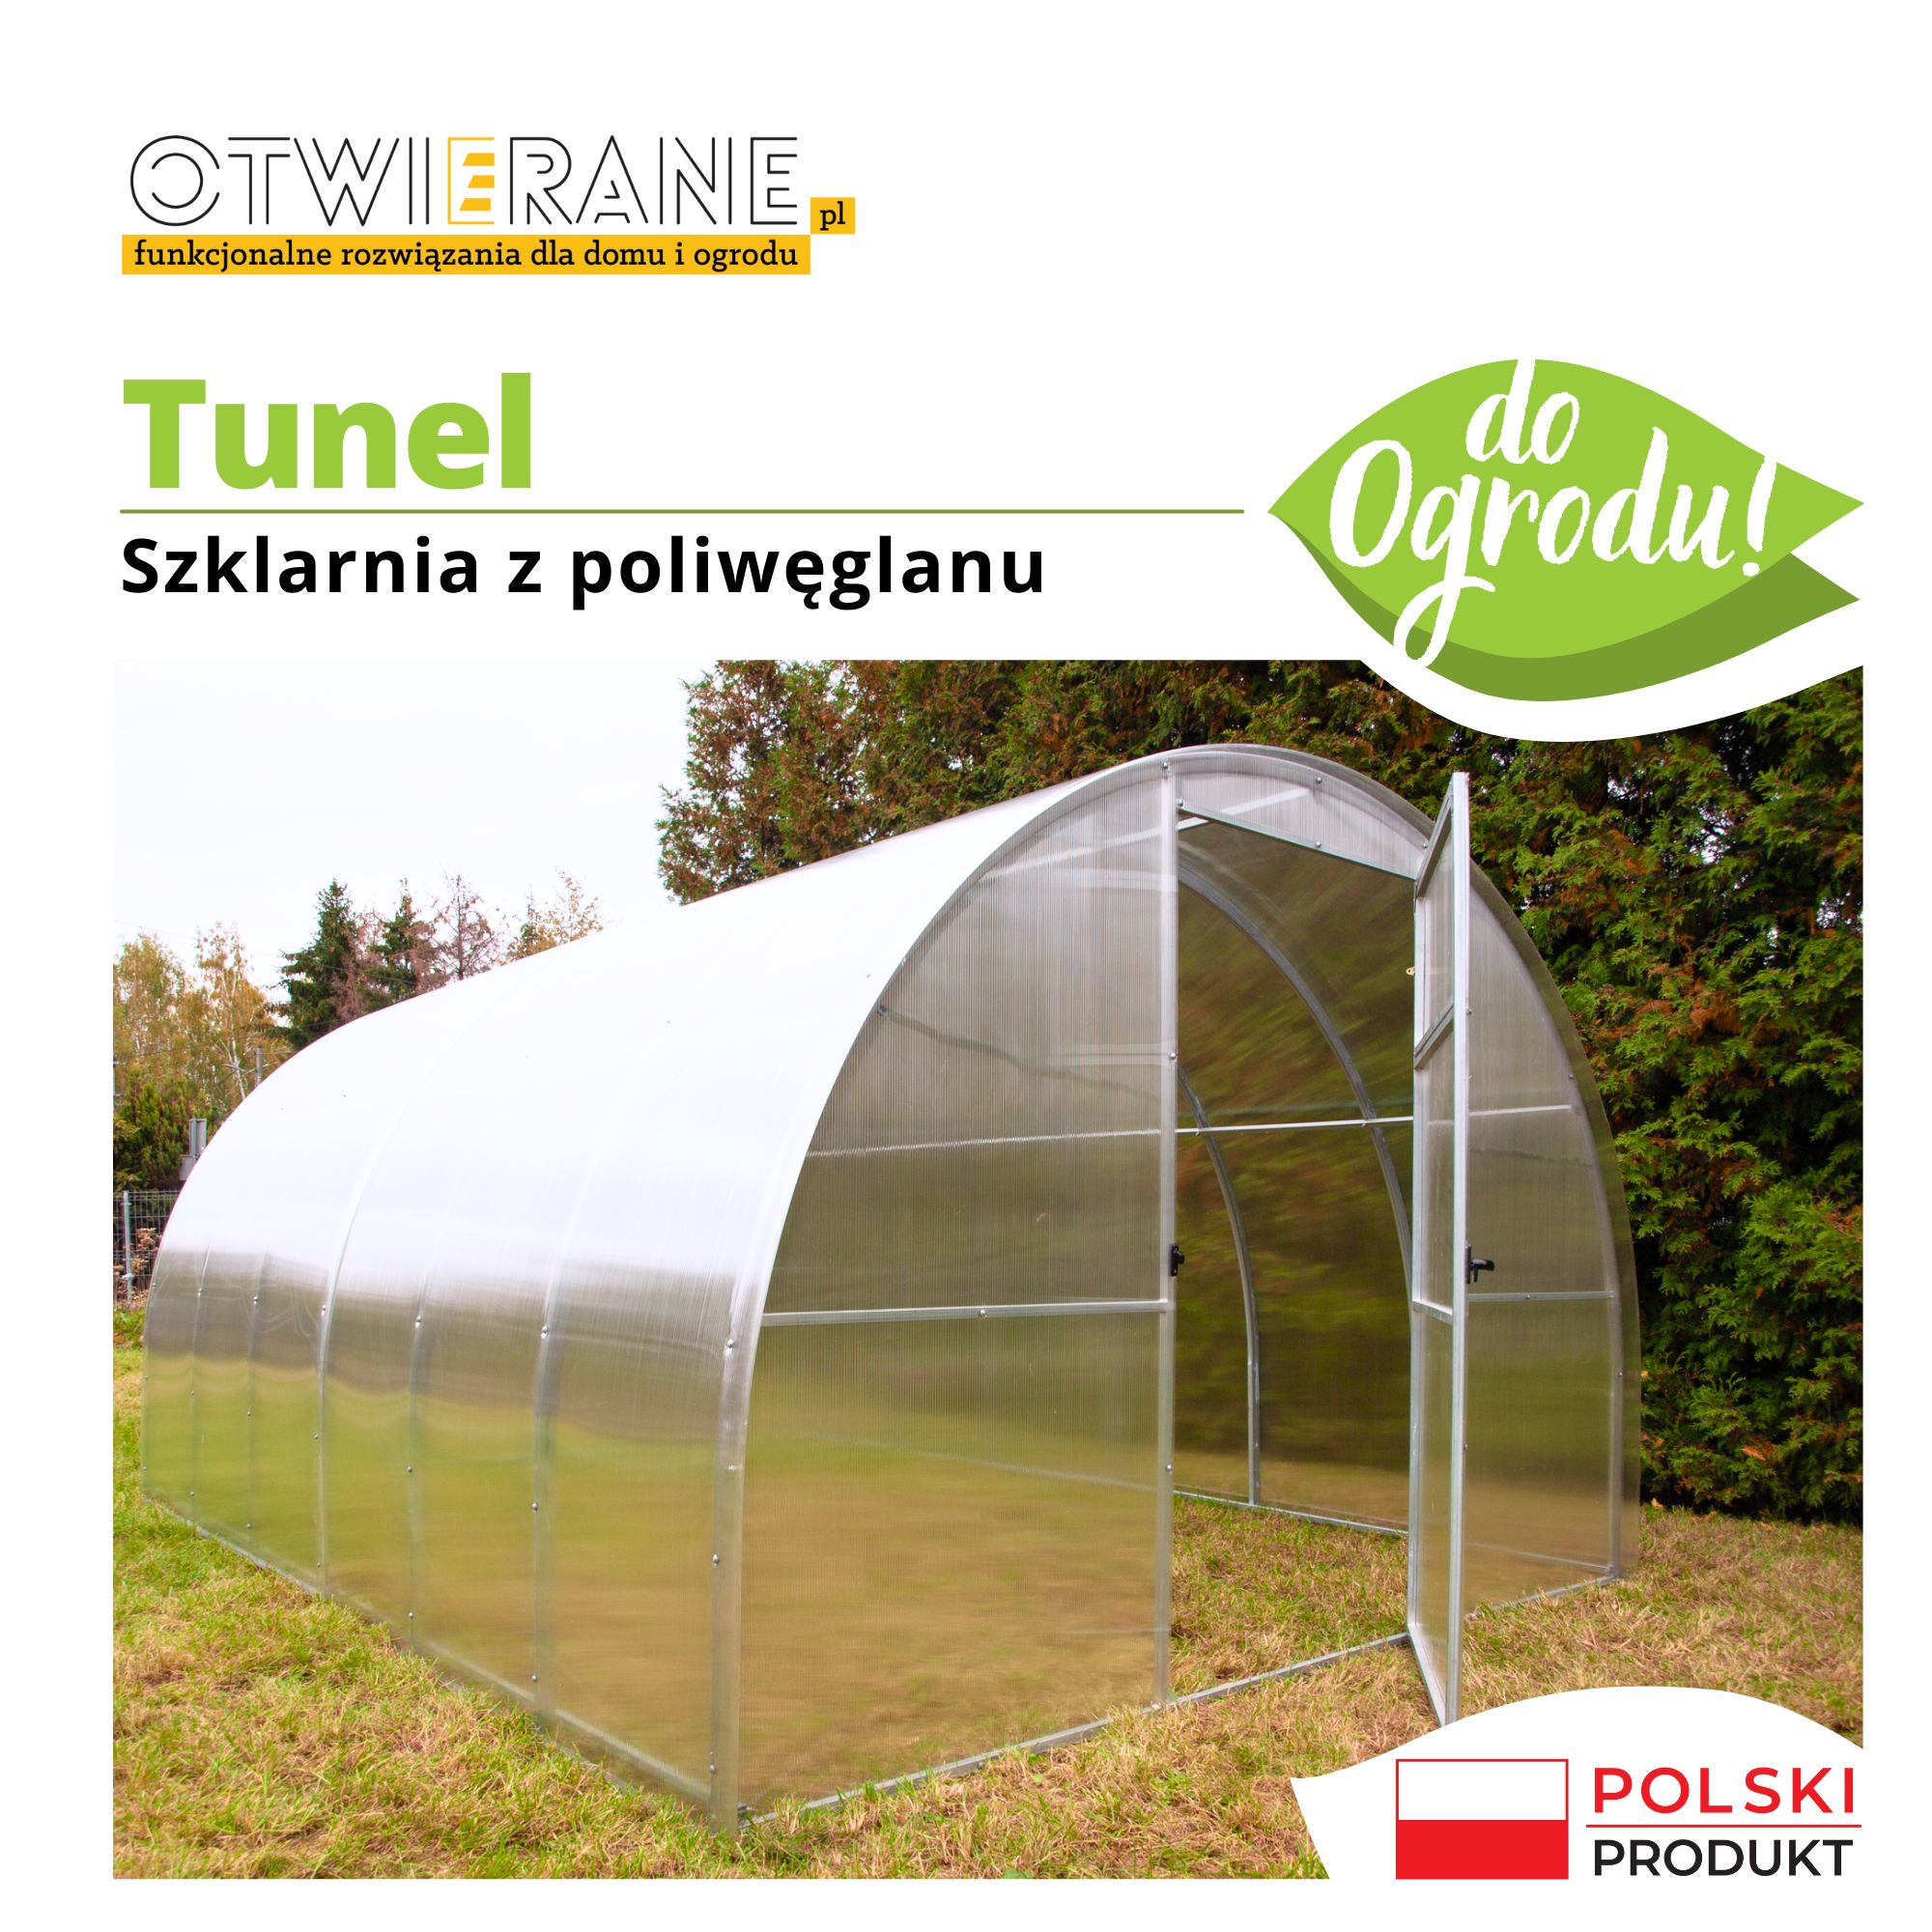
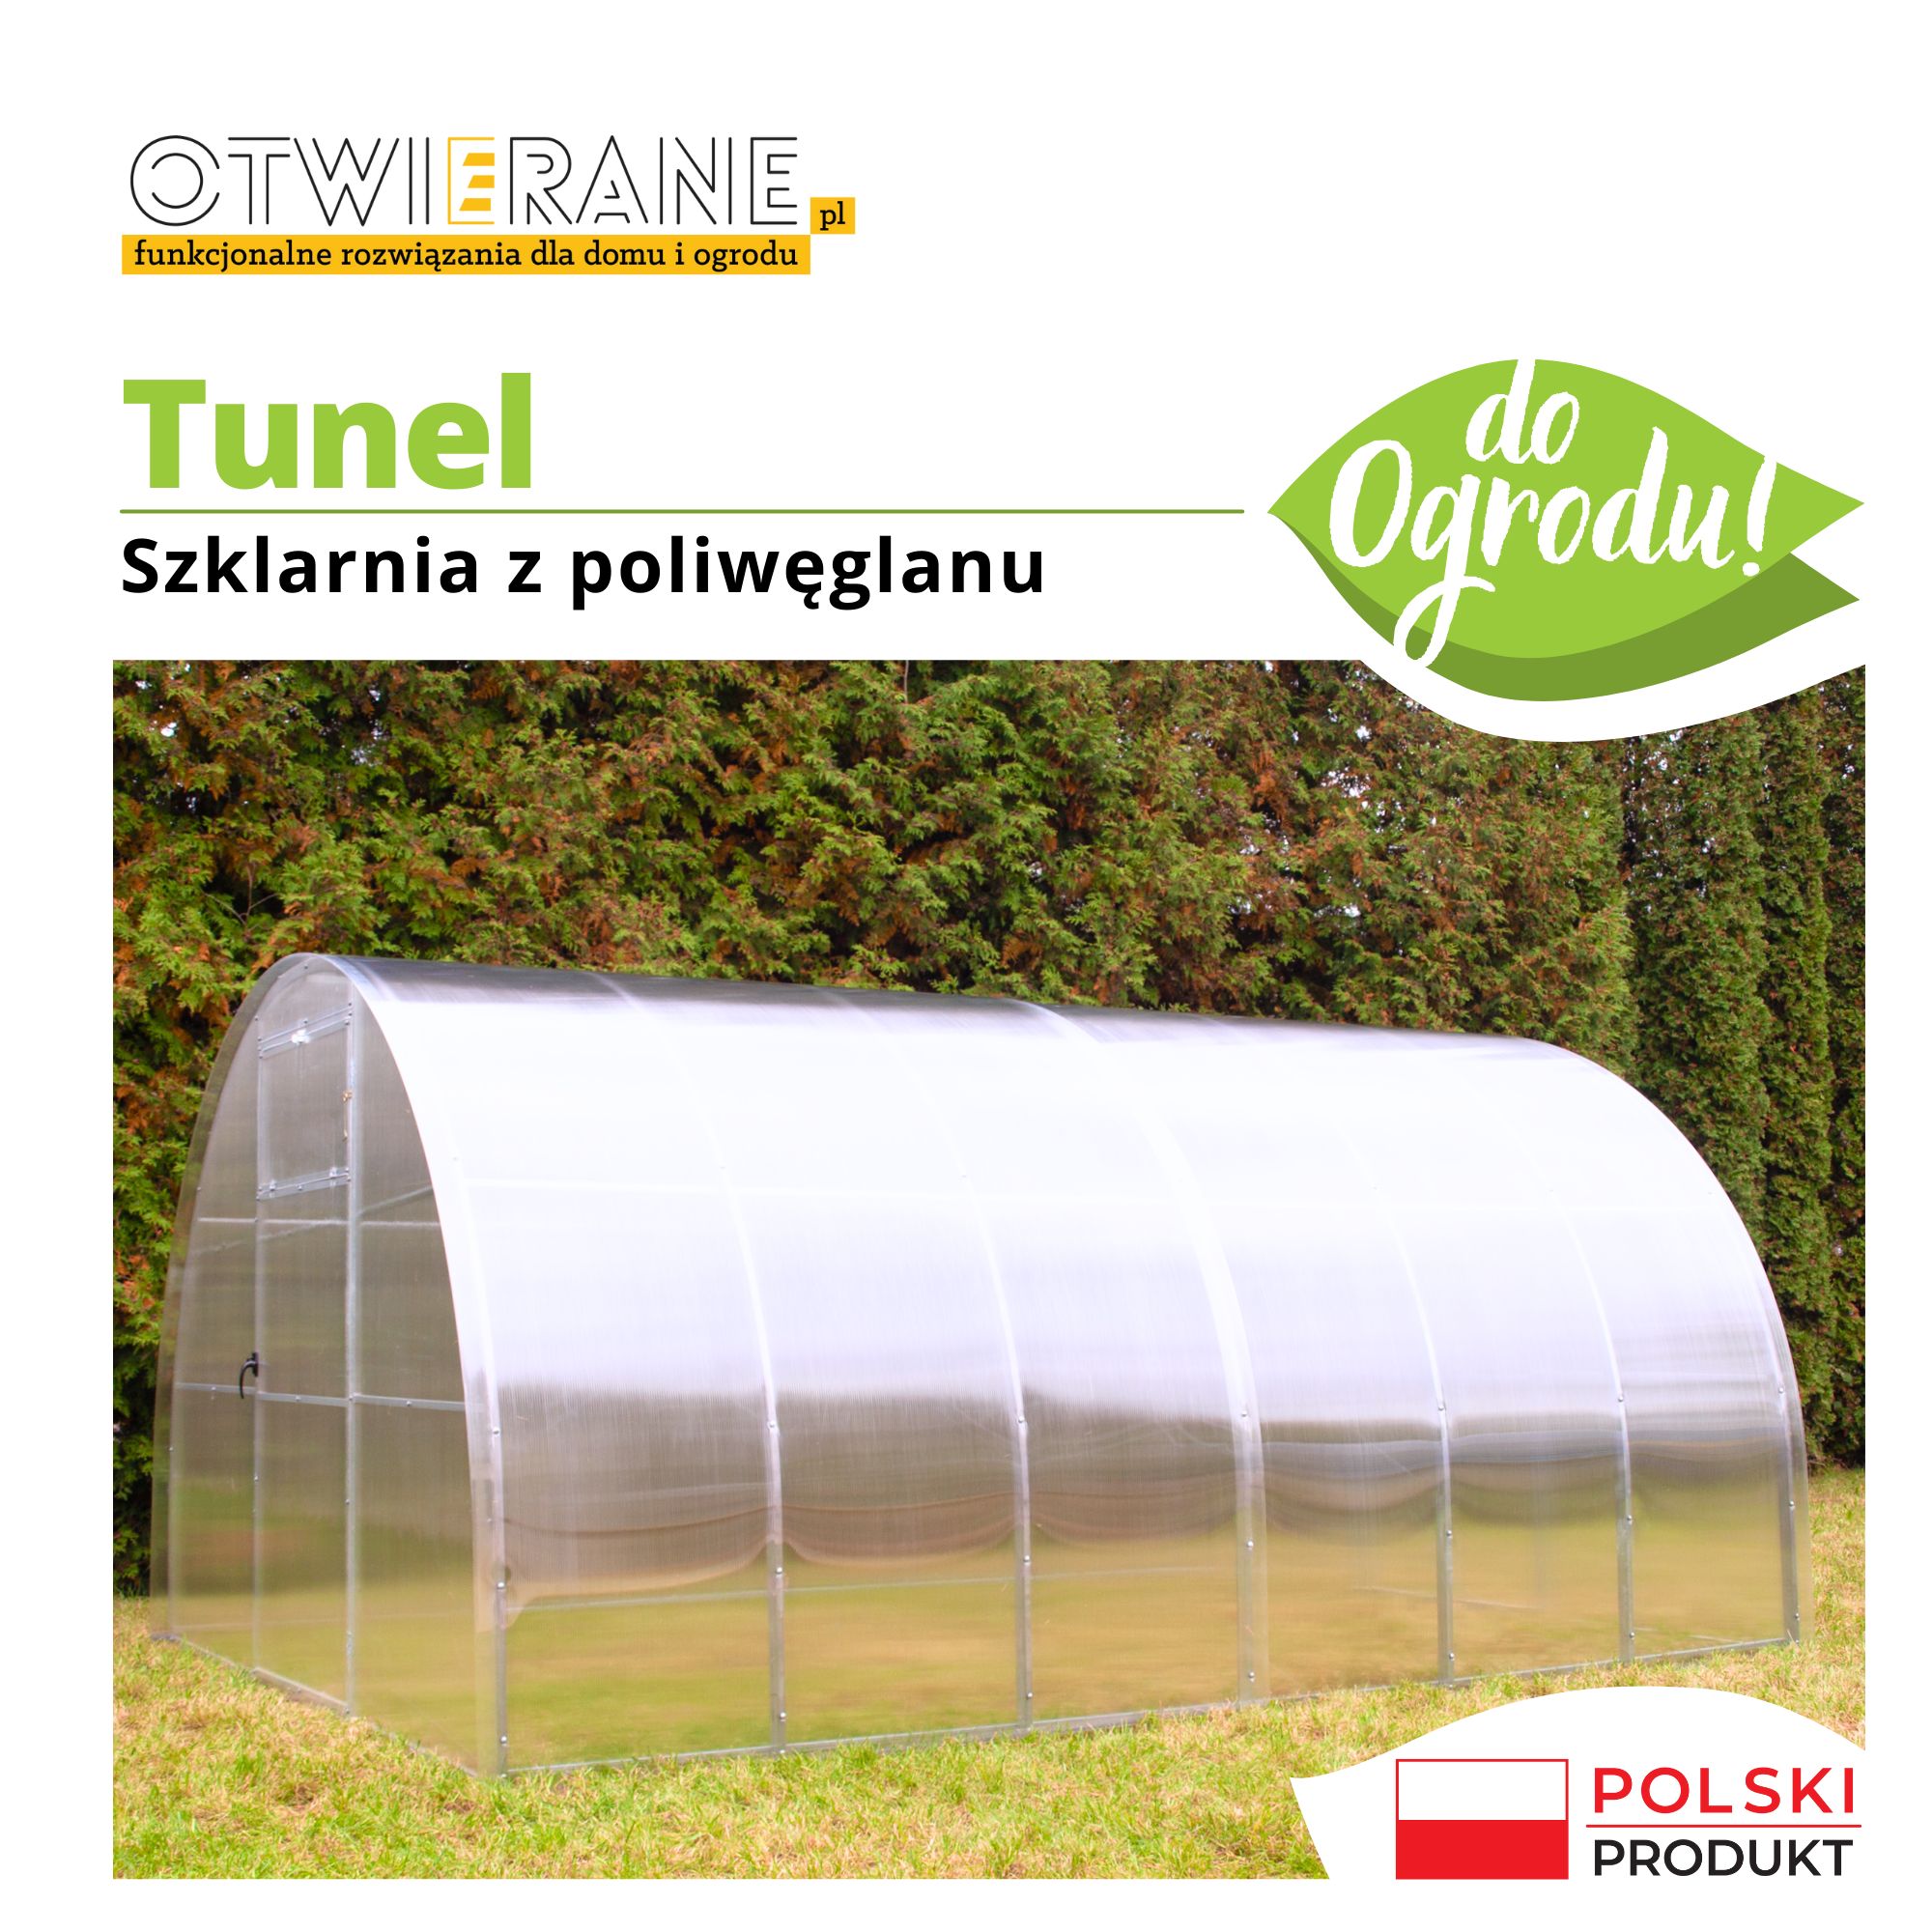
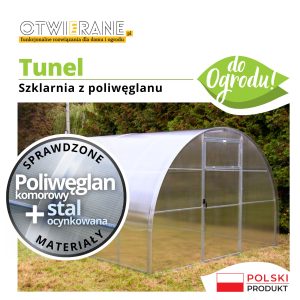
Polycarbonate greenhouse tunnel
A practical solution for growing plants
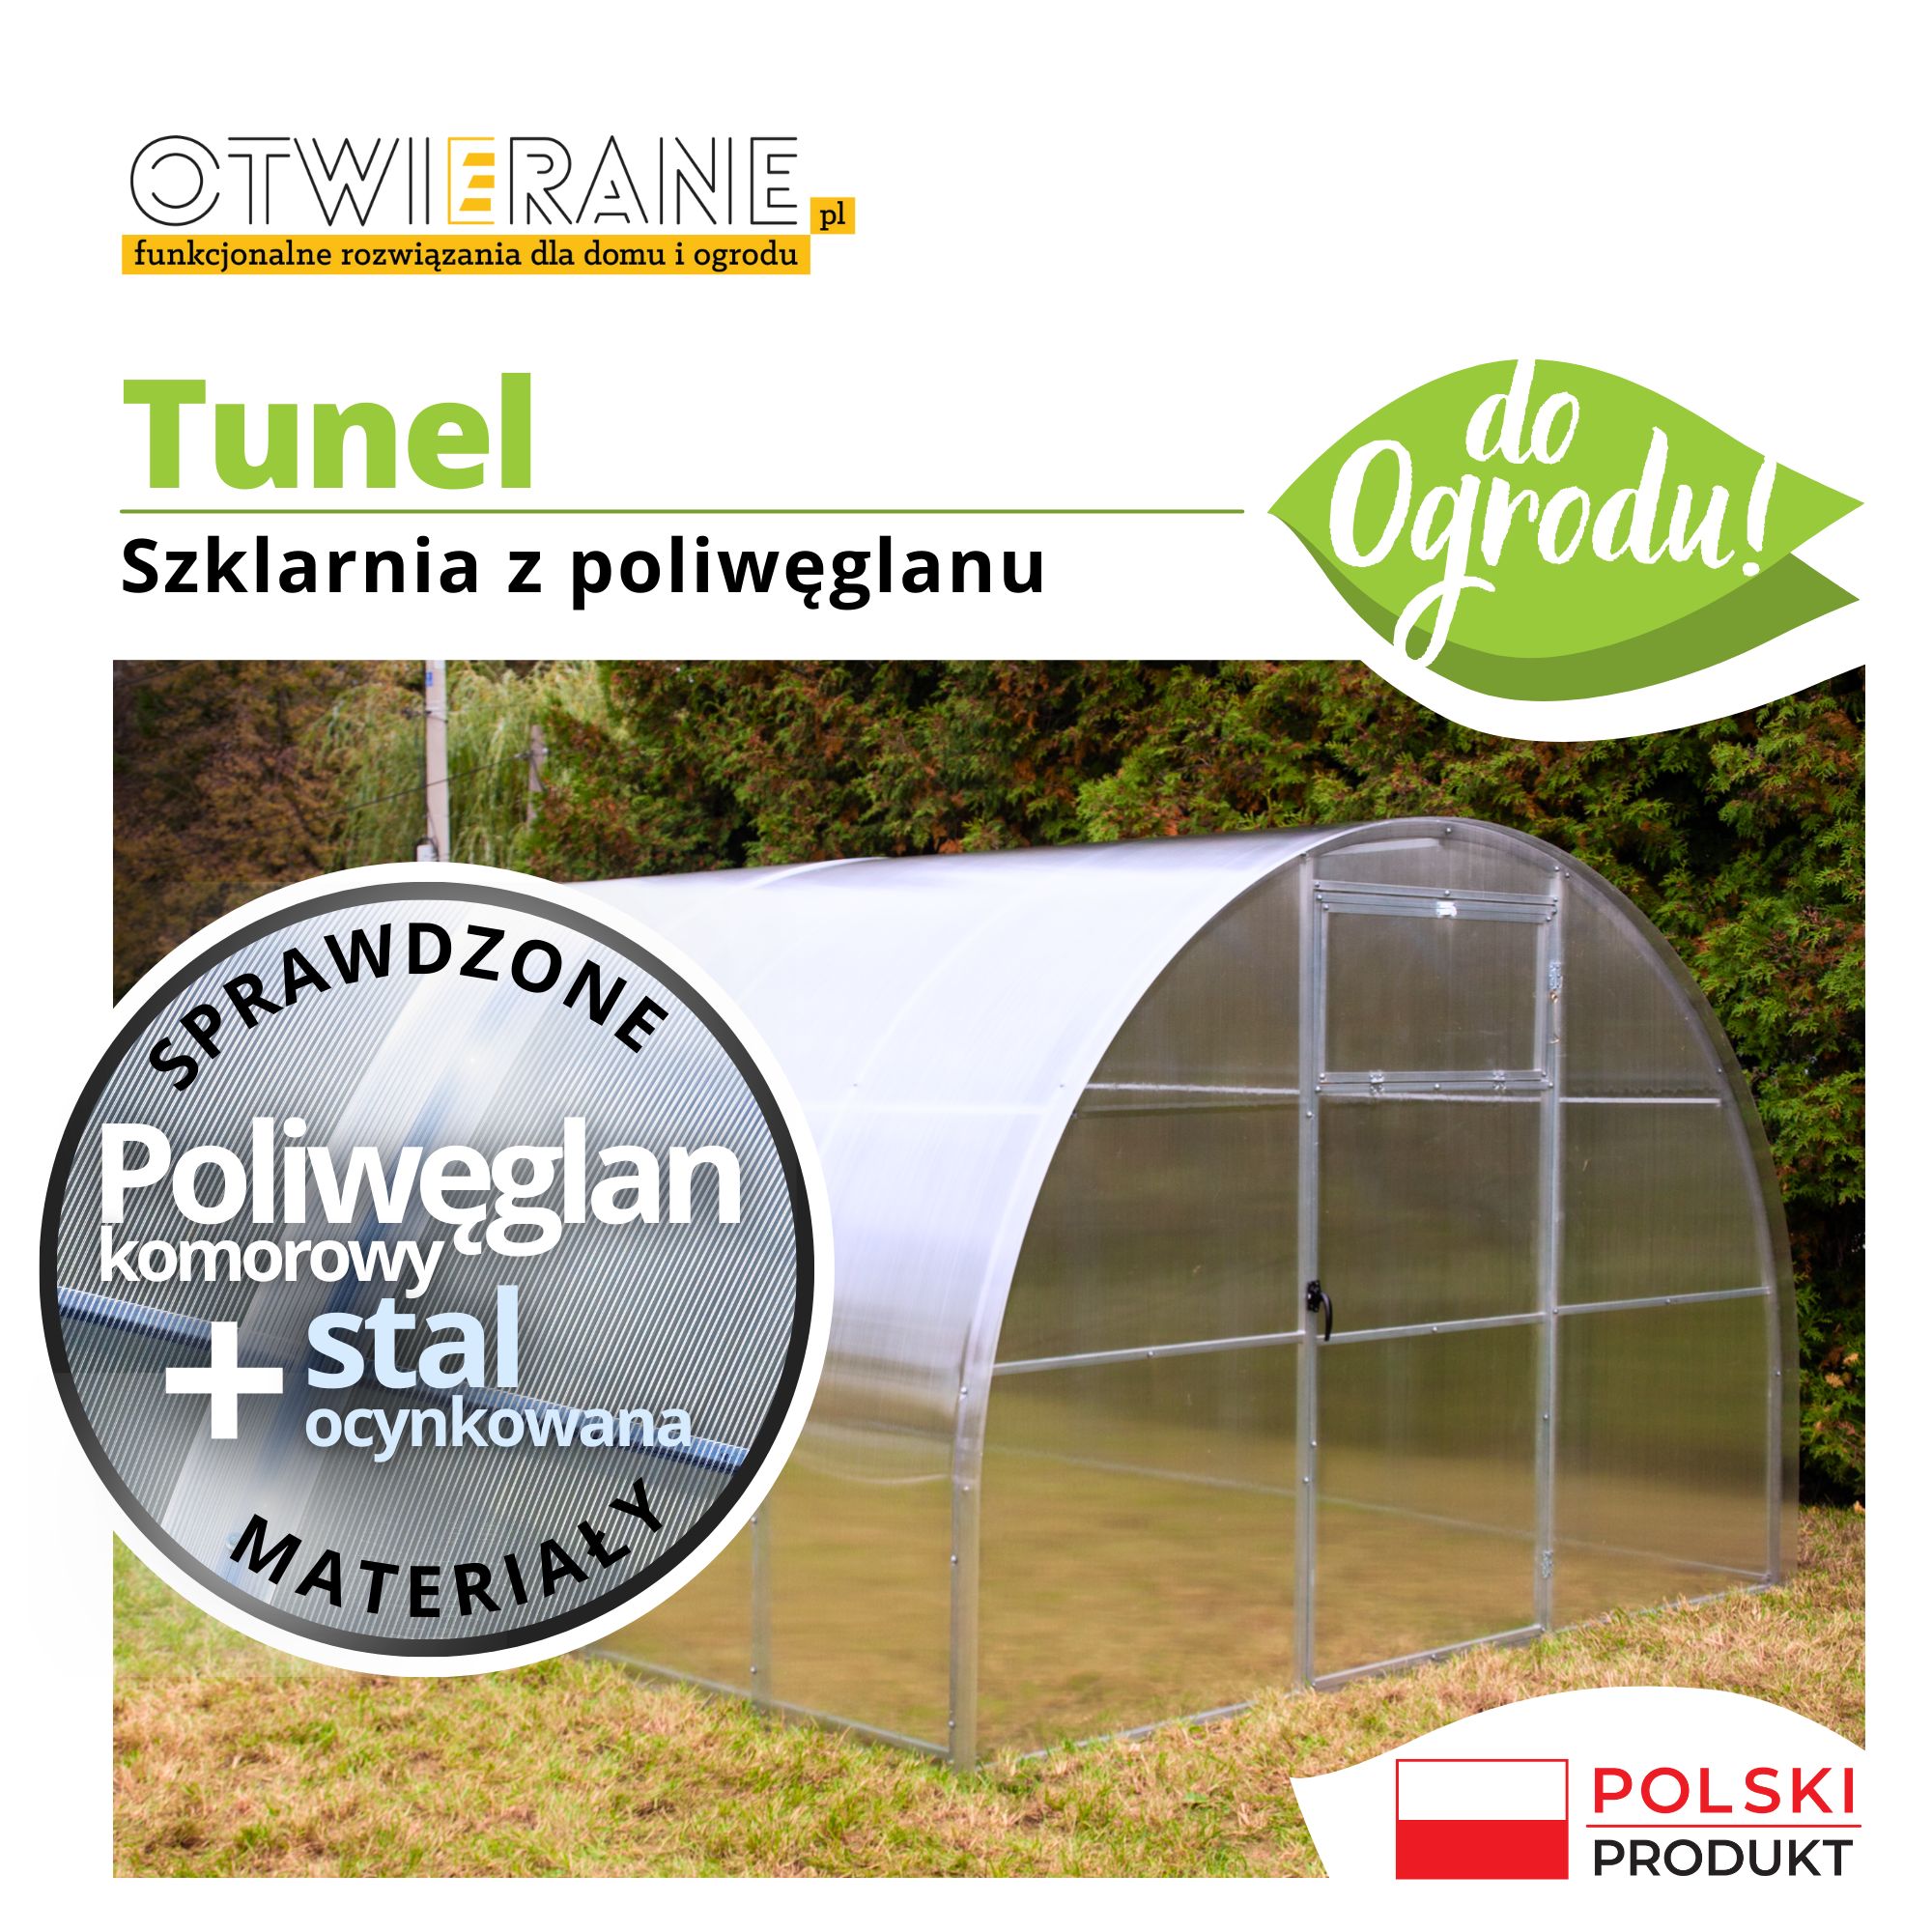
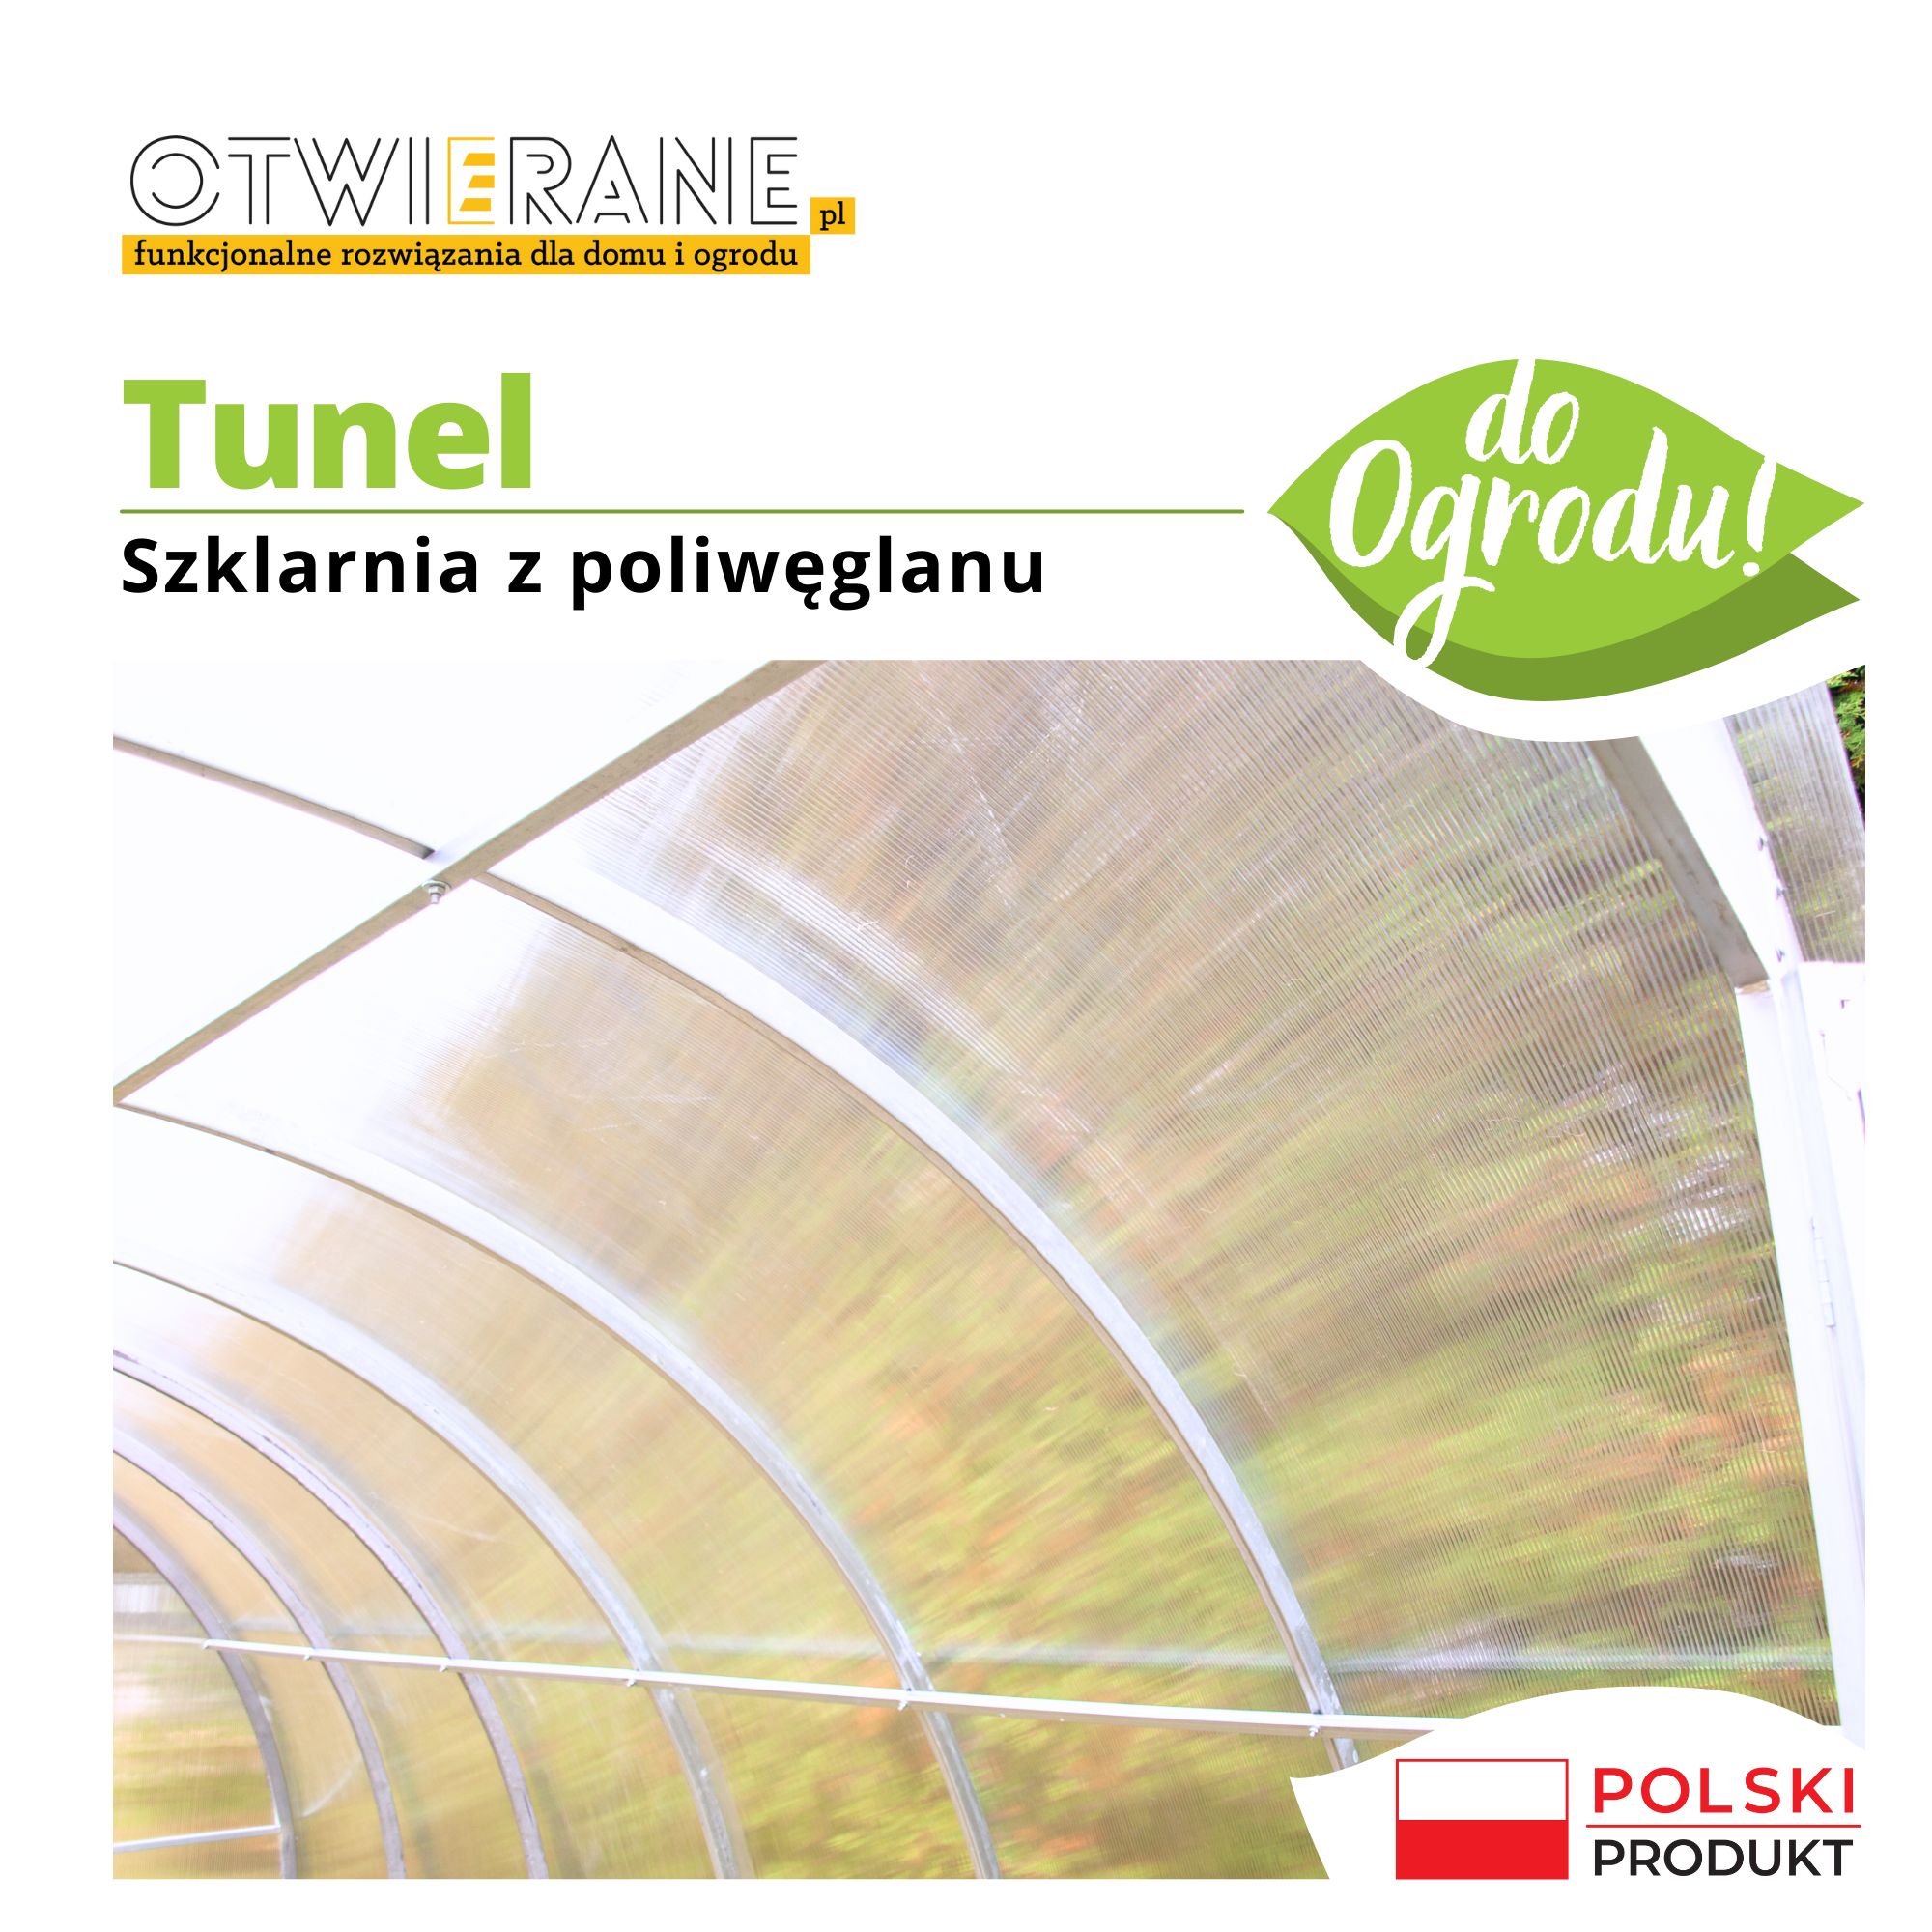
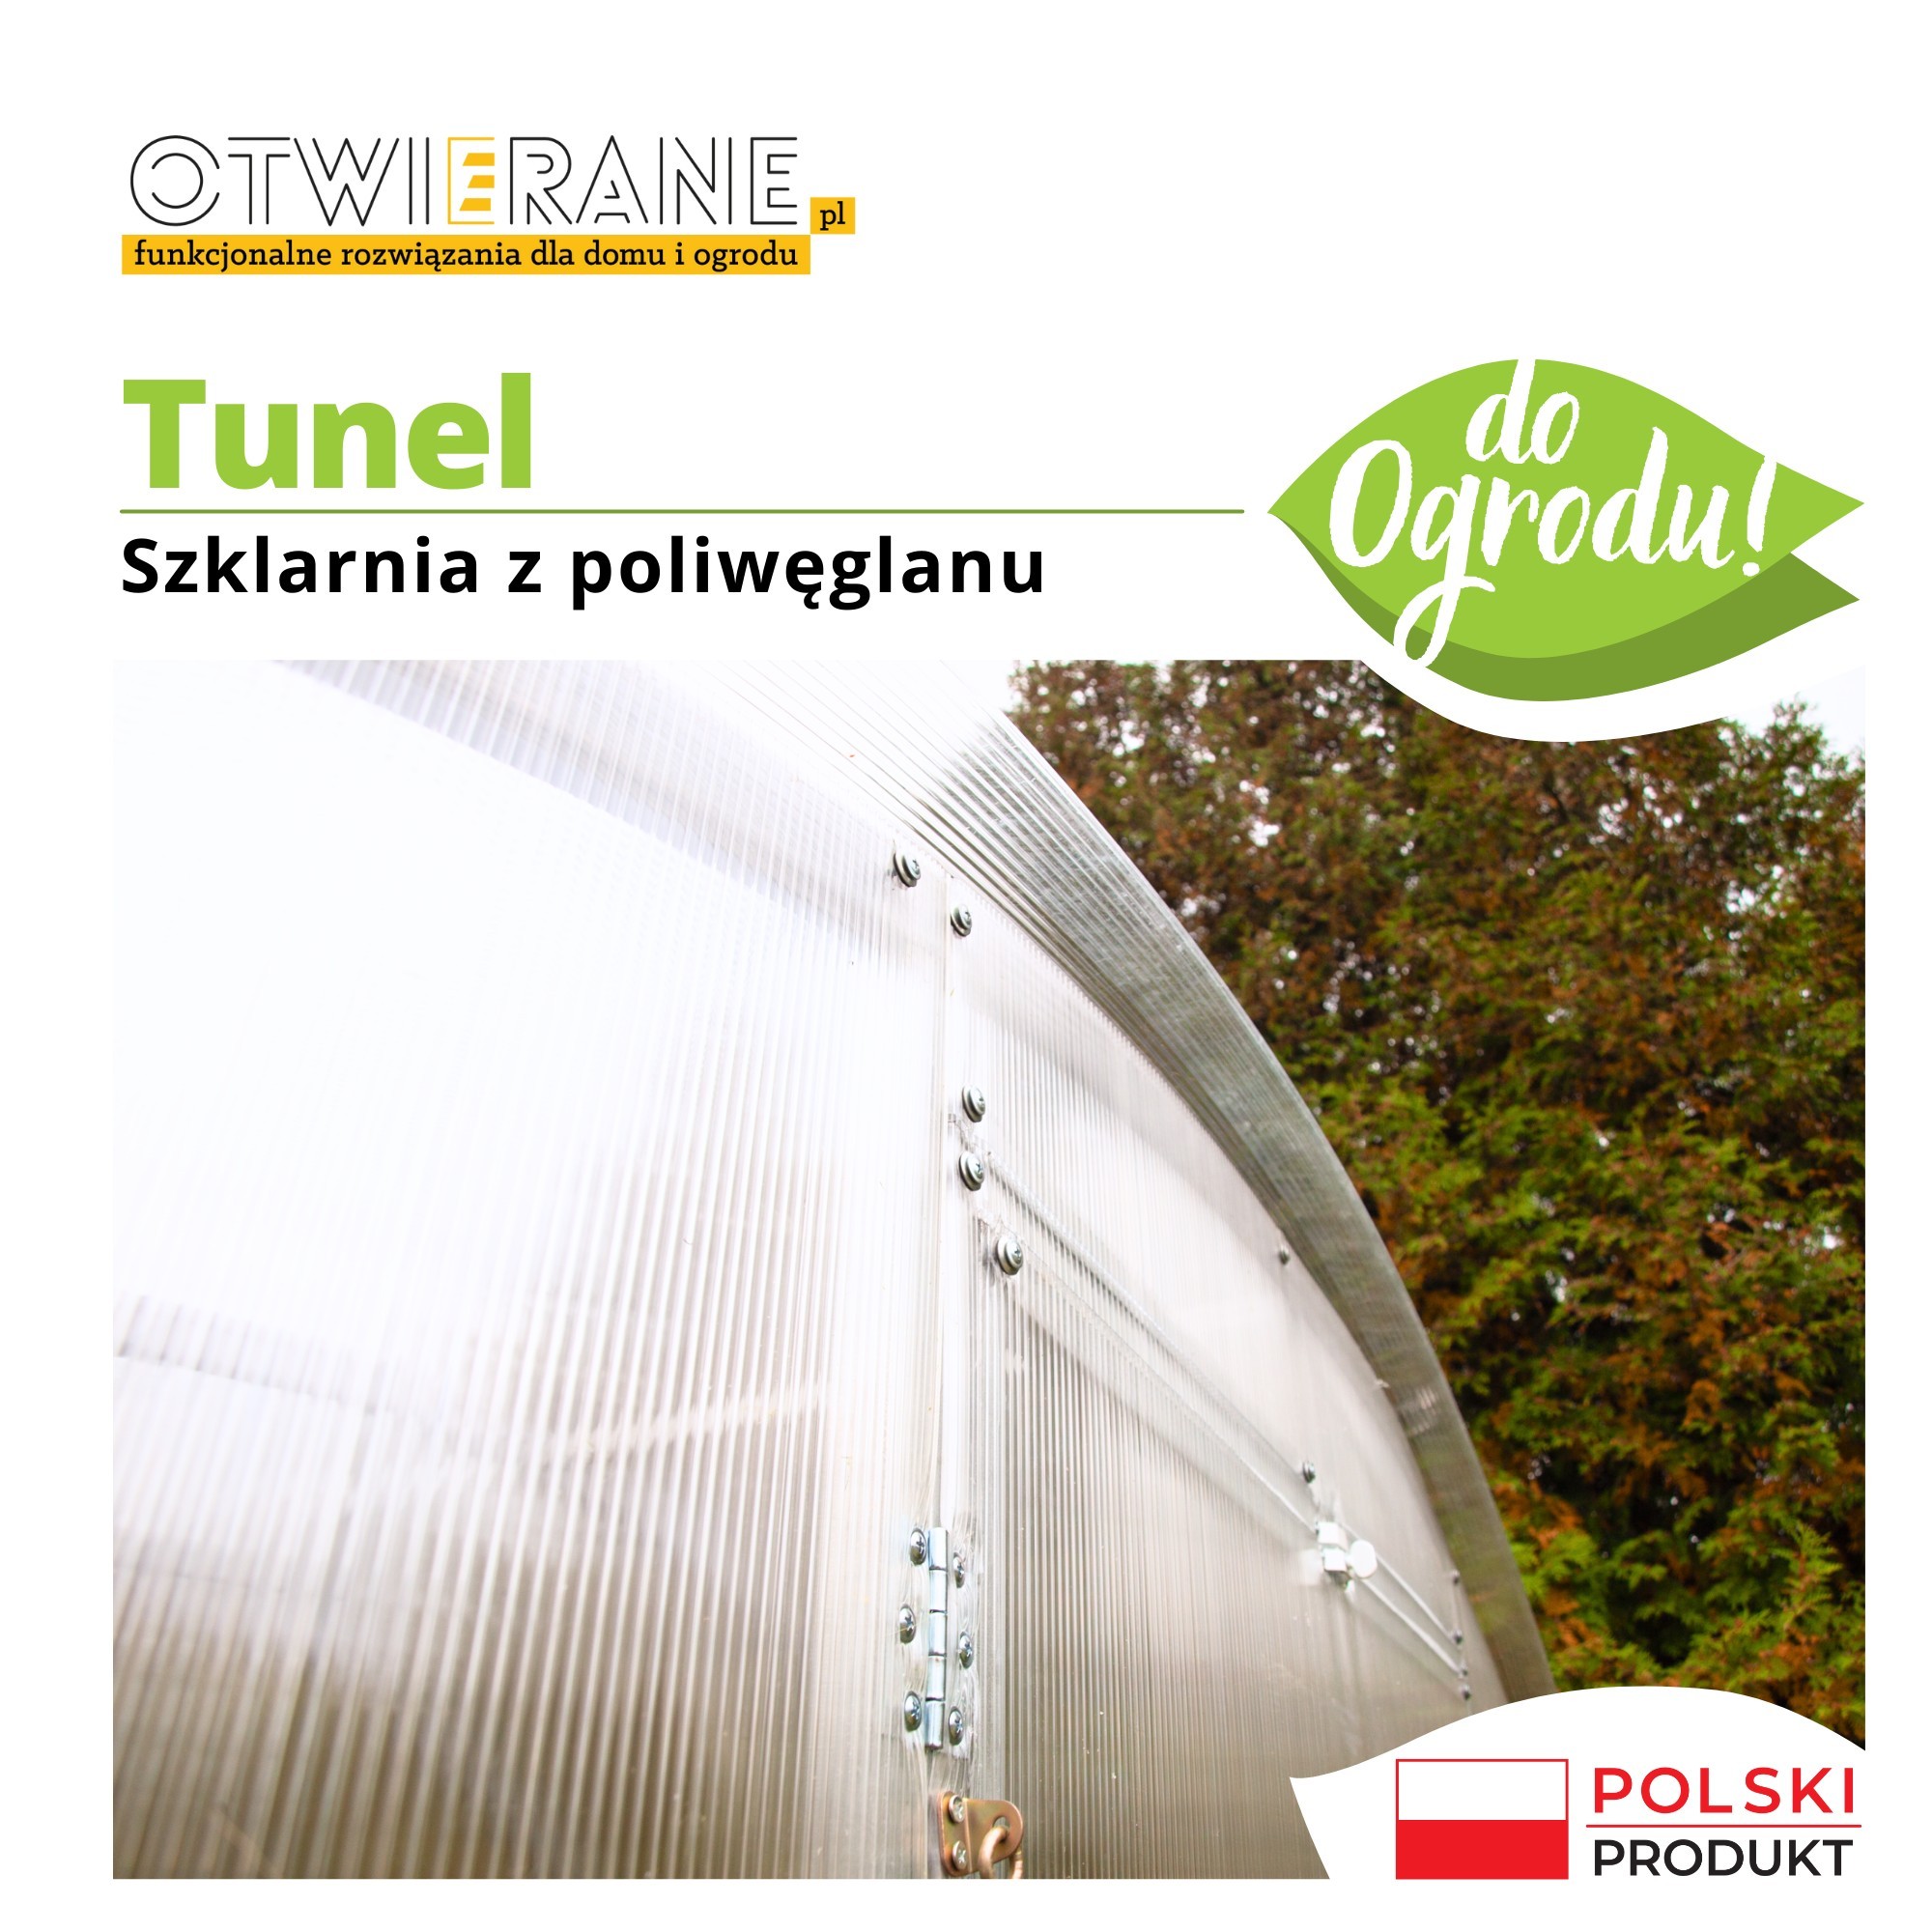
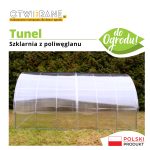
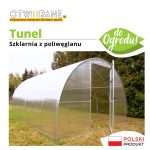
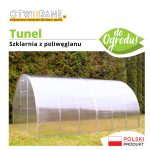
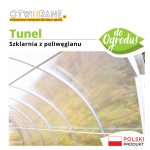
Curved tunnel greenhouse with a width of 3 m and a height of 2 m is made of corrosion-resistant, hot-dip galvanised steel. galvanised profile measuring 40 x 20 mm. The skeleton is covered with cellular polycarbonate, which guarantees adequate light transmission and the thermal insulation necessary for plant growth. Choice of 4 mm or 6 mm thick polycarbonate. Manufactured in the European Union.
Product dimensions available:
- polycarbonate greenhouse 3×4 m
- polycarbonate greenhouse 3×6 m
- polycarbonate greenhouse 3×8 m
- polycarbonate greenhouse 3×10 m
- polycarbonate greenhouse 3×12 m
What type of polycarbonate to choose?
Polycarbonate 4 mm - Ideal for seasonal greenhouses in spring and summer, it provides a higher level of light transmission but limited thermal insulation.
Polycarbonate 6 mm - best for year-round cultivation when greater thermal protection and resistance to harsher weather conditions are needed.
Ergonomic and functional solution for years to come
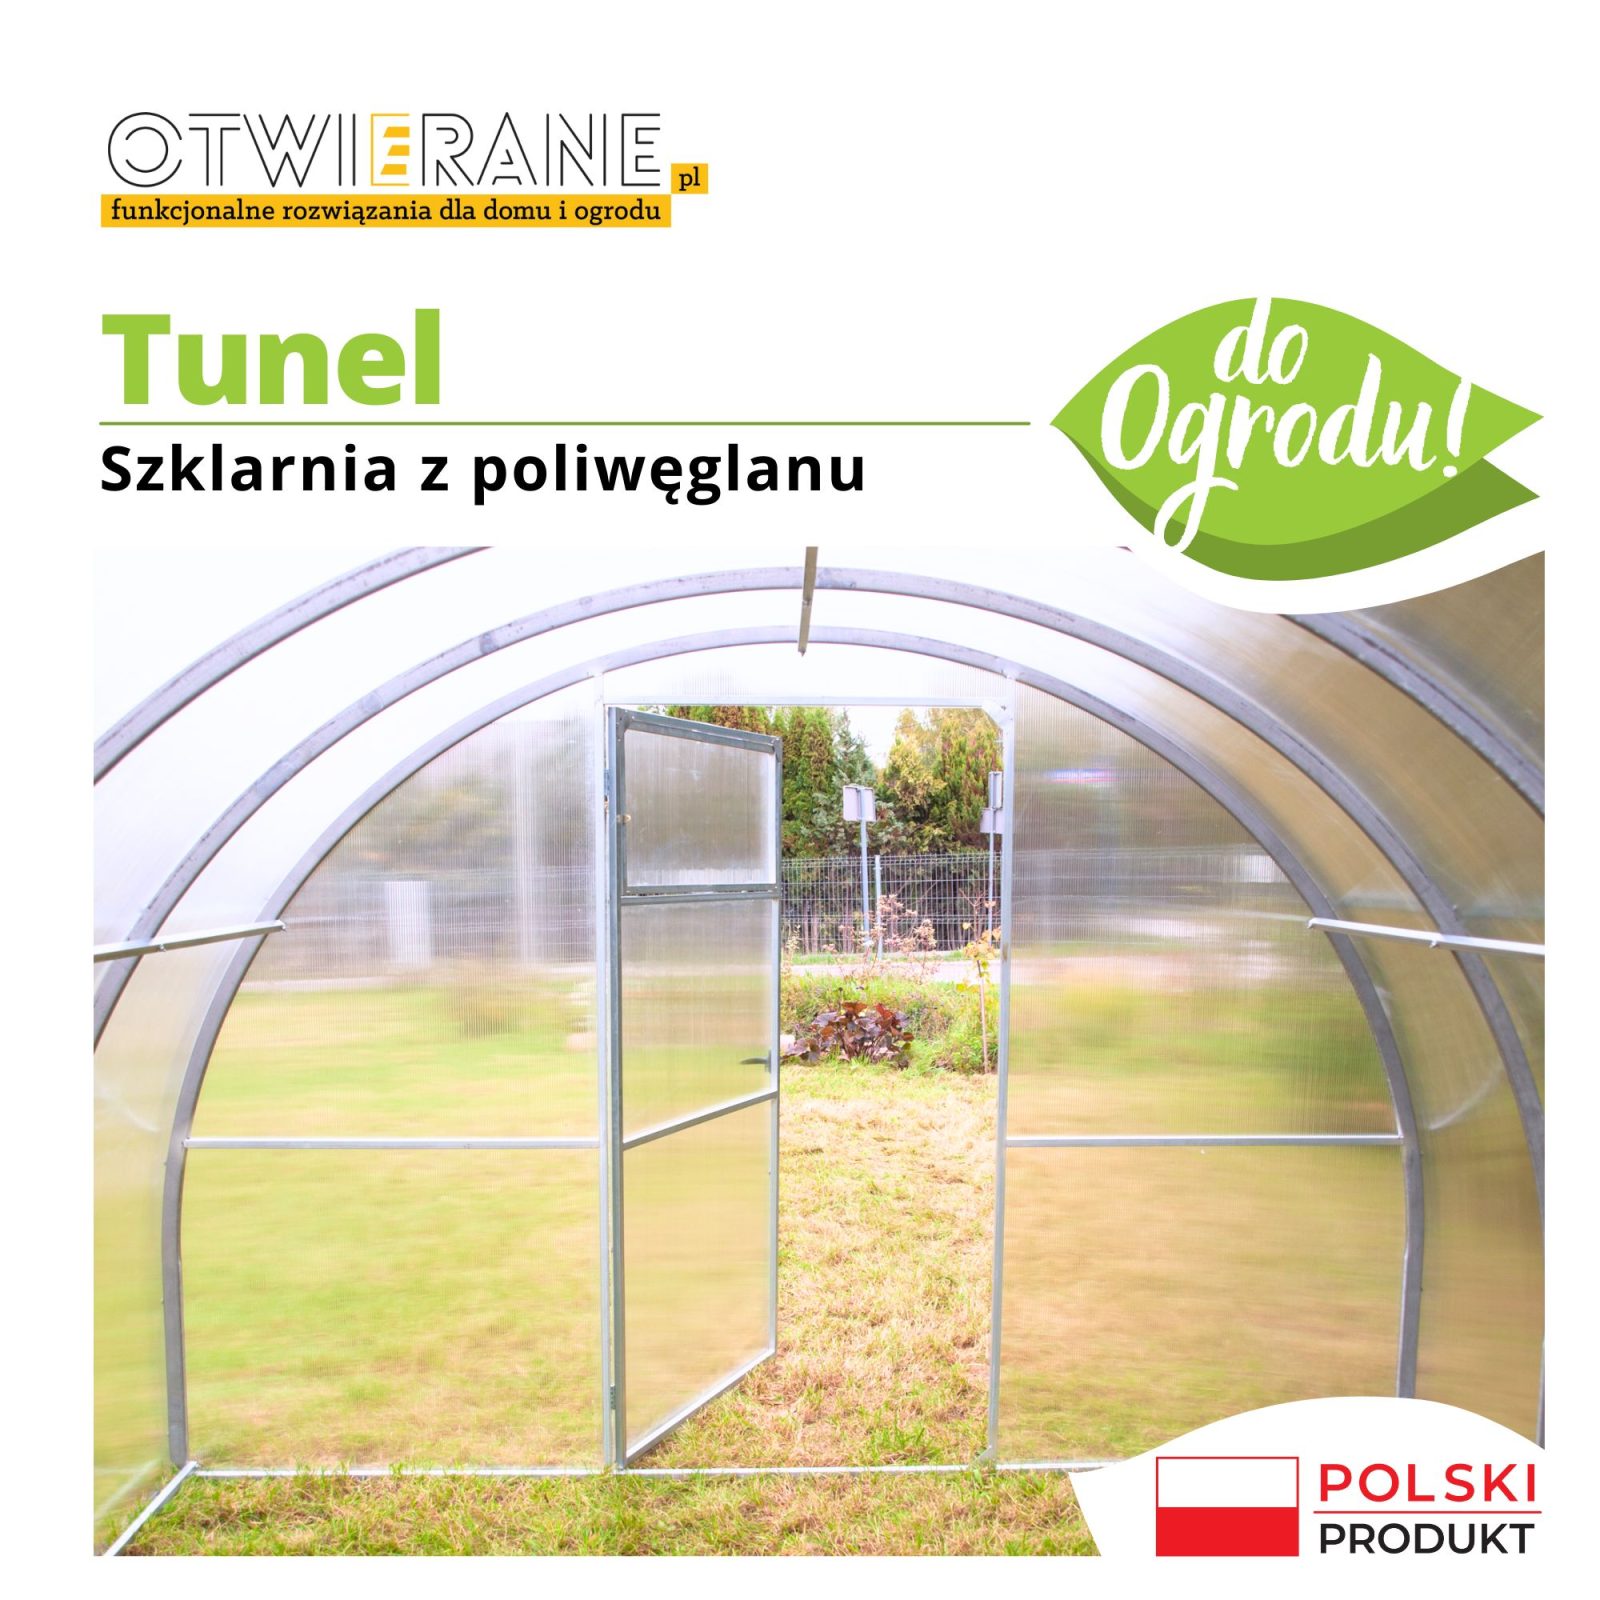
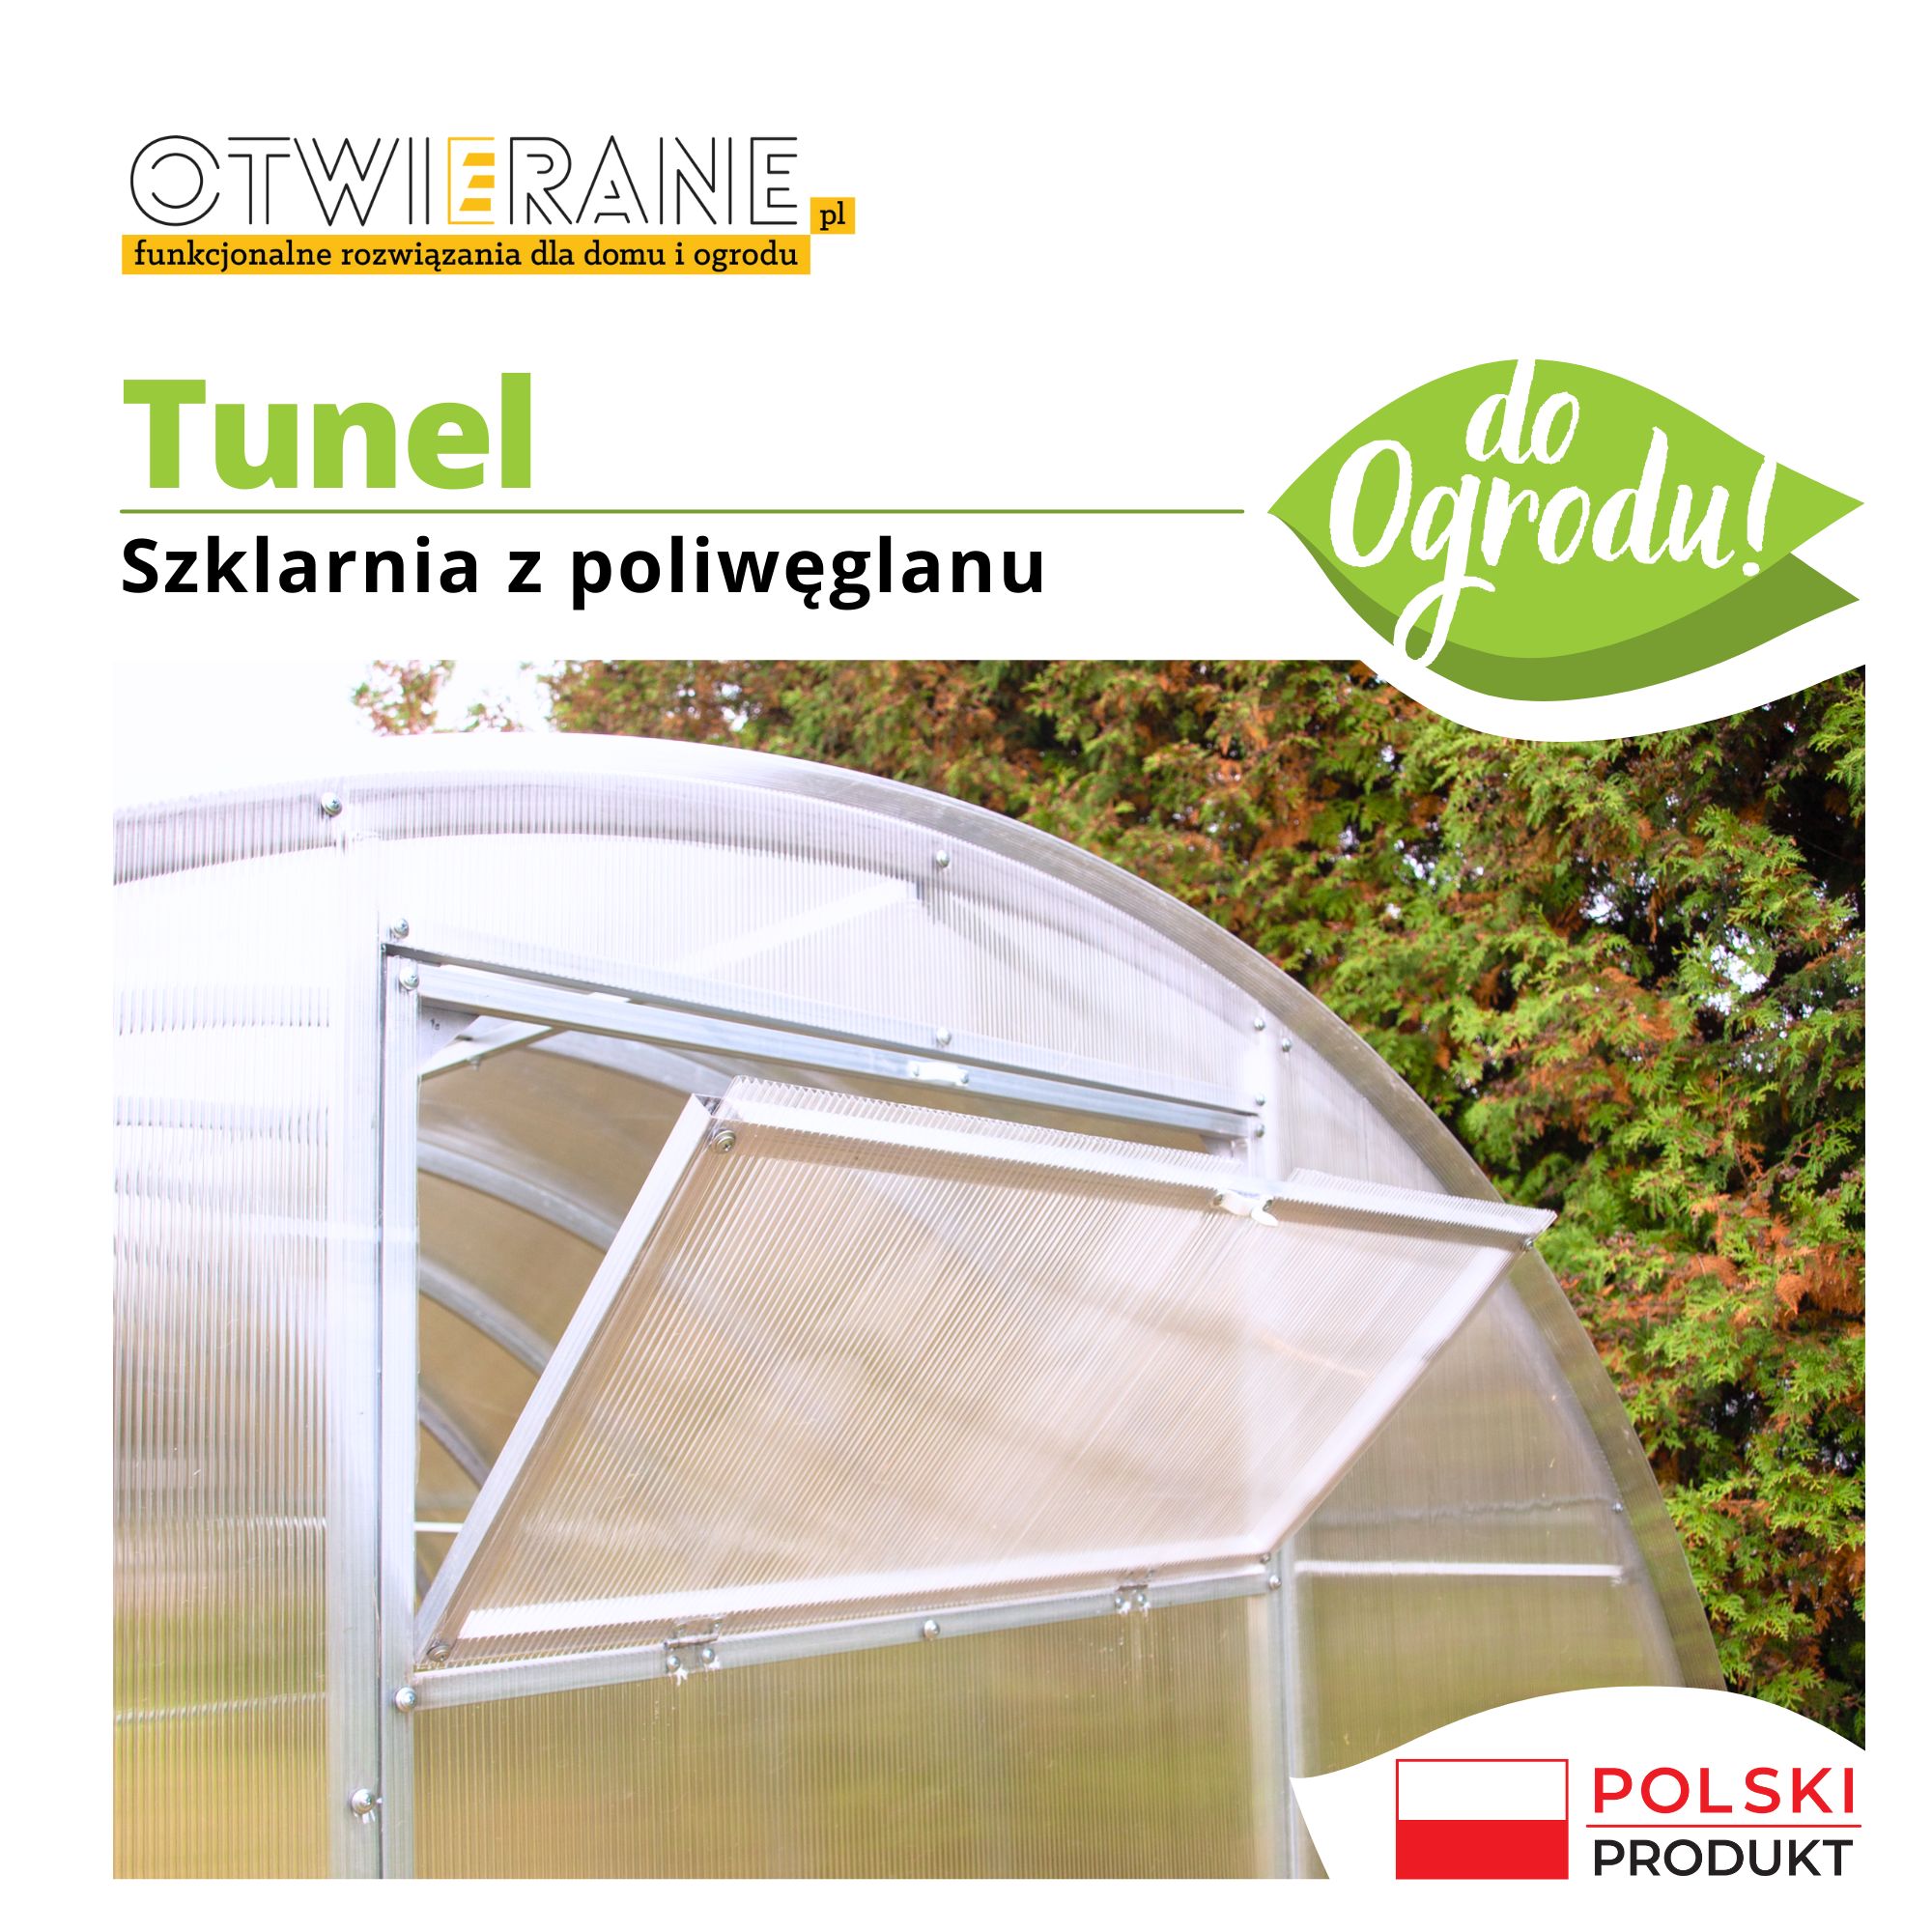
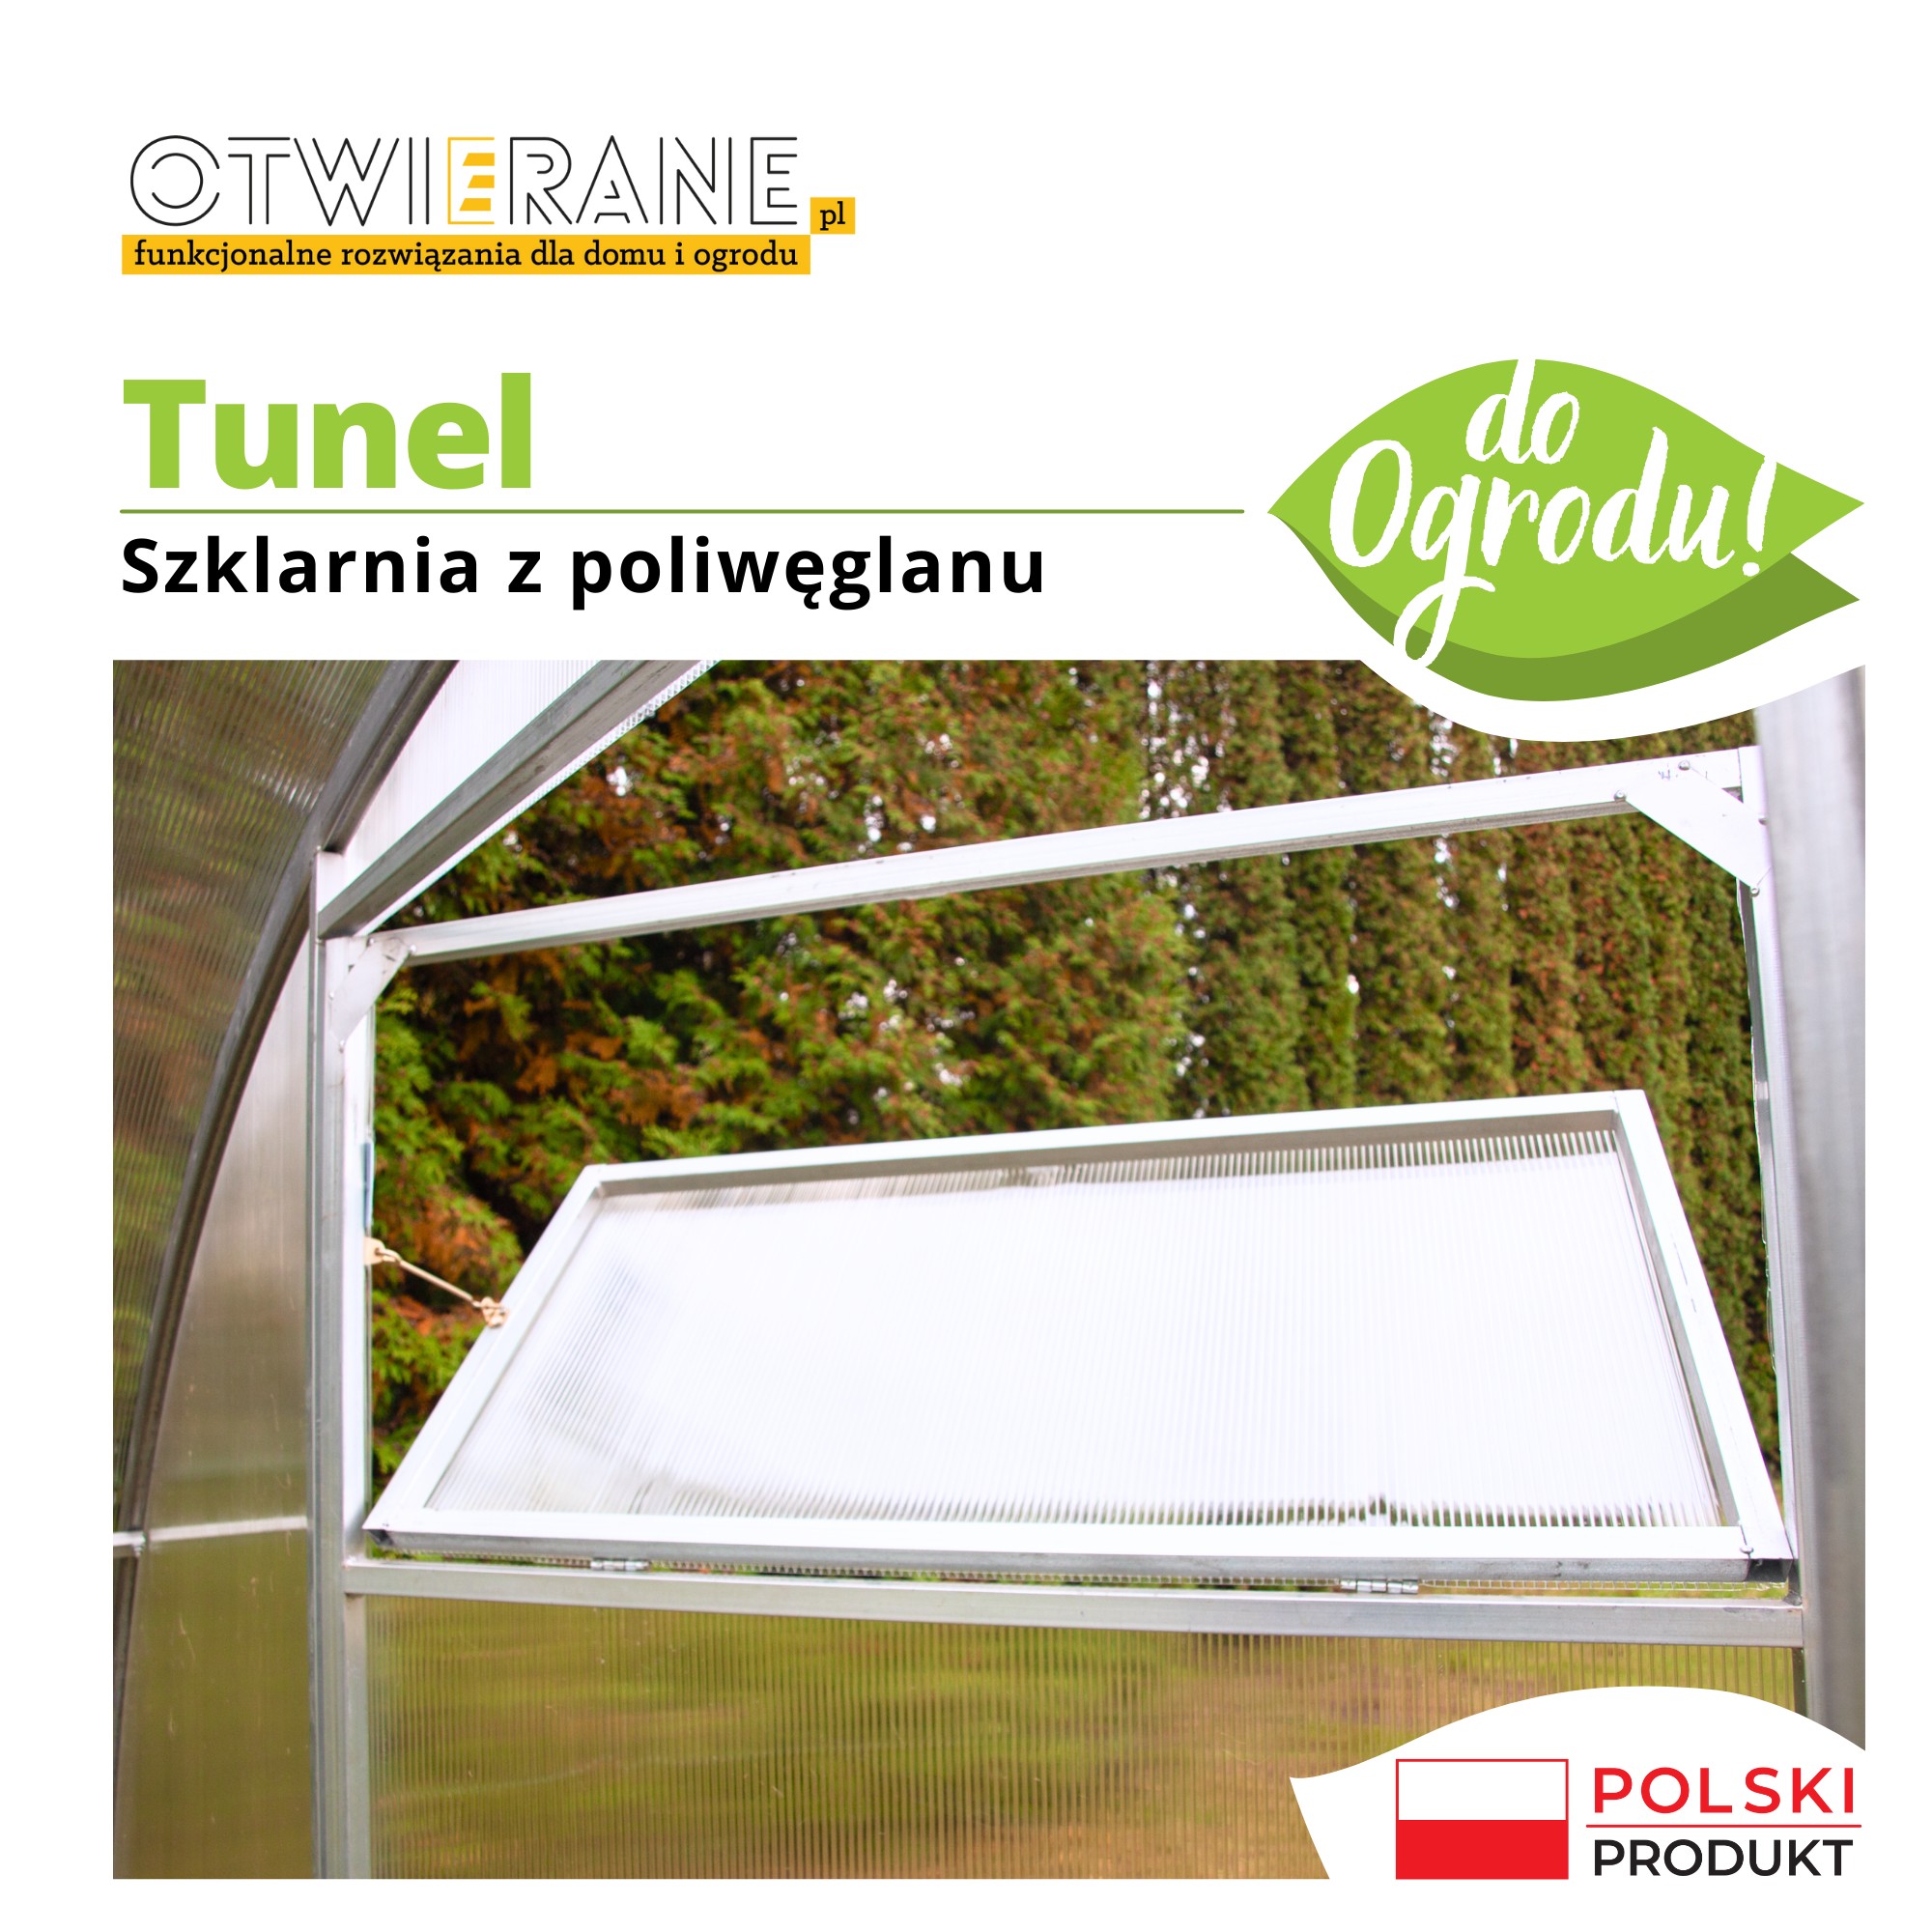
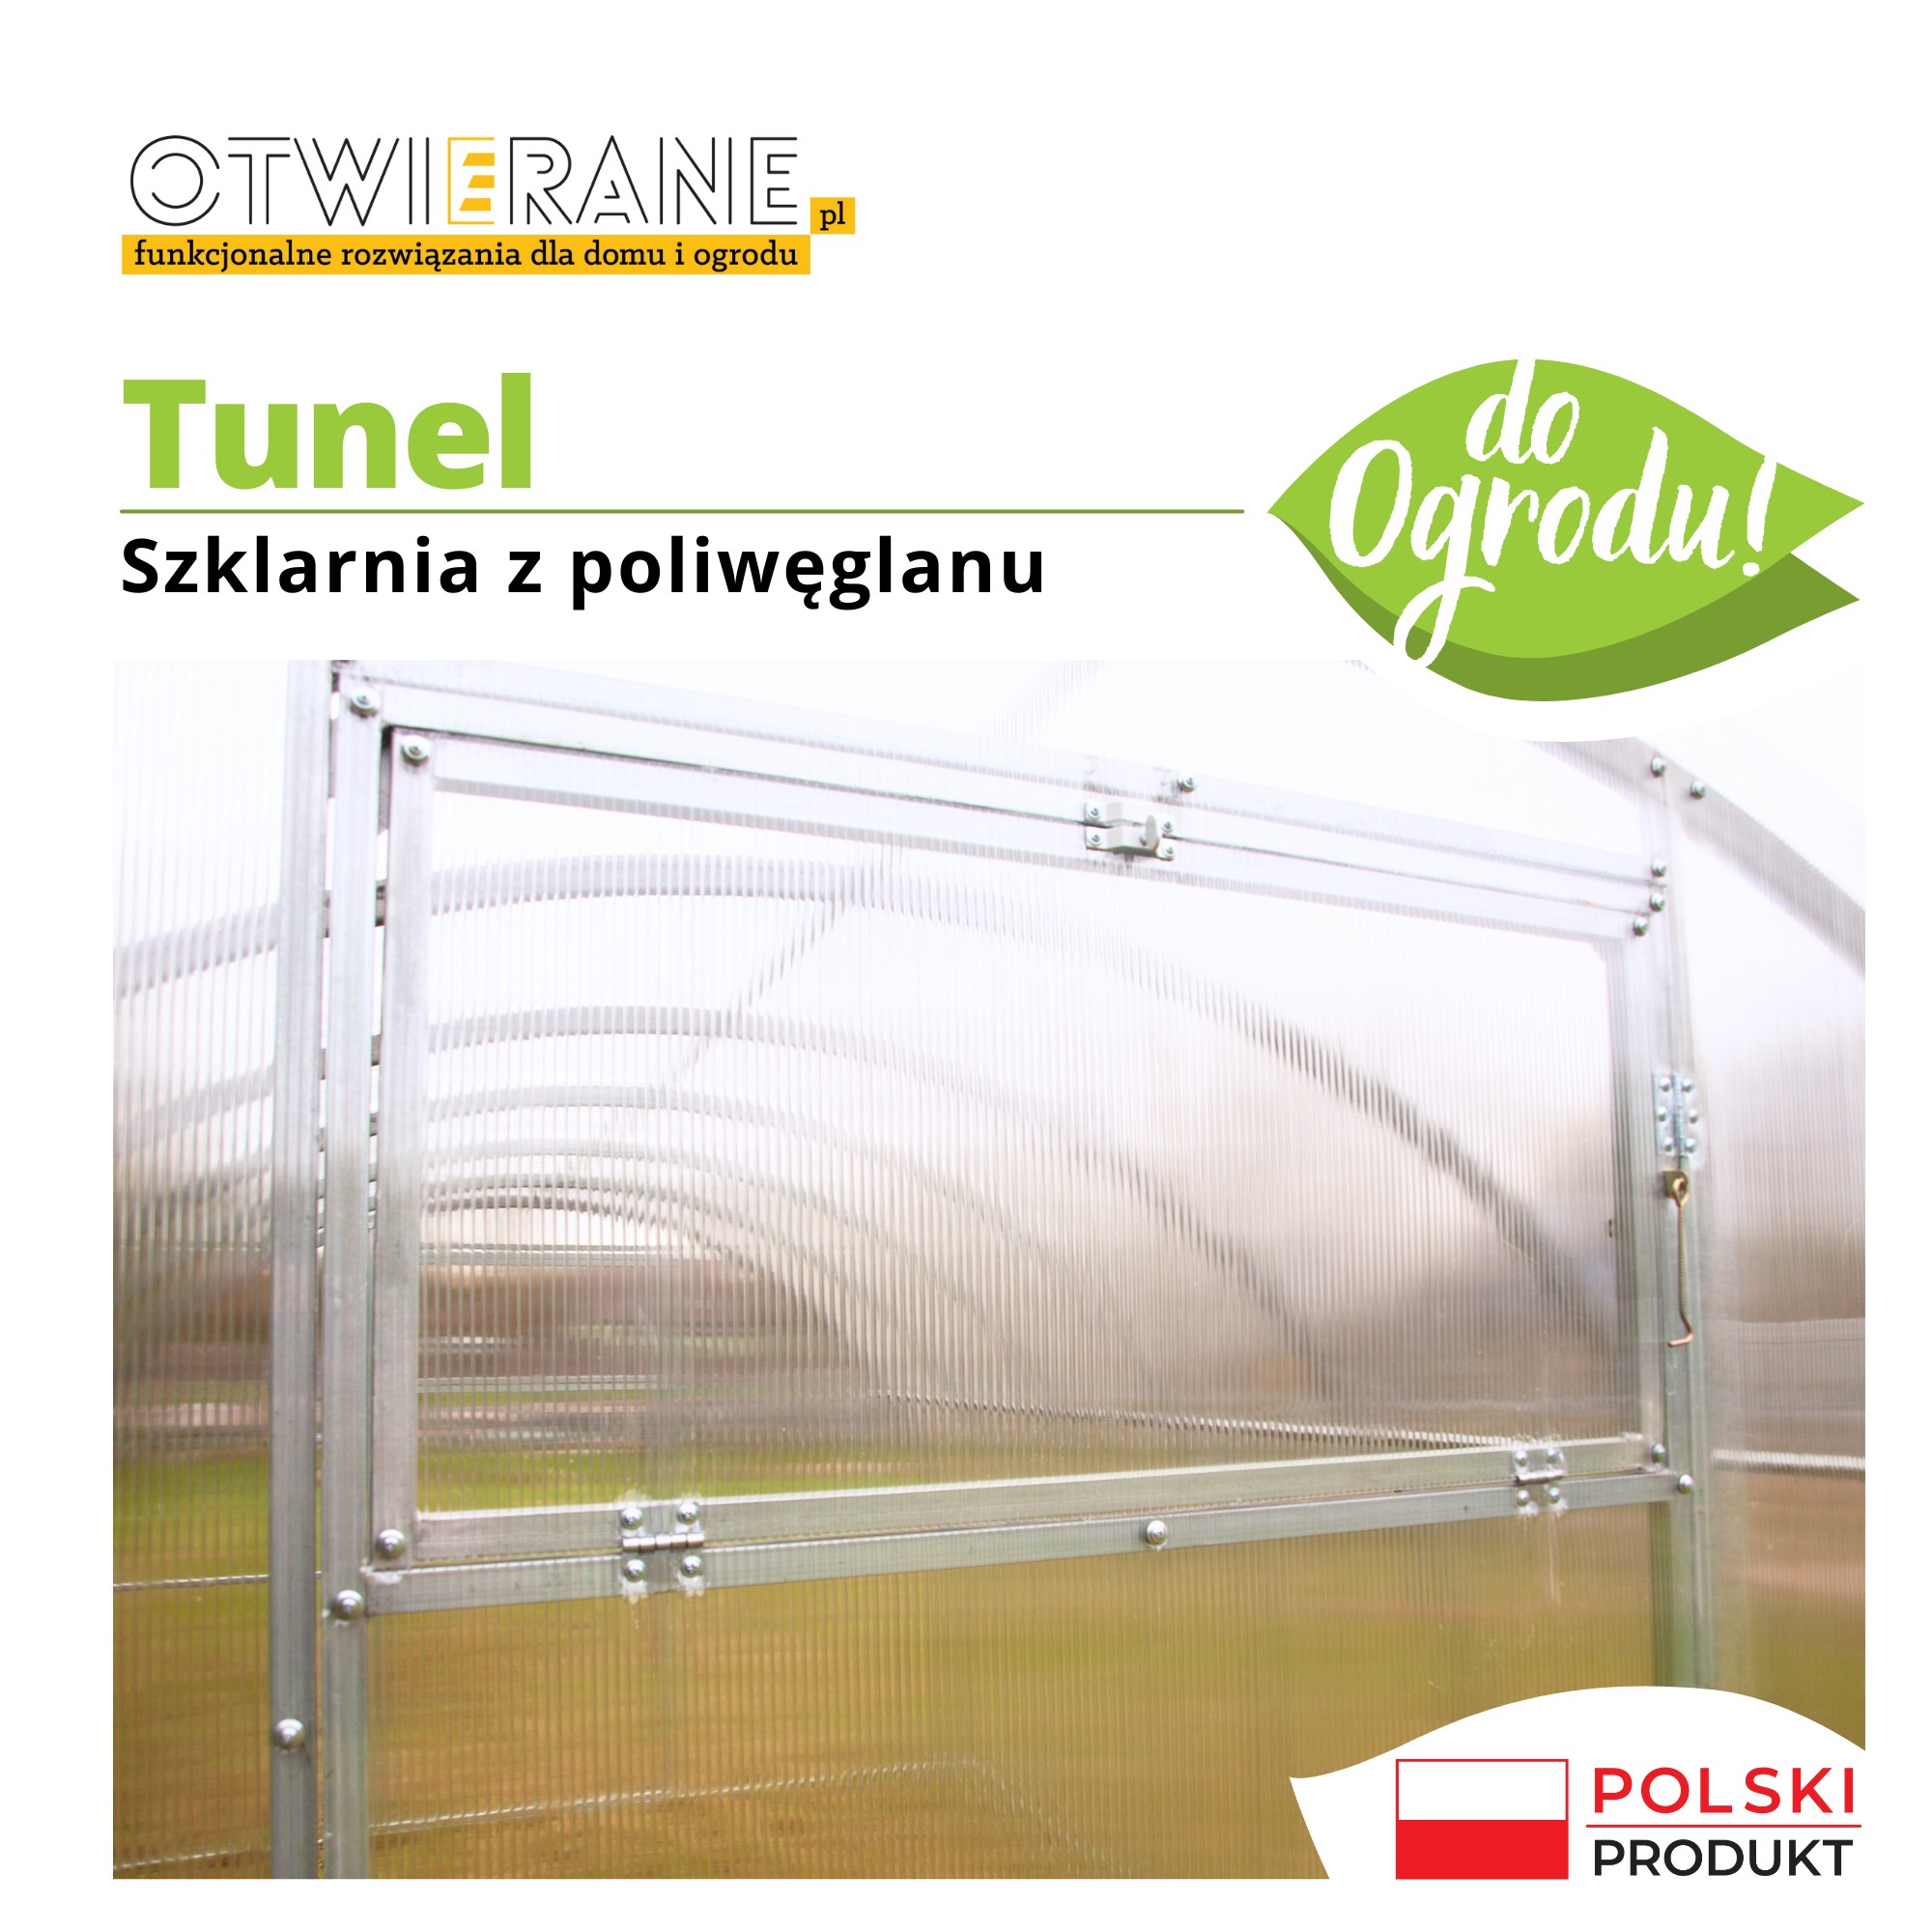
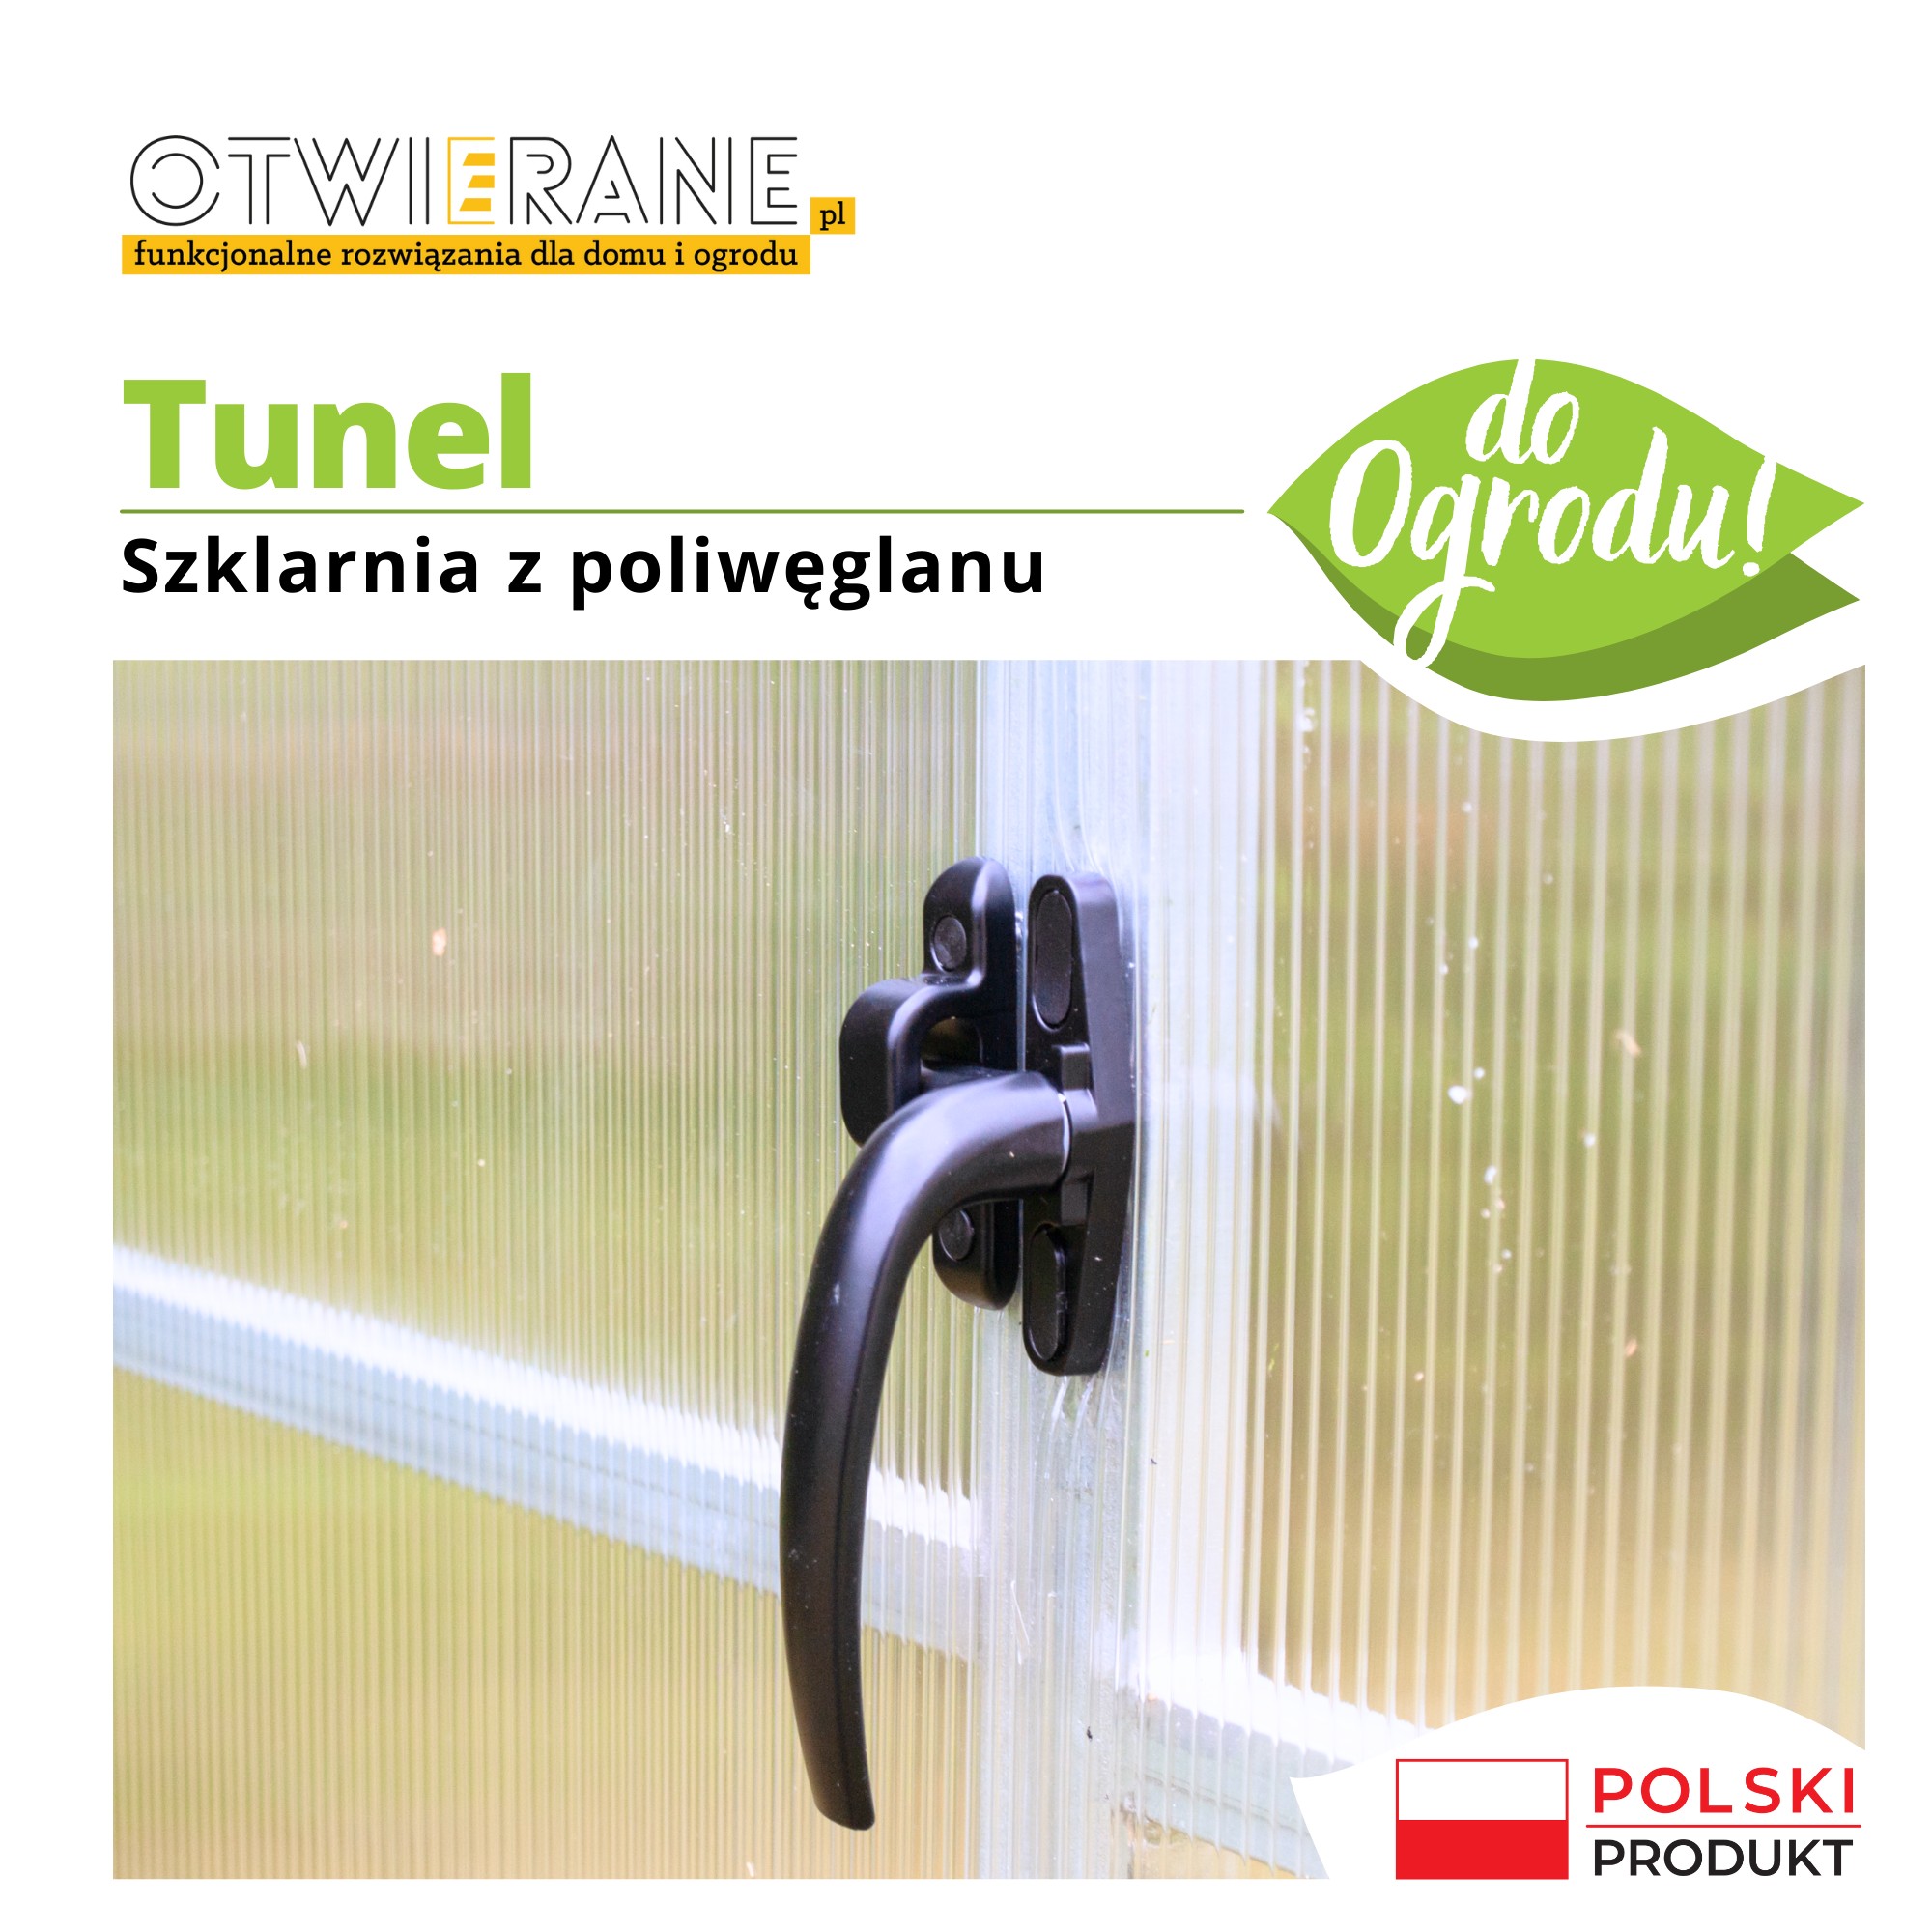
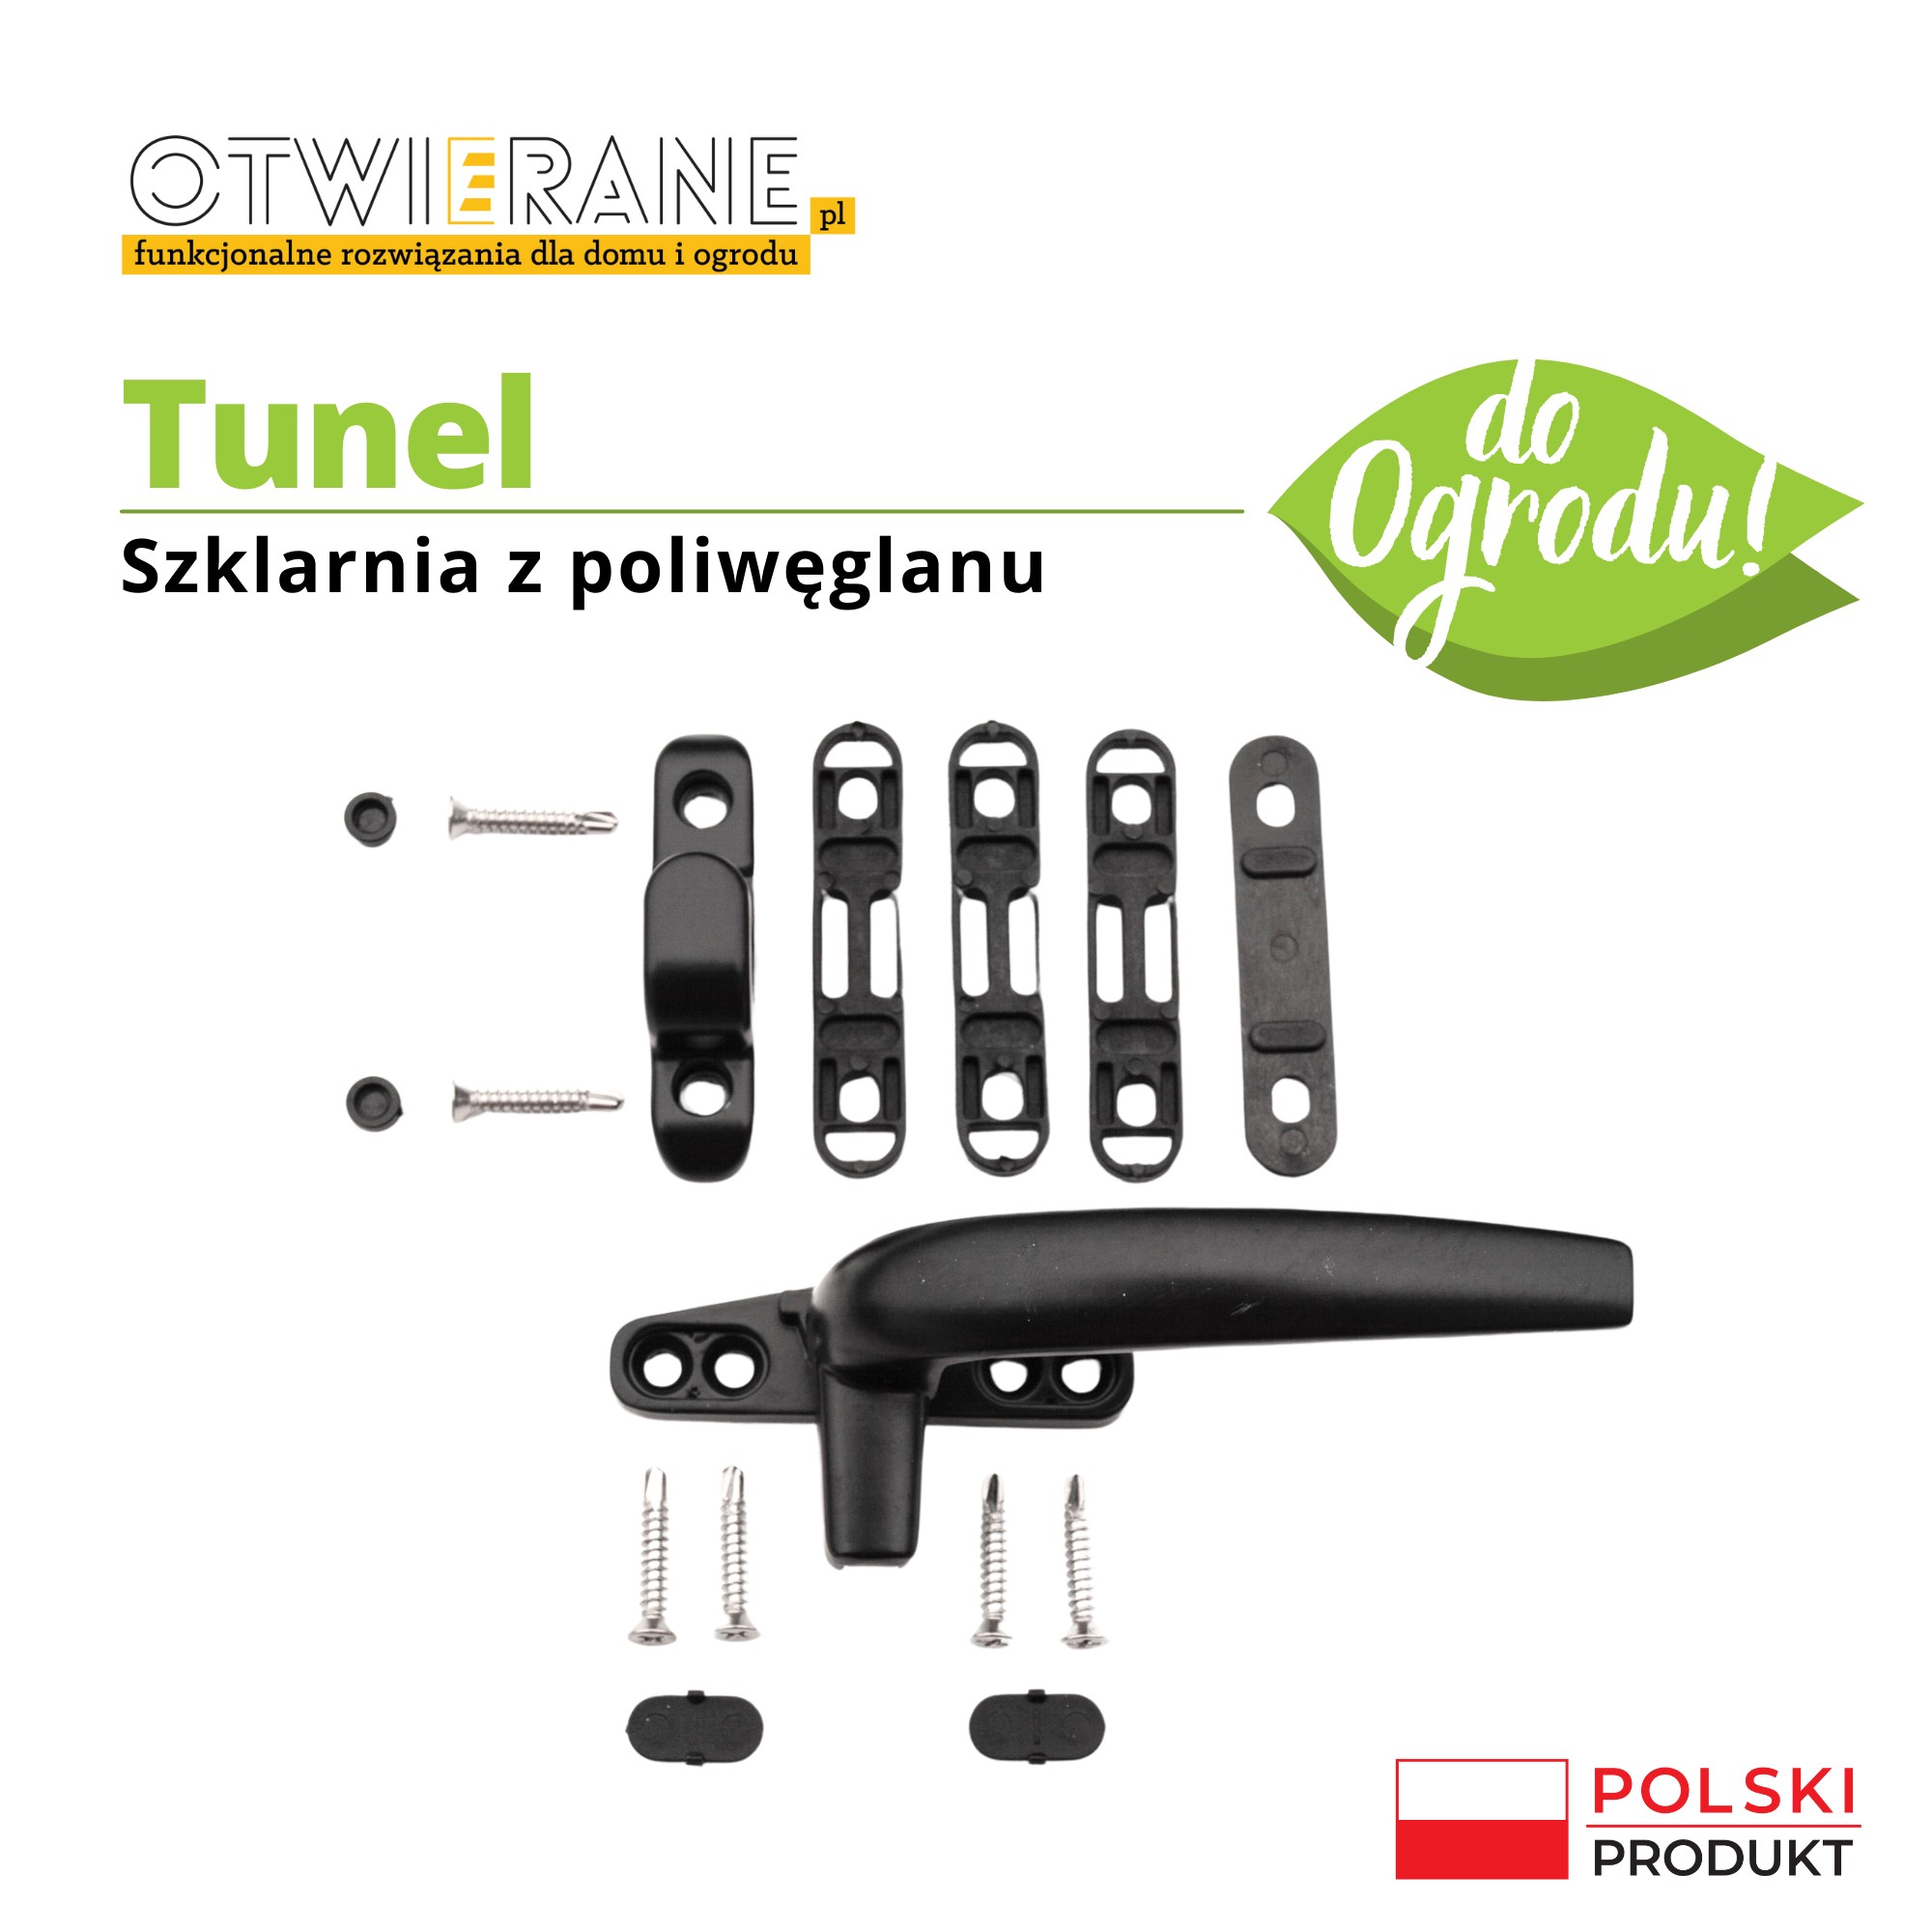
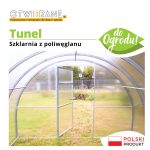
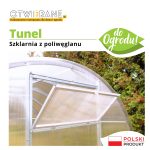
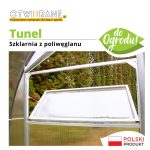
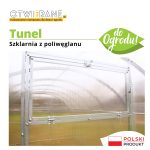
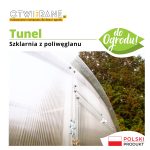
To make it easier to regulate humidity and temperature, the greenhouse is equipped with two single-leaf entrances - at the front and at the back of the structure. In addition, ventilation can also take place through the doors. Window size 85 cm x 40 cm By opening or closing them, you control the air flow, essential for maintaining an optimal microclimate inside the greenhouse.
Advantages of polycarbonate greenhouses
The cellular polycarbonate used in the construction of this greenhouse is extremely resistant to mechanical damage and UV radiation. The structure is lightweight, easy to assemble and provides adequate thermal insulation to promote plant growth all year round.
Polycarbonate tunnel greenhouse. Product specifications
Polycarbonate greenhouse - basic set
- Galvanised steel arches, fronts, cross connectors
- Cellular polycarbonate in sheets (6 x 2.1 m), only needing to be fitted to the fronts
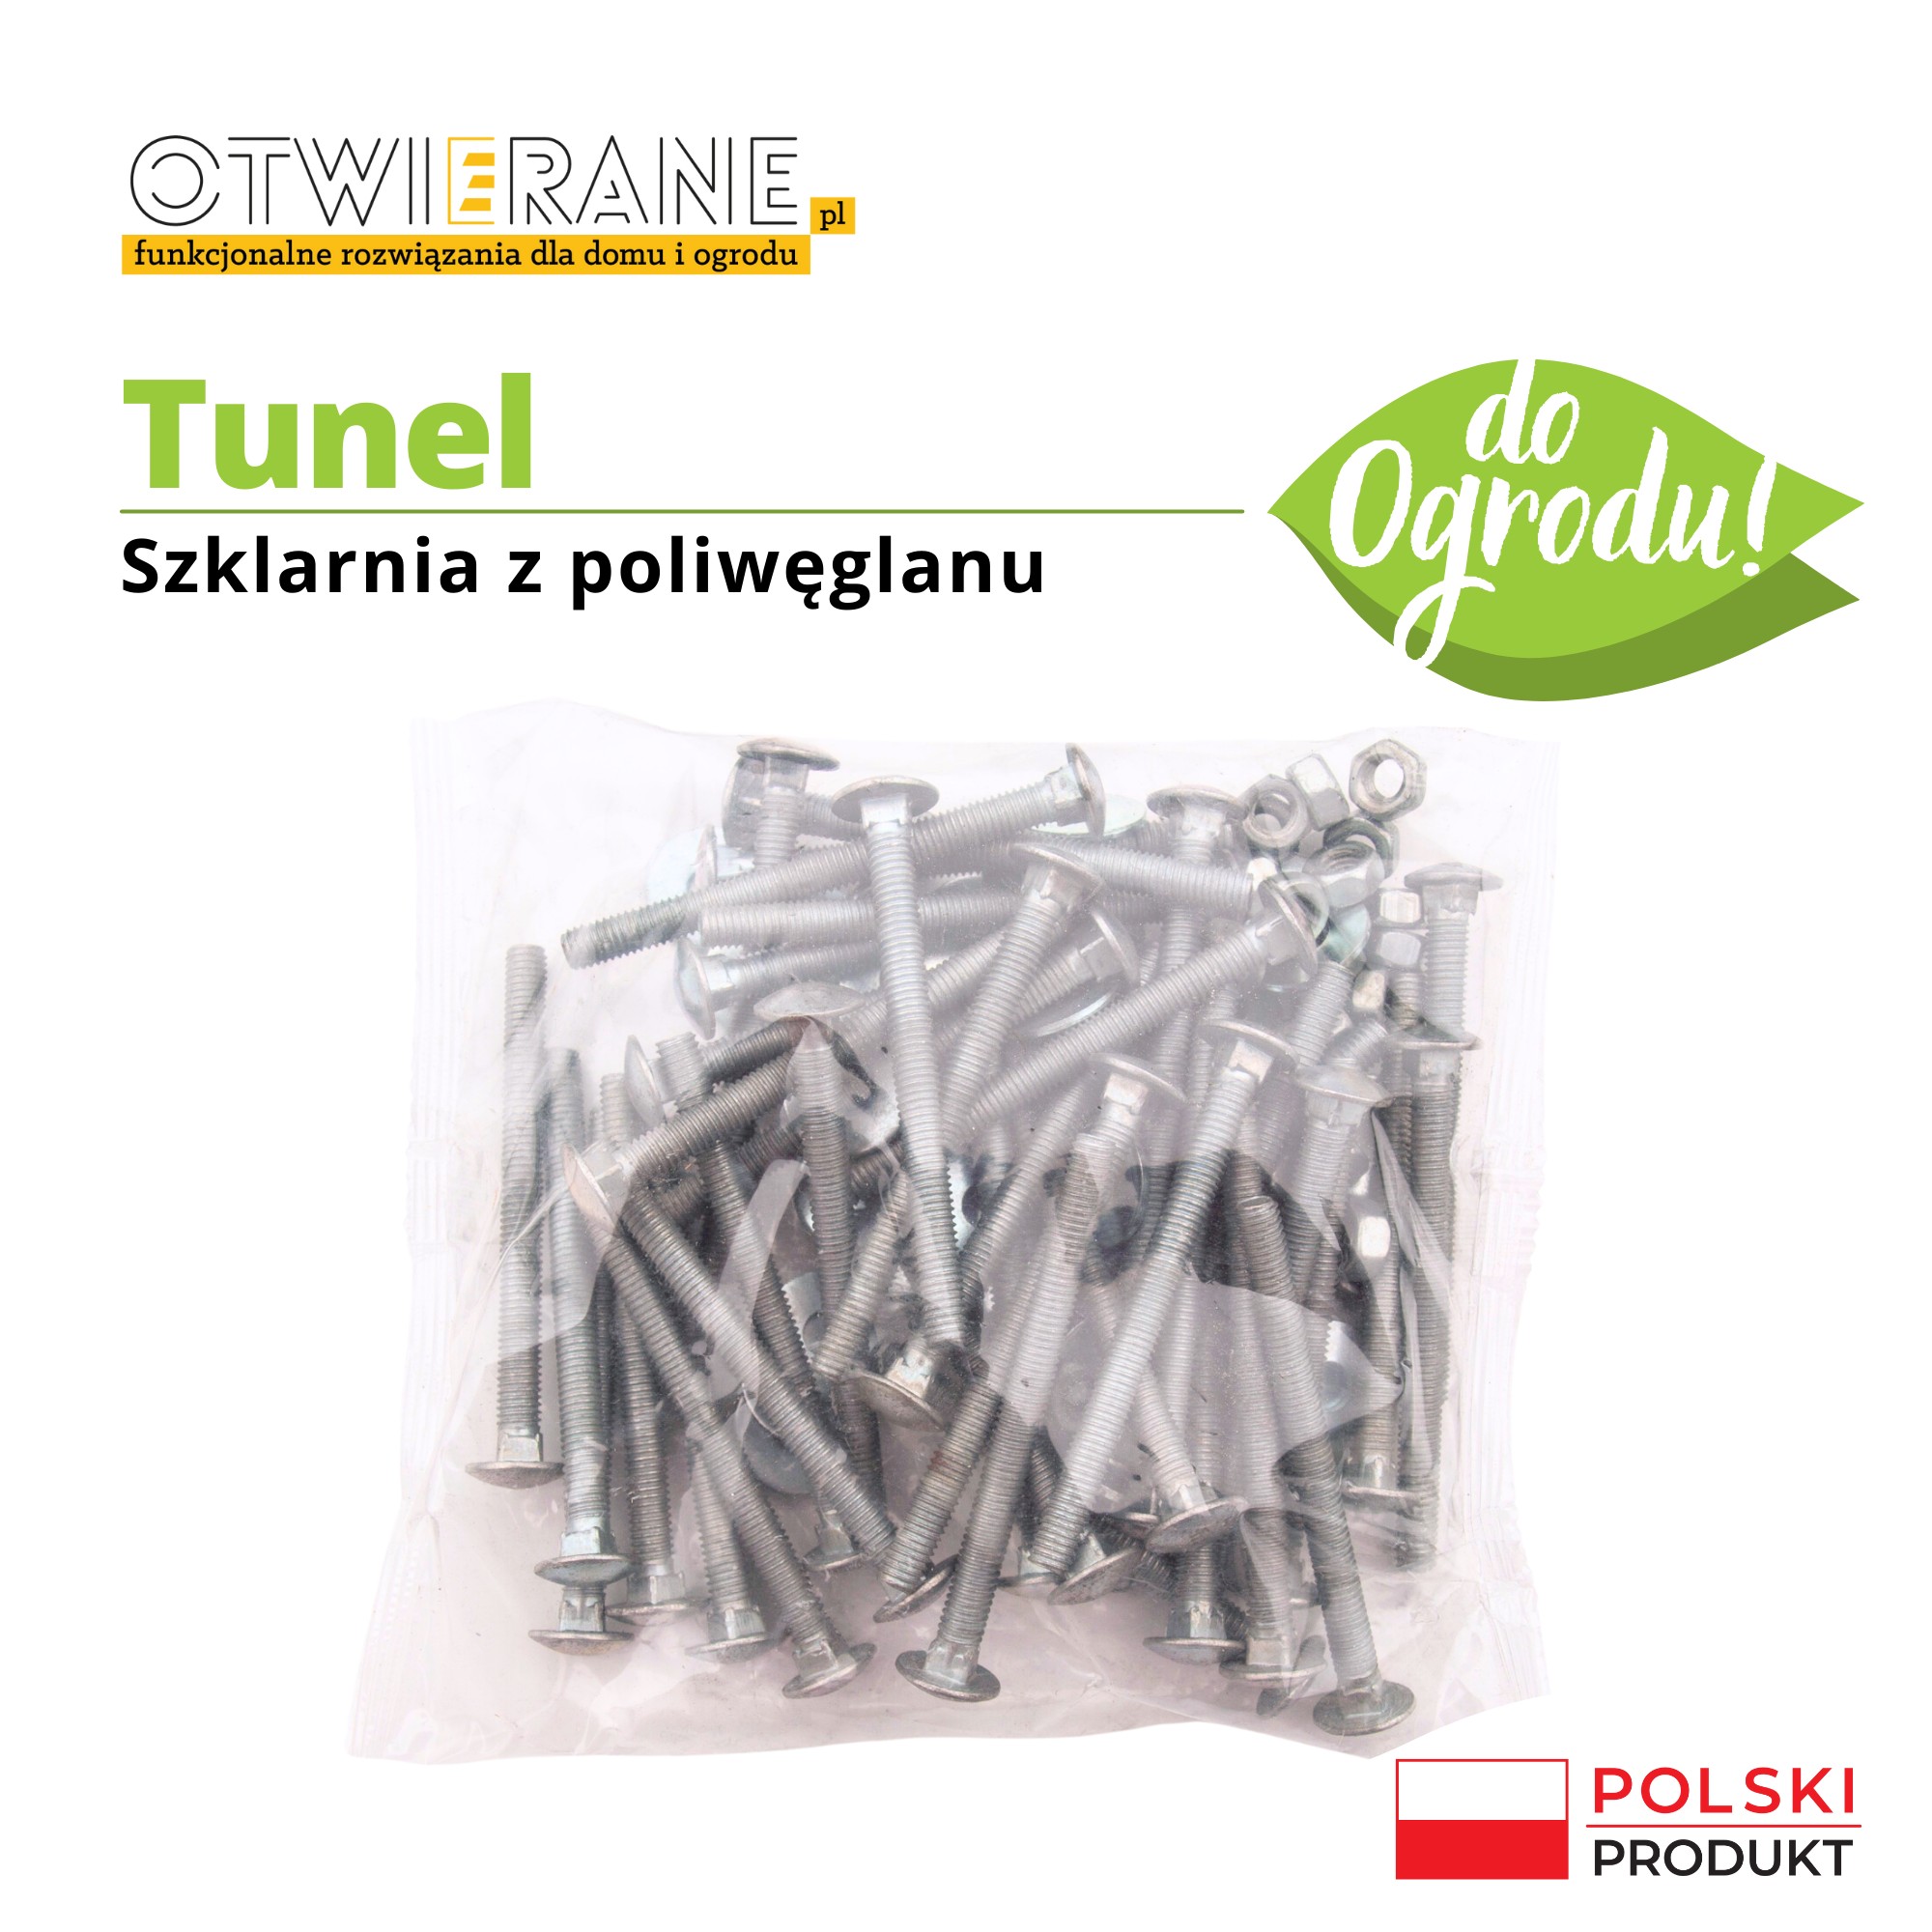
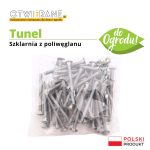
- Complete set of screws and bolts with rubber washer for screwing on polycarbonate
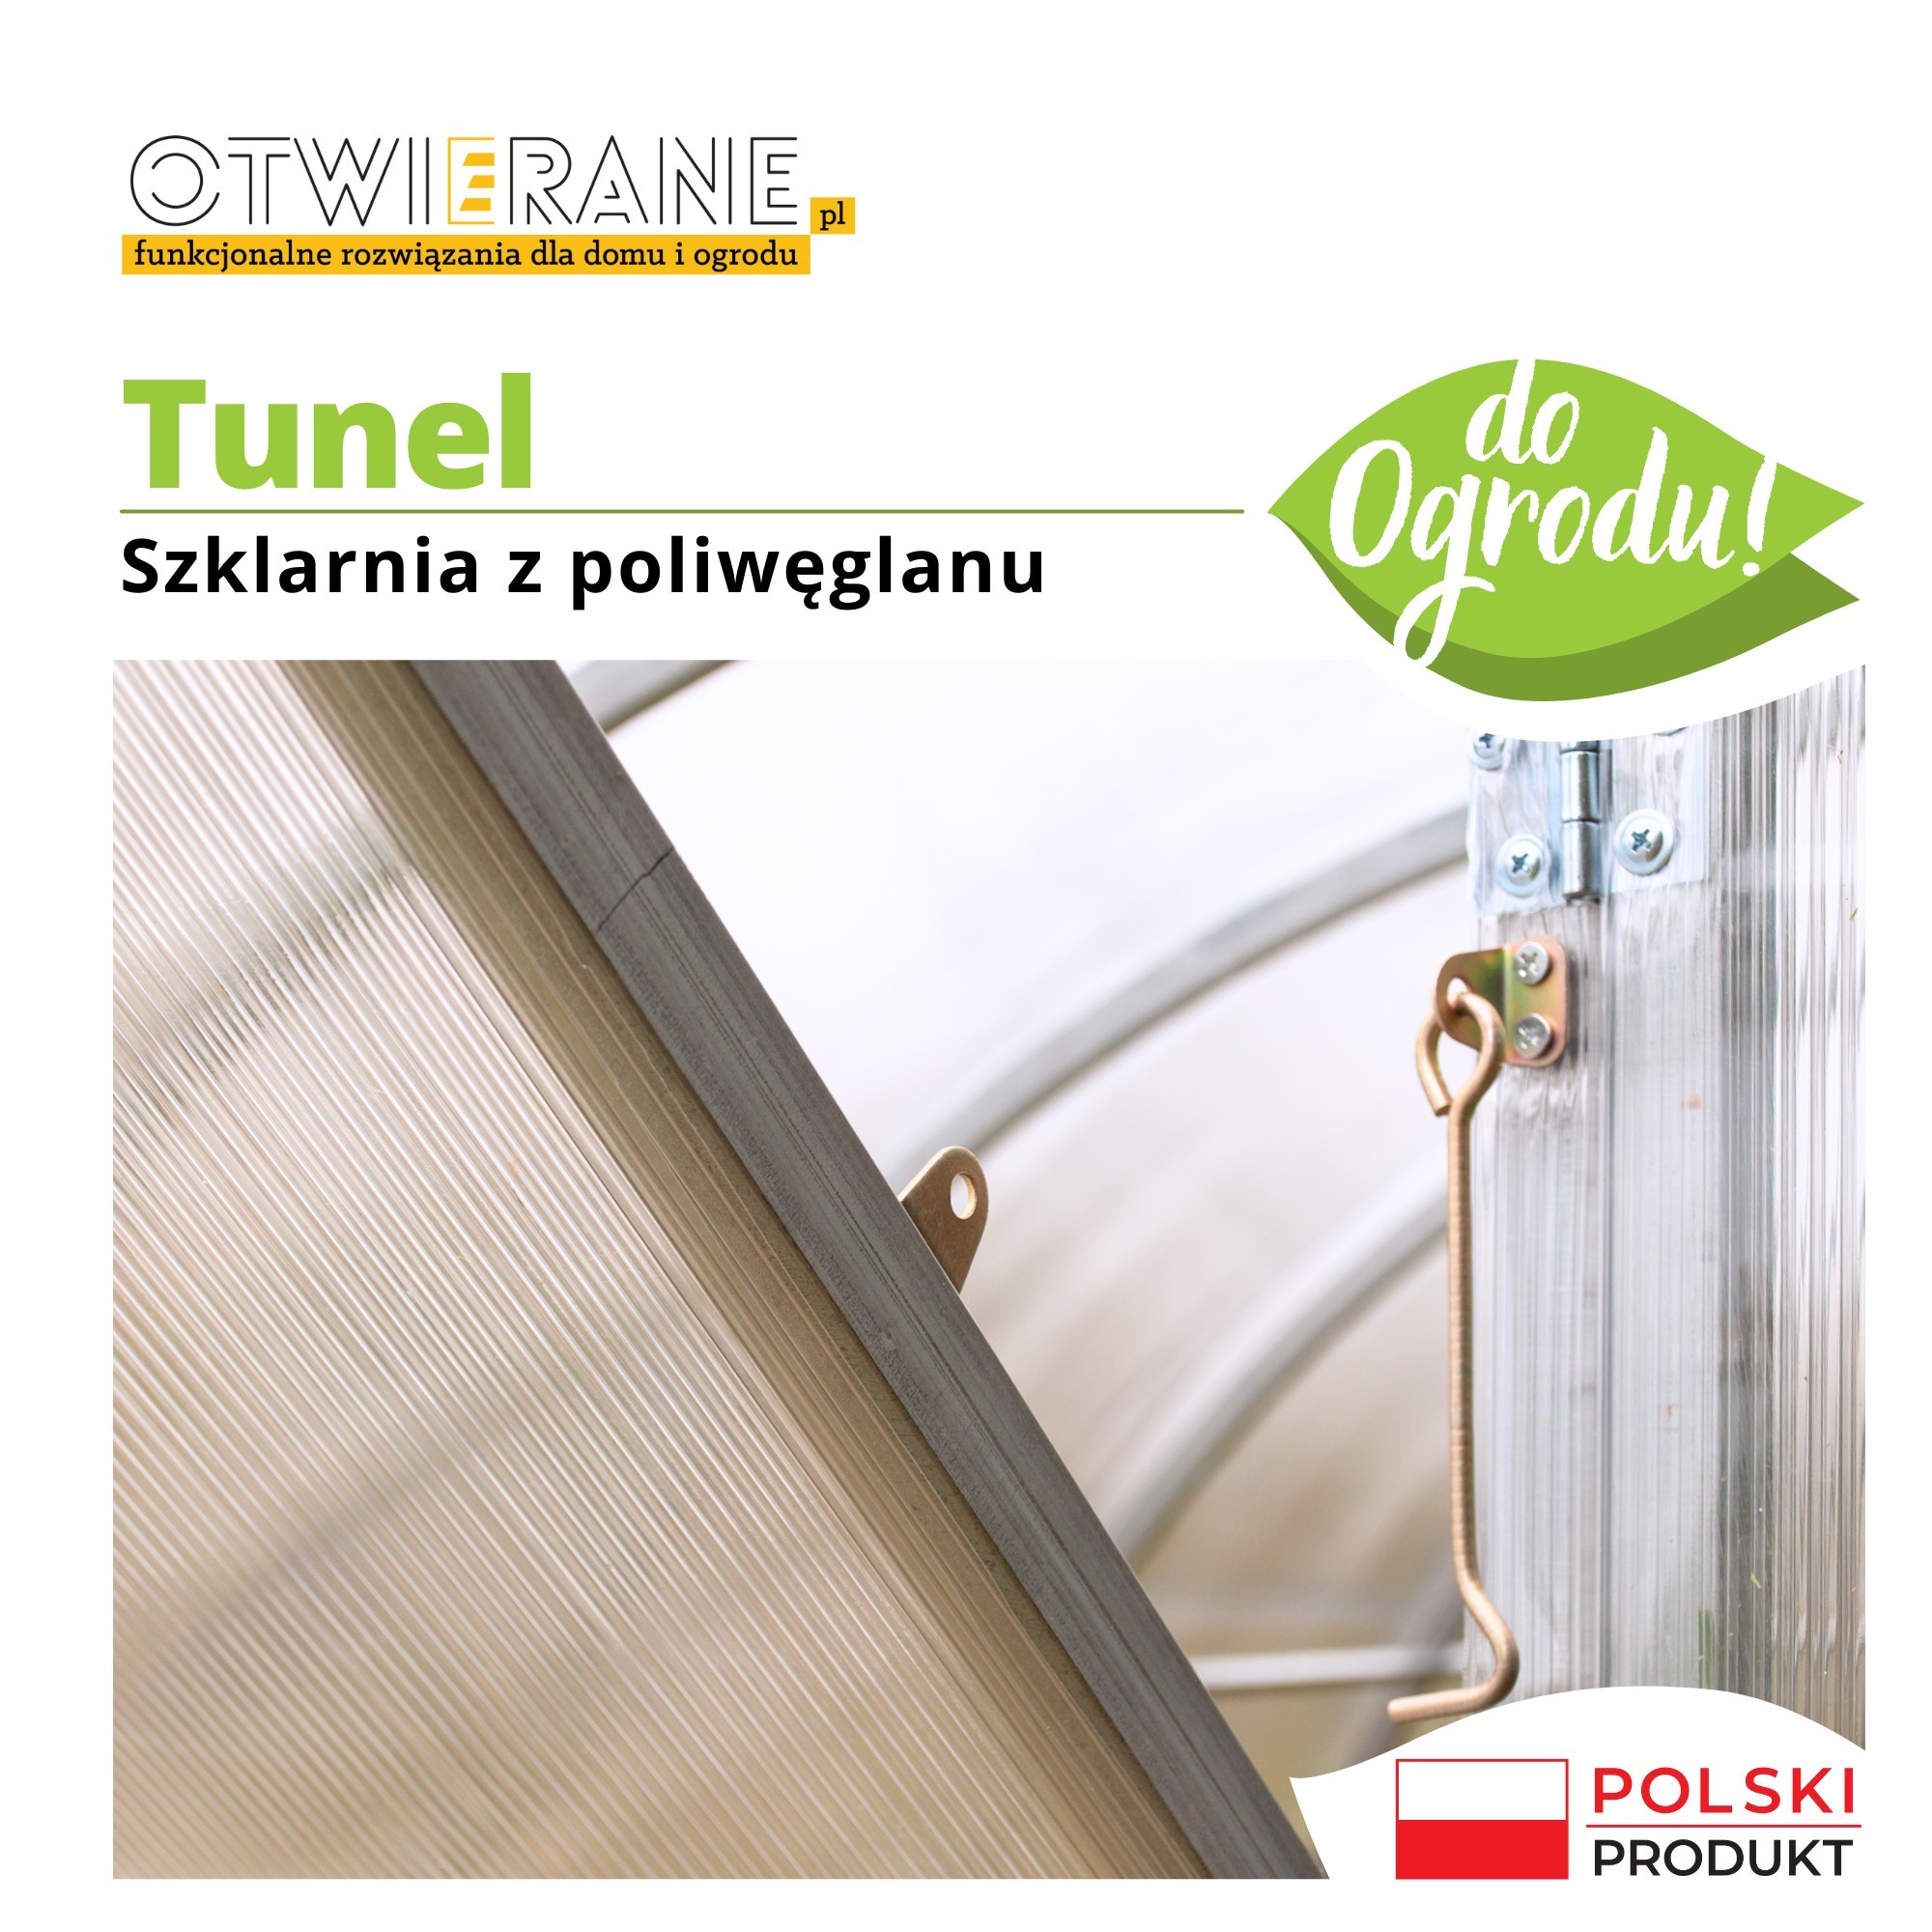
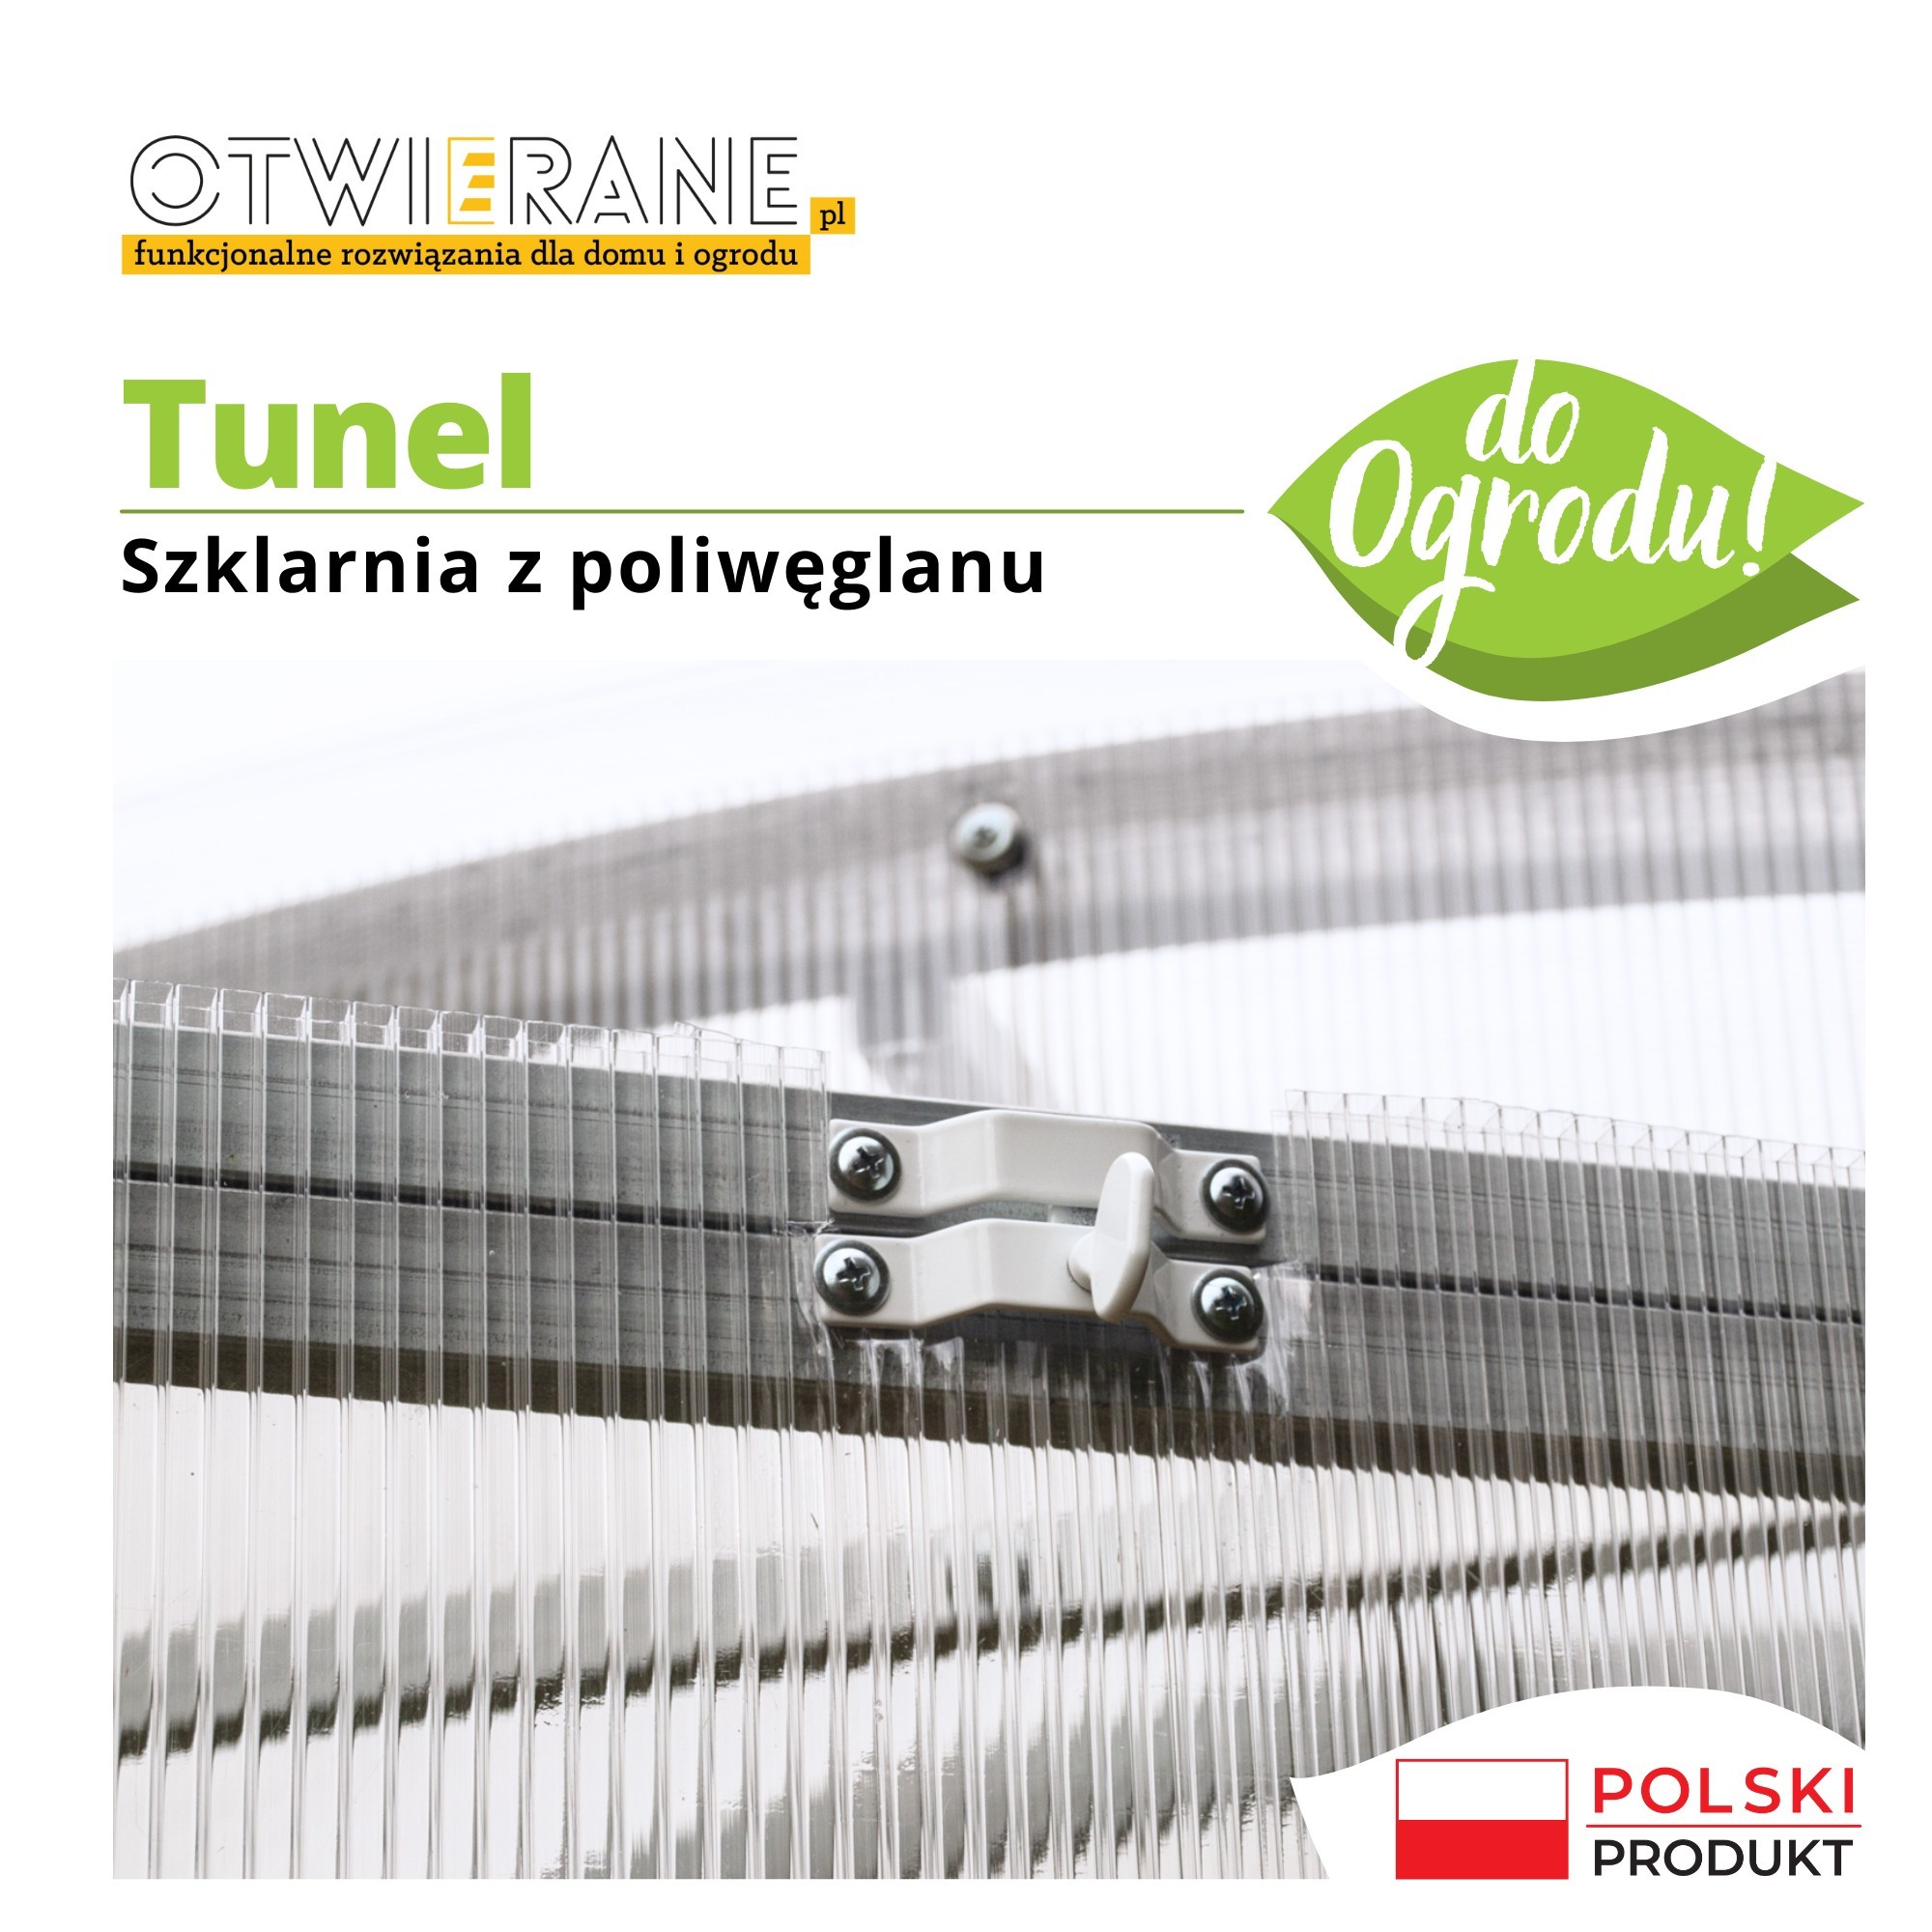
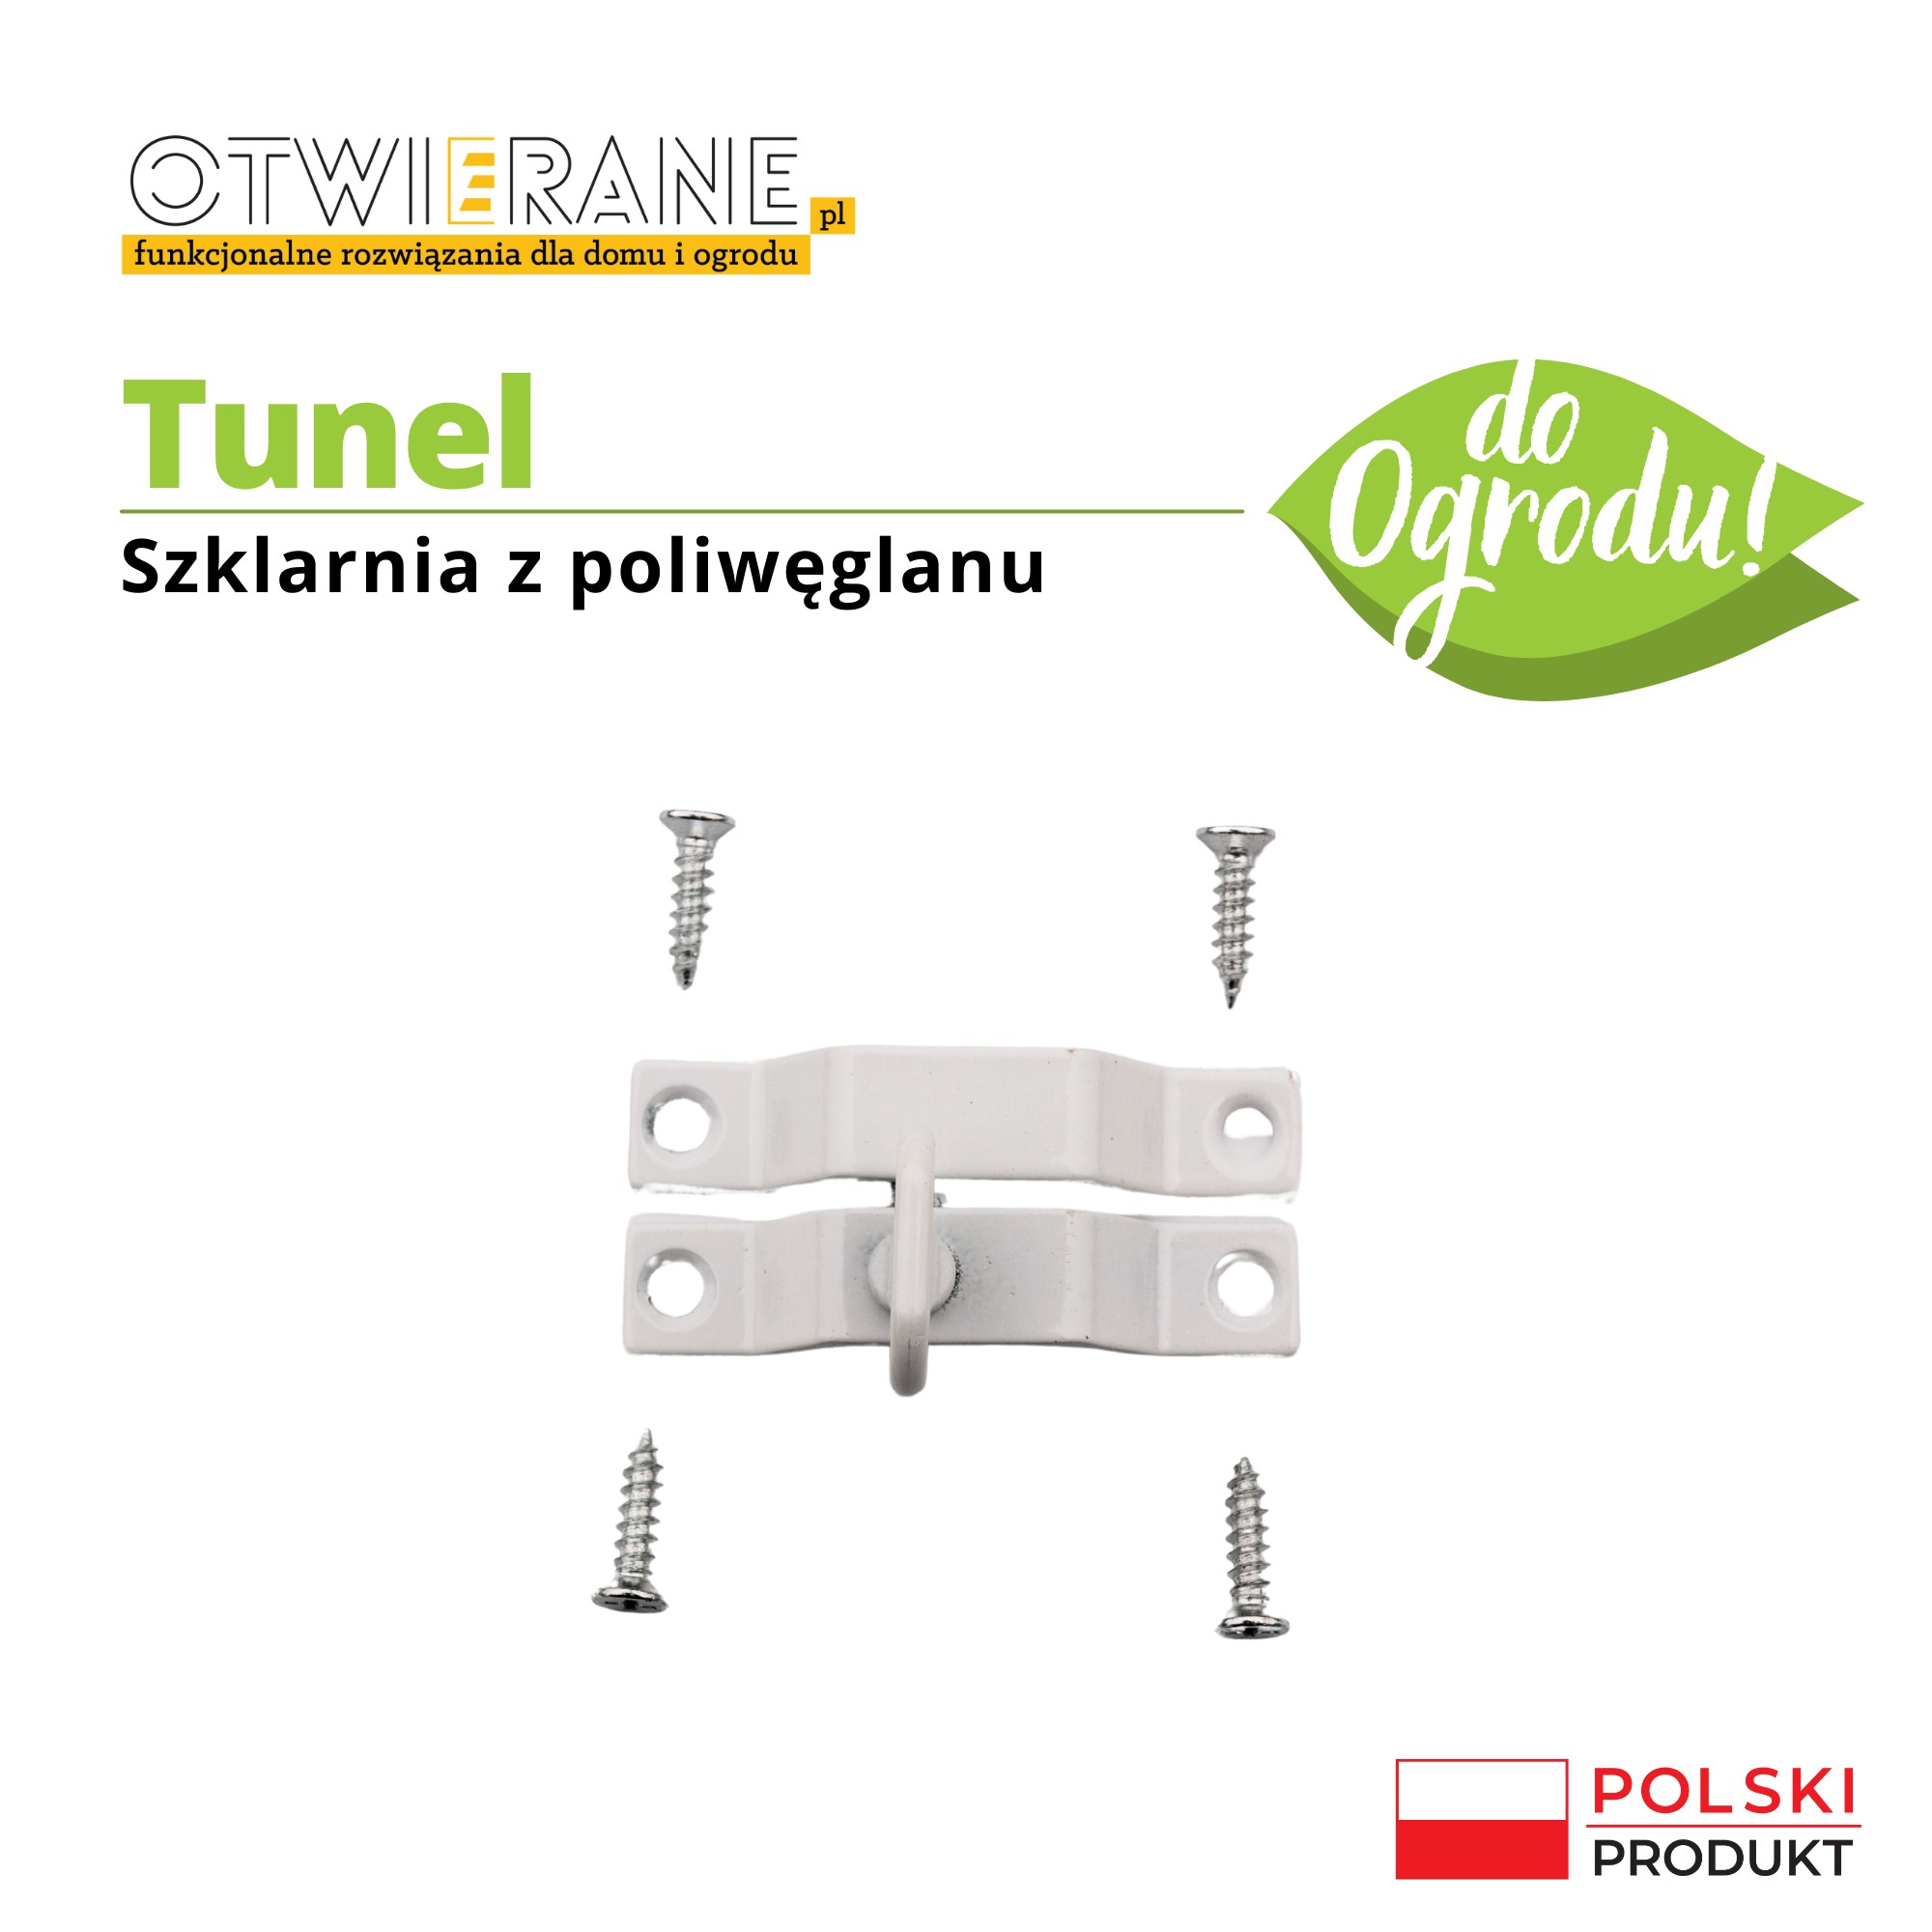
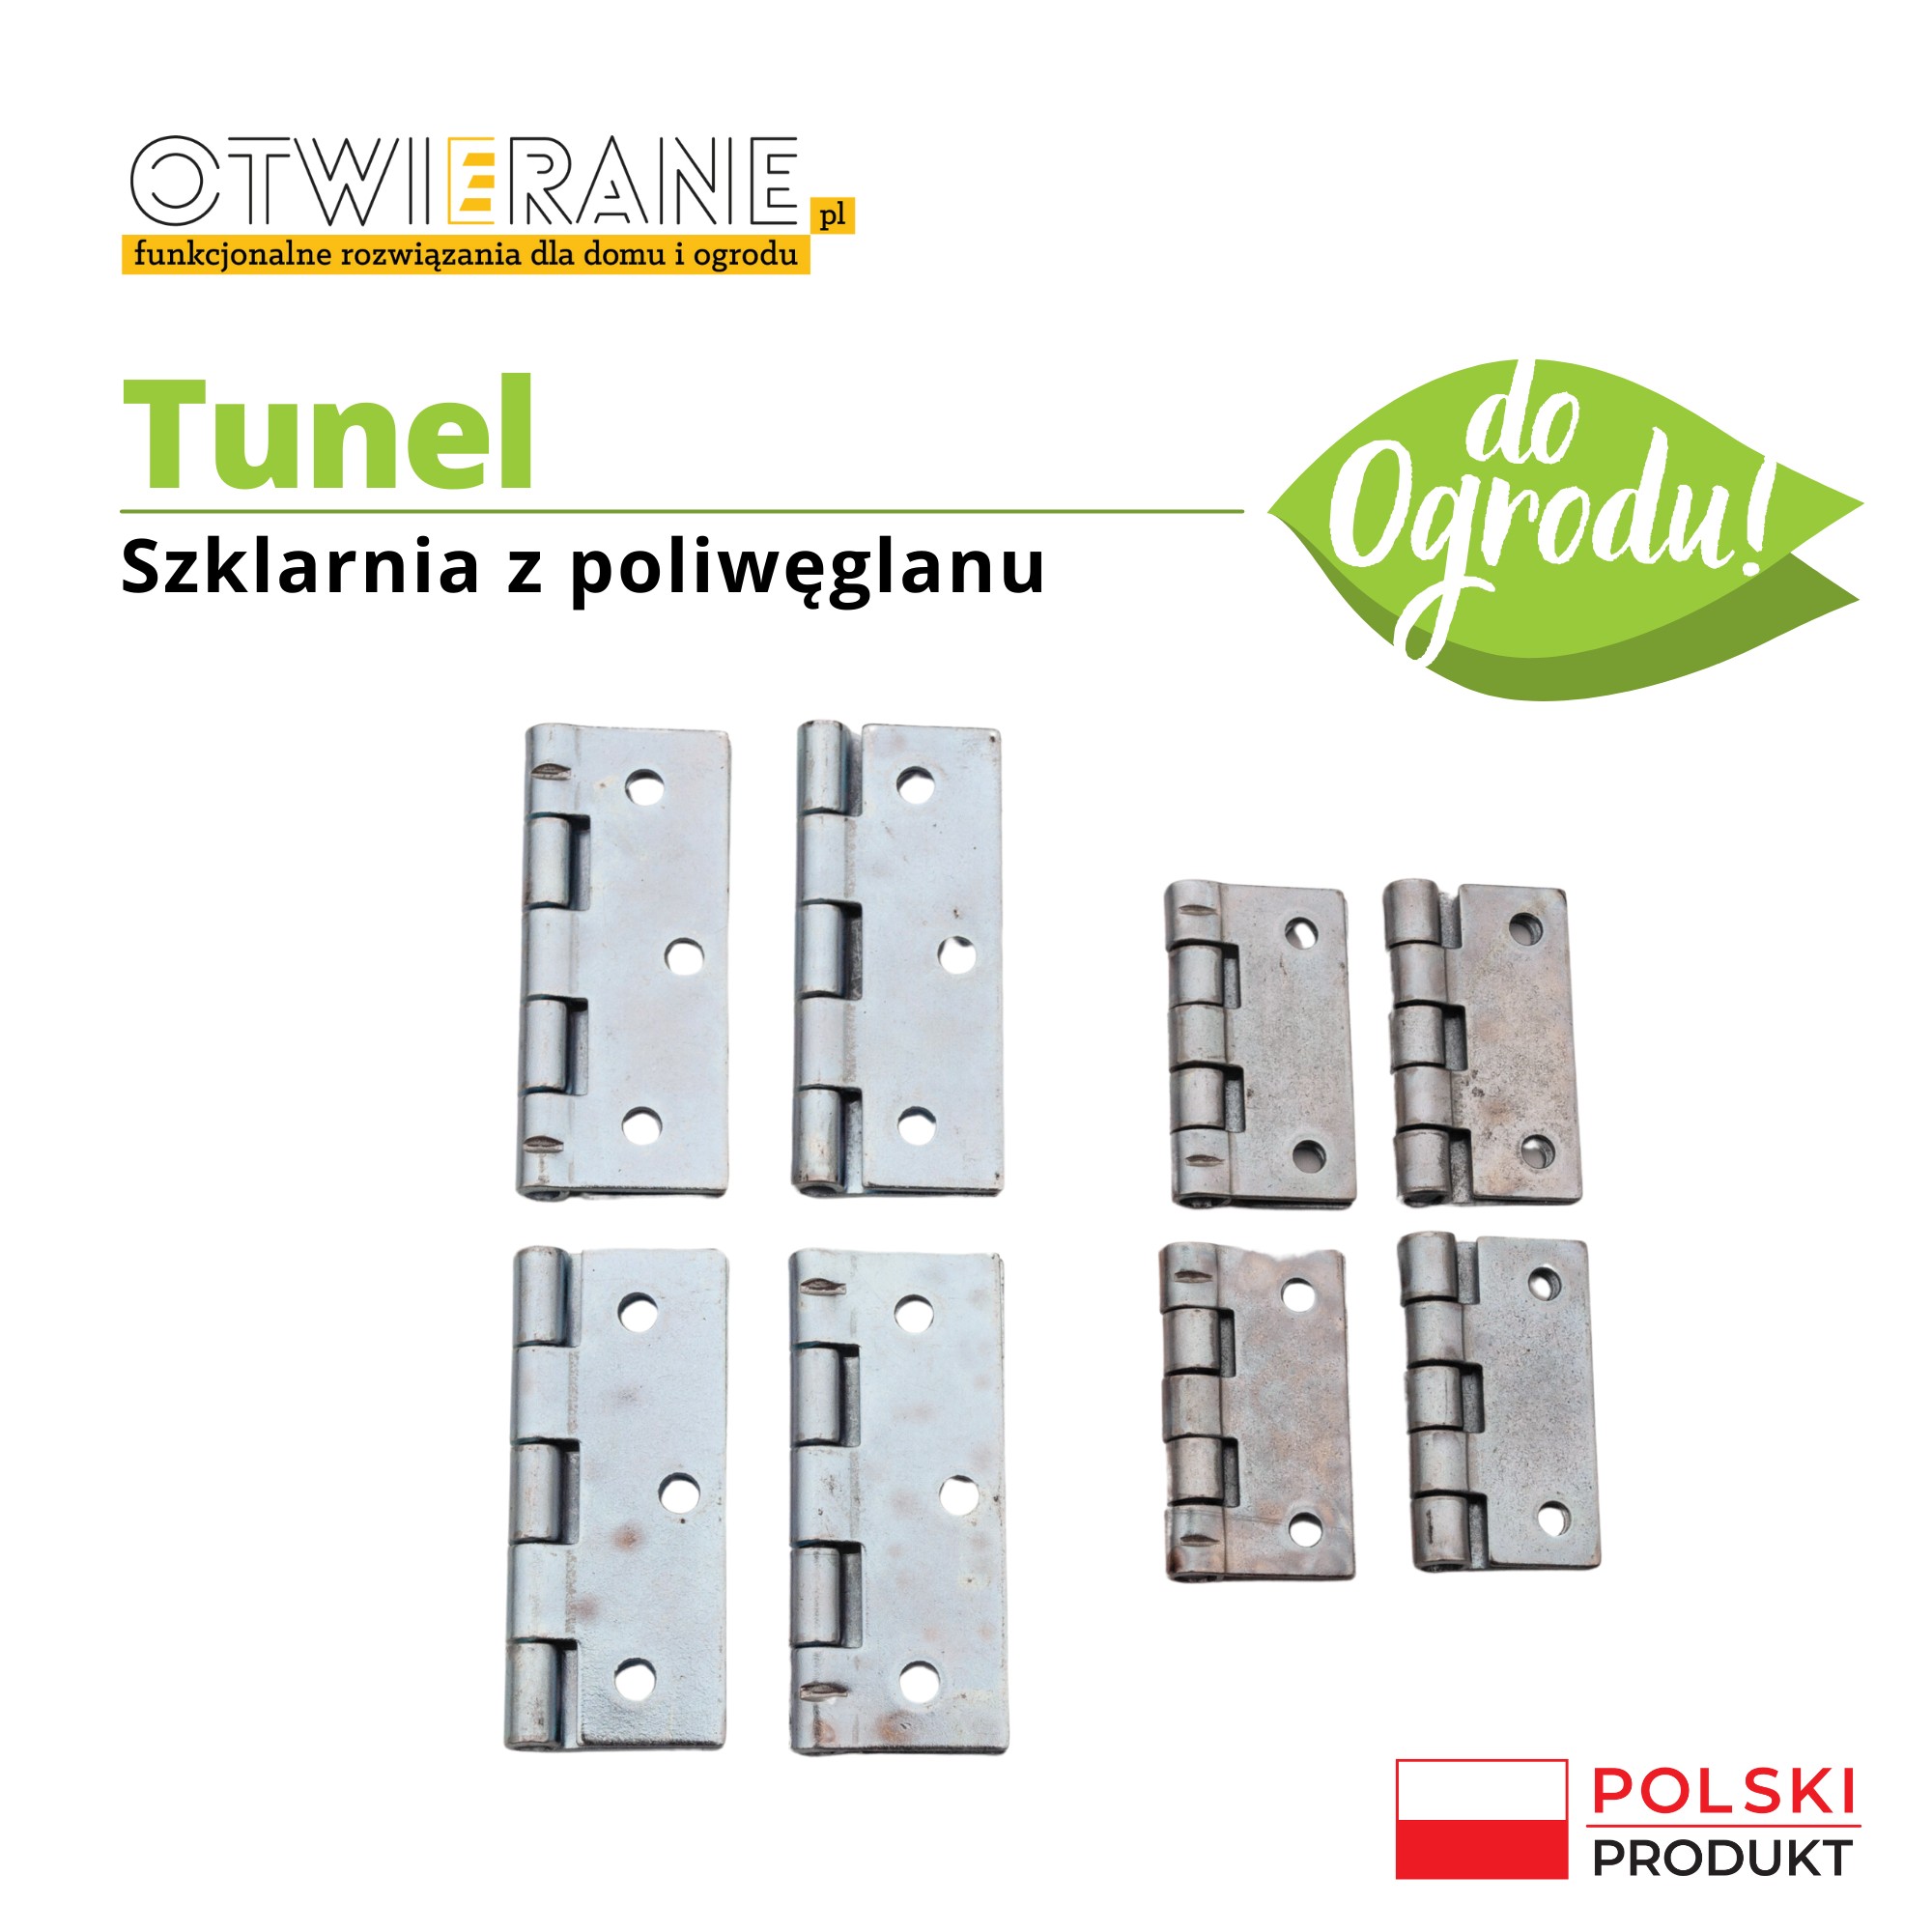
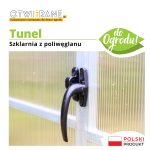
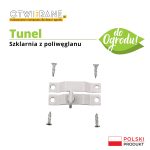
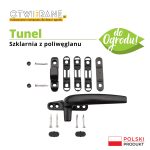
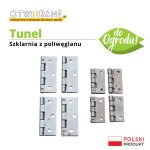
- Hinges and hooks
- T-anchors for stable embedding of the structure in the ground
- Assembly instructions
You can extend the basic version of the product with the following add-ons:
PLUS greenhouse kit - 185 zł
Included in the kit accessories complement the basic set for accessories to extend the life of the greenhouse and the plant attachment system.
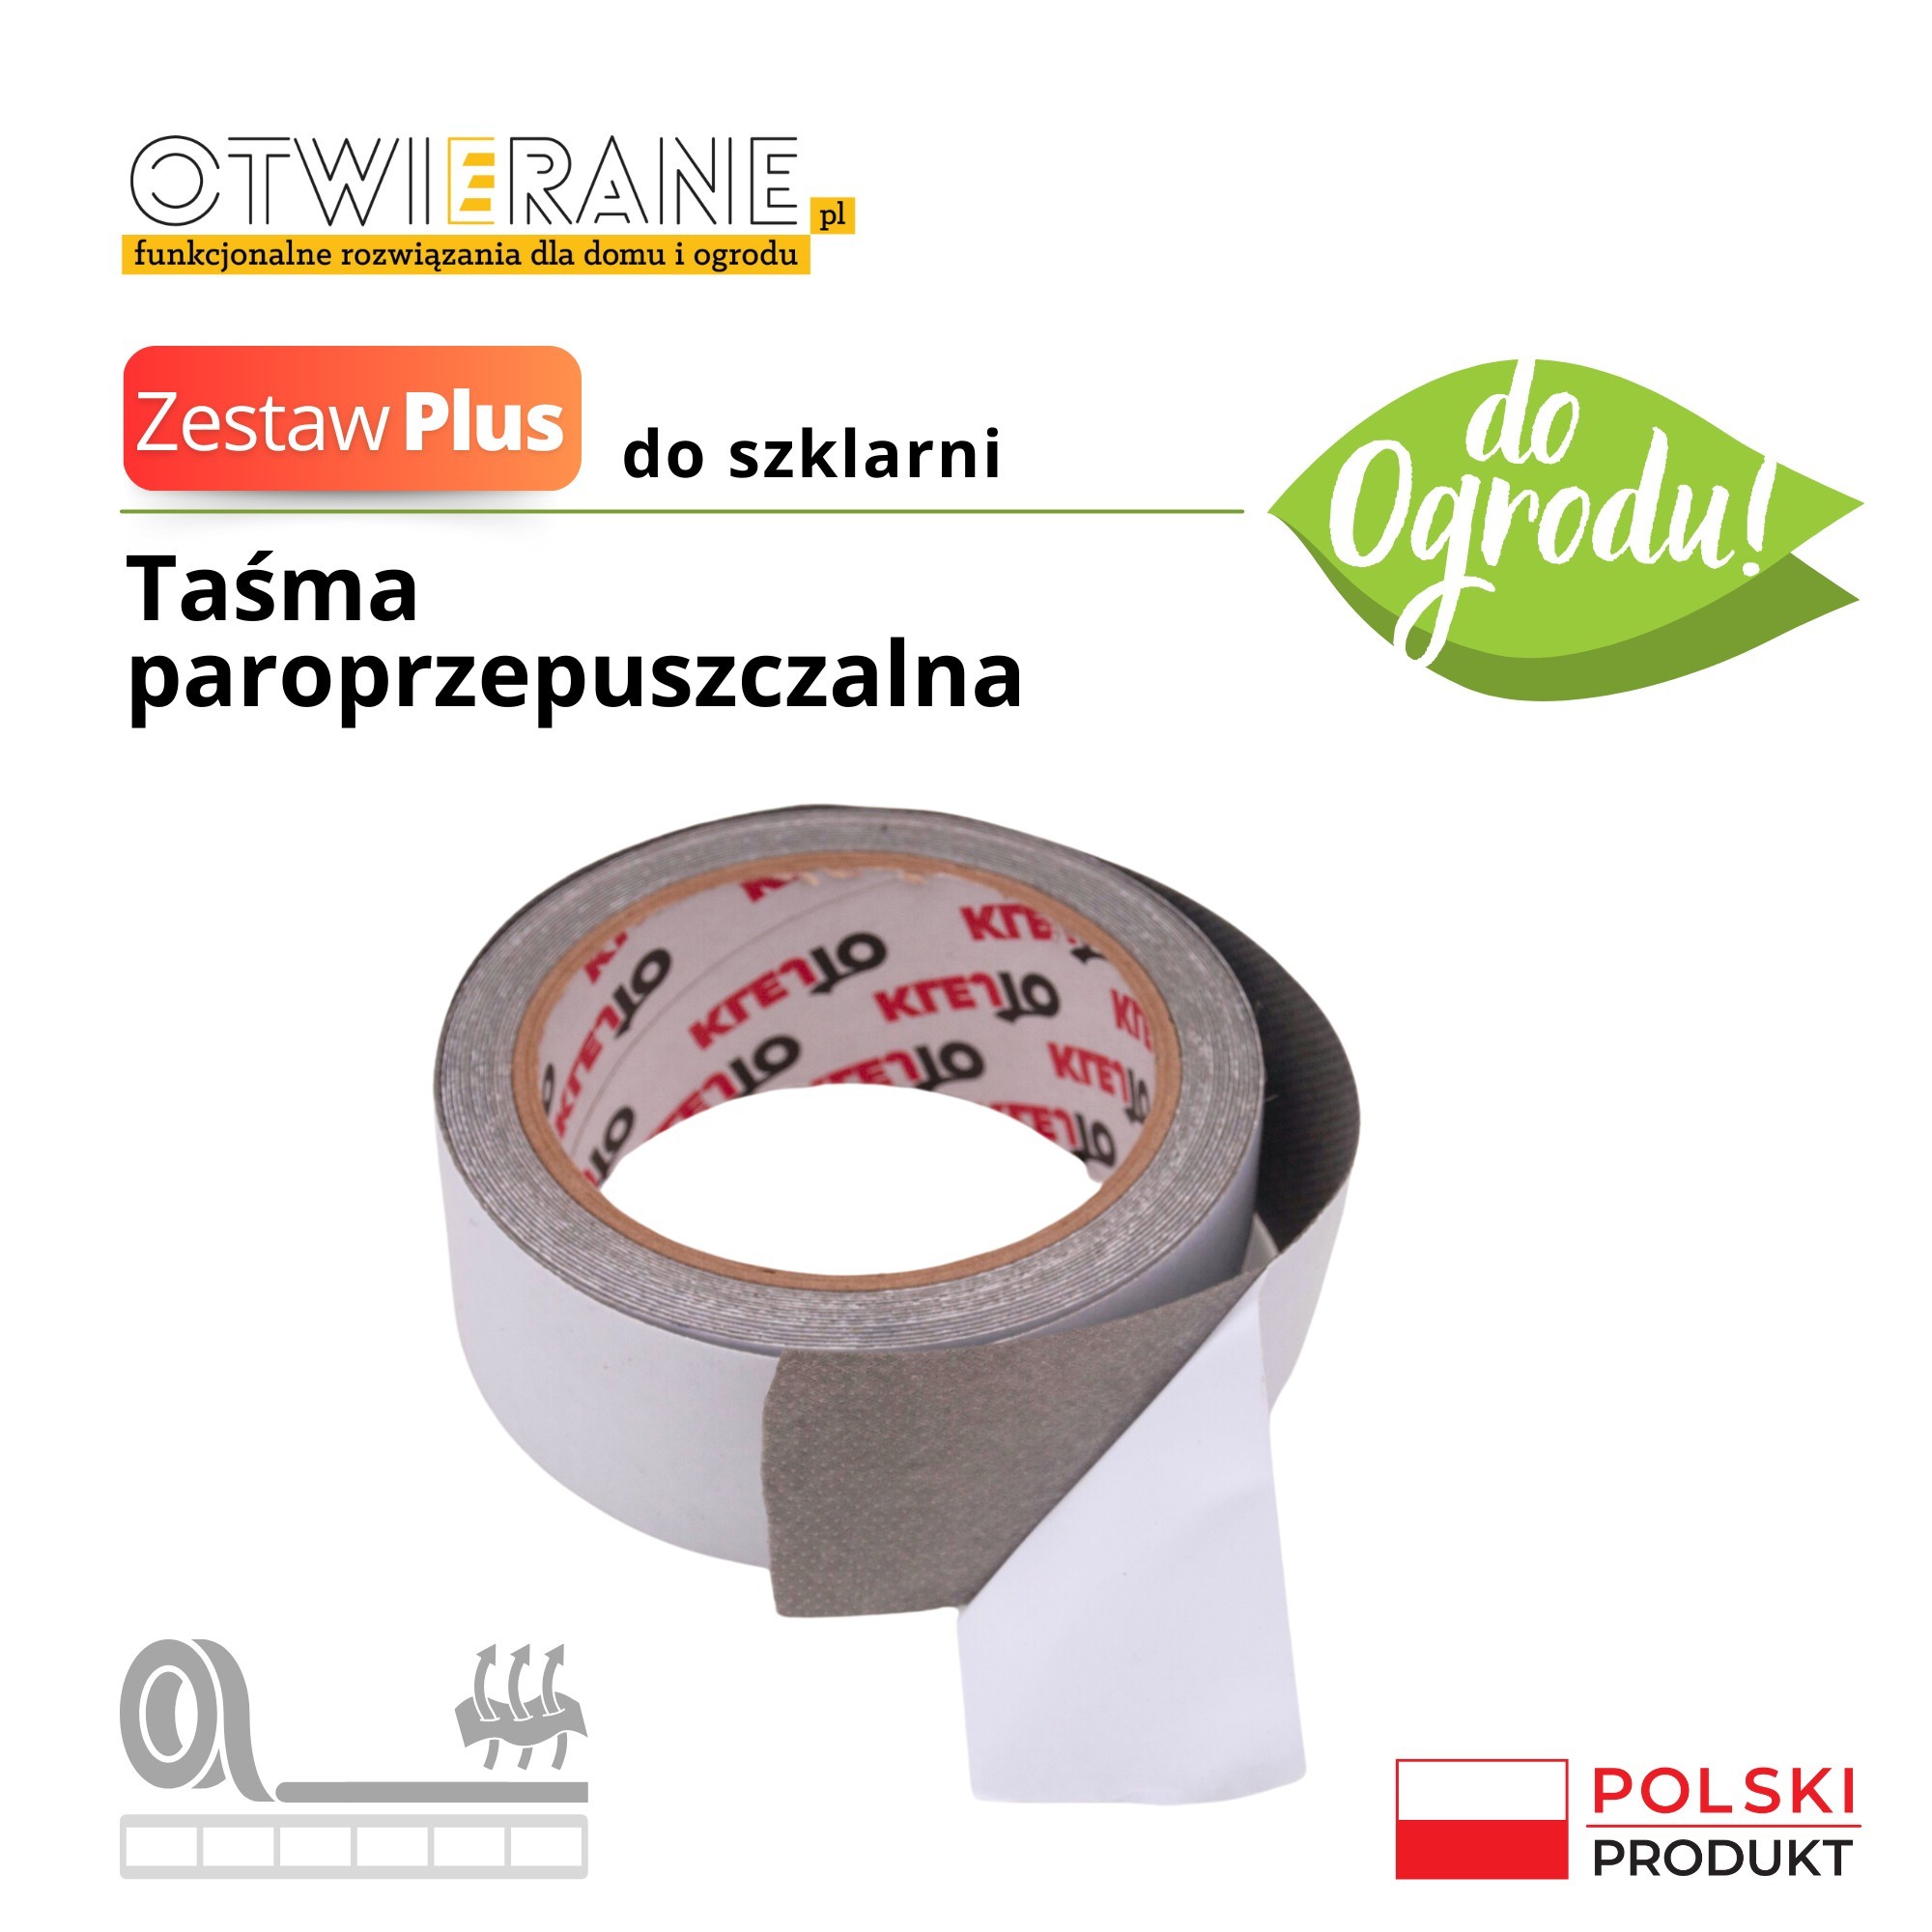
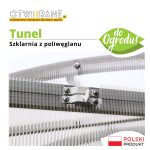
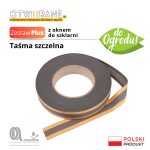
- Vapour-permeable perforated tape - allows moisture to escape from the interior of the cellular polycarbonate panels, reducing condensation inside the panels. This reduces the risk of moisture build-up, which improves the transparency of the polycarbonate and promotes a healthier environment for plants.
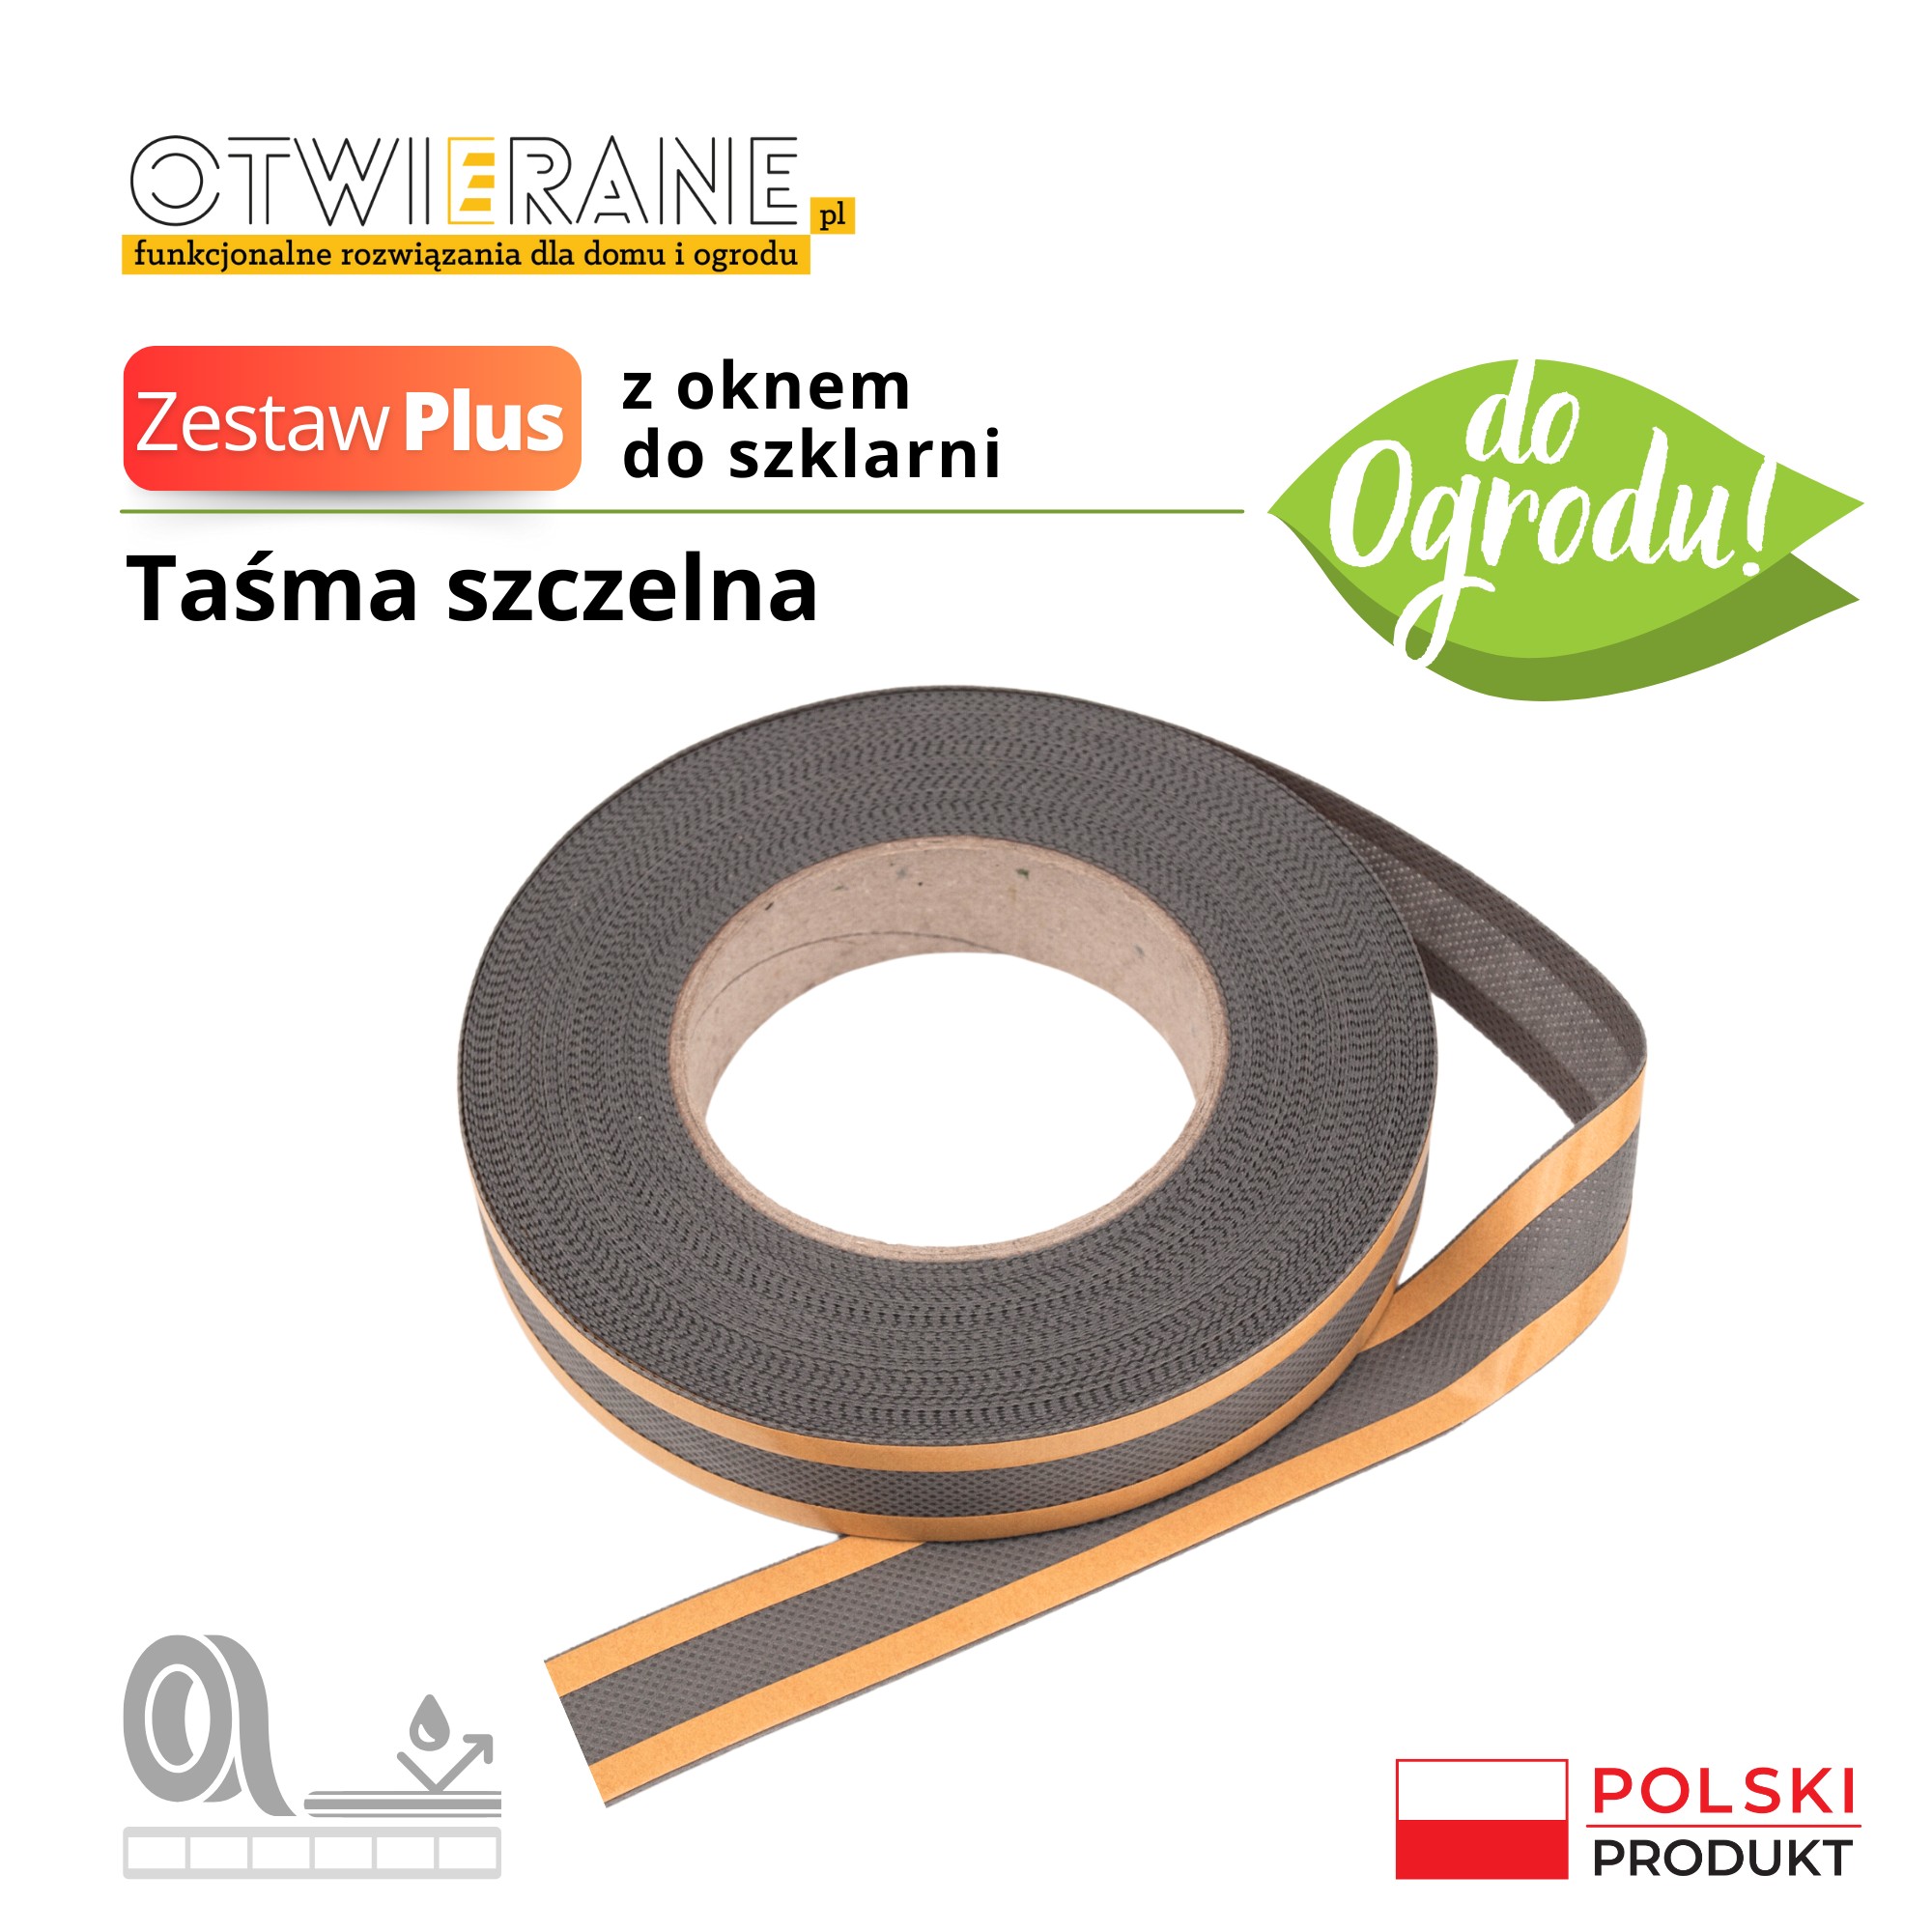
Thanks to the fine perforations, the tape blocks dust, dirt, insects and other small debris from entering the polycarbonate chambers. This protects the structure and maintains the aesthetic appearance of the panels for longer. - Solid closing tape
- Front profile U
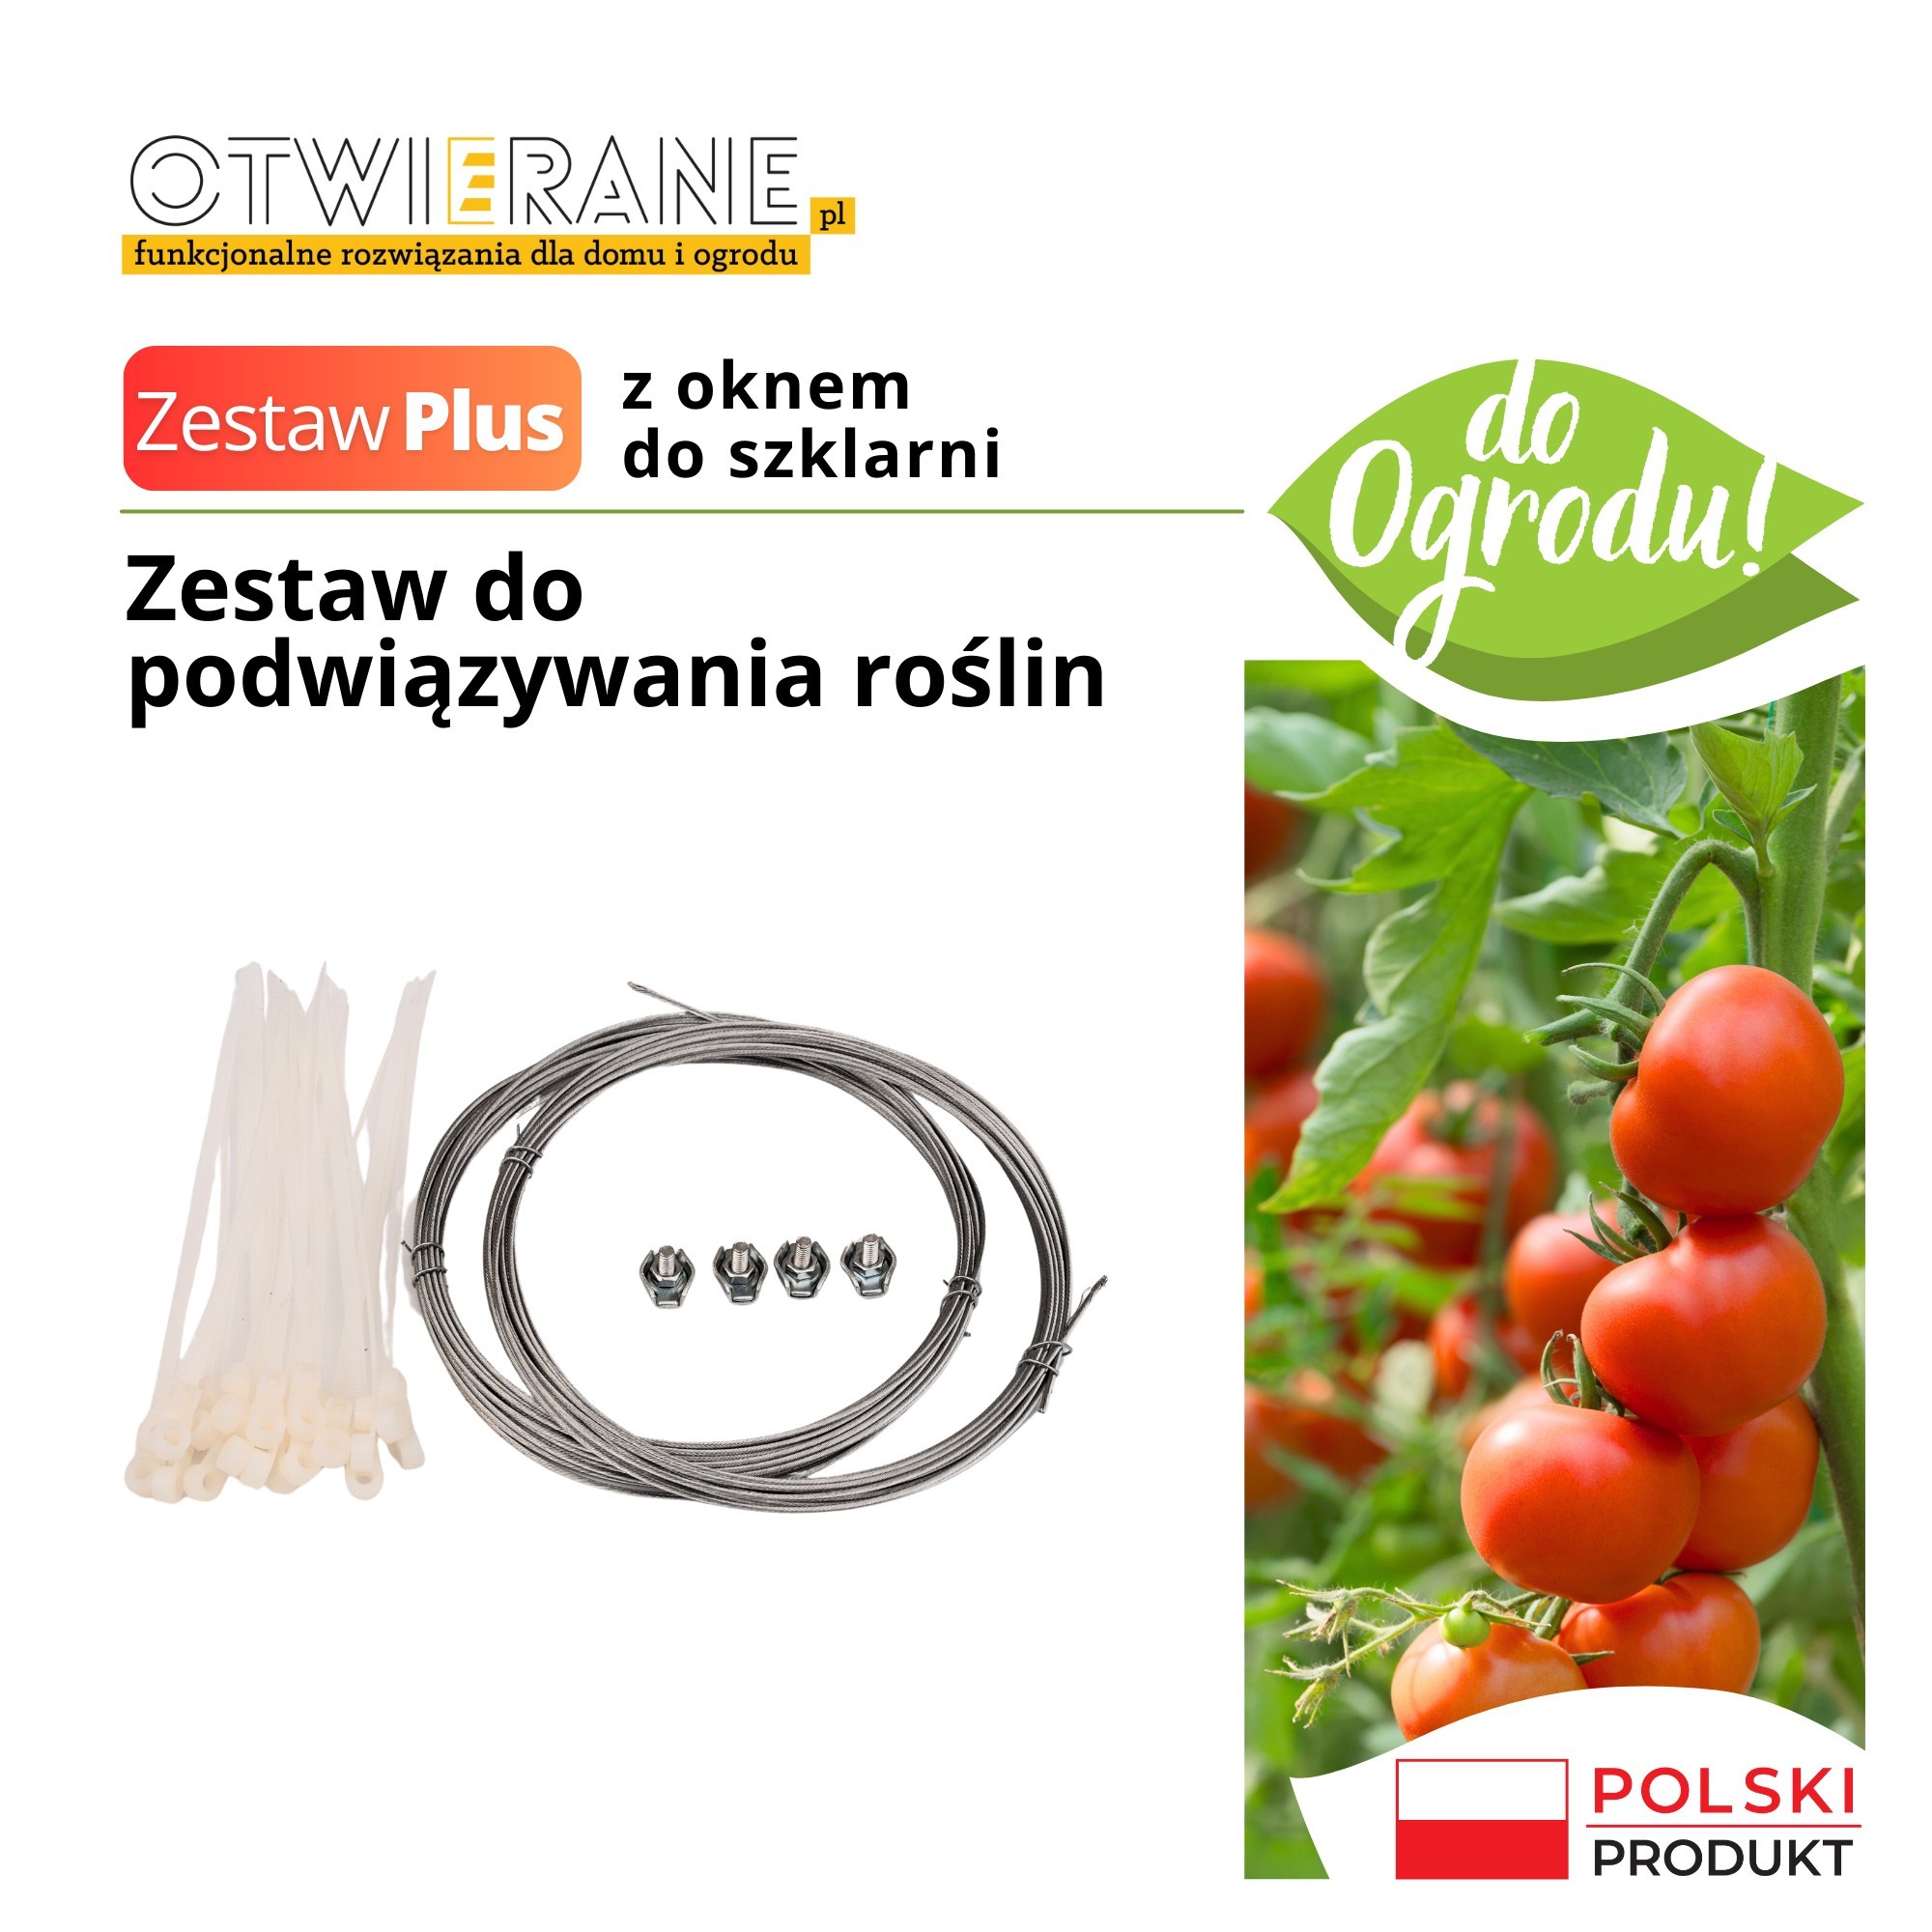
- 12 m plant support kit
PLUS set with window for greenhouse - PLN 325
Included in the kit accessories complement the basic set with accessories to extend the life of the greenhouse and the plant attachment system and window.
- Vapour-permeable perforated tape - allows moisture to escape from the interior of the cellular polycarbonate panels, reducing condensation inside the panels. This reduces the risk of moisture build-up, which improves the transparency of the polycarbonate and promotes a healthier environment for plants.
Thanks to the fine perforations, the tape blocks dust, dirt, insects and other small debris from entering the polycarbonate chambers. This protects the structure and maintains the aesthetic appearance of the panels for longer. - Solid closing tape
- Front profile U
- 12 m plant support kit
- Side window - you can install the window at any time.
The price of the additional kits is the same for all greenhouse variants.
How to prepare the site for the installation of a garden greenhouse
You can place the greenhouse directly on cleared ground. Choose a location that receives good sunlight and is as sheltered as possible from strong winds. Avoid places where rainwater can collect. Remove any stones, roots and other obstacles from the area to be used for the greenhouse structure. Level the ground so that the surface is as even as possible. If it is uneven, fill in the gaps or collect excess soil. If the area tends to collect water, take care of drainage. You can add a layer of gravel or make trenches to drain the water.
Why make a hardened base for a polycarbonate garden greenhouse?
The foundation is the basis of any greenhouse. Without it, even the best structure can be damaged. A well-made foundation is a guarantee of stability, safety and longer use.
Tips for building the foundation
- Level the ground. The foundation should be perfectly horizontal, both longitudinally and diagonally.
- Pay attention to the width. Make sure that the foundation will accommodate the entire greenhouse structure.
- Greenhouse fixing. Connect the greenhouse firmly to the foundation.
What should the foundations for a polycarbonate greenhouse be made of?
Concrete screed:
What is it? Concrete is a mixture of cement, sand and water which, when set, forms a very durable base.
How to perform? Dig trenches approximately 40 cm deep and 30 cm wide. Prepare the concrete, pour it and level it.
Pros: The most stable and durable solution.
For whom? Ideal for larger greenhouses or in areas exposed to strong winds.
Concrete blocks or paving stones:
What is it? Ready-mixed concrete elements laid on a previously prepared substrate.
How to perform? Lay the blocks along the base of the greenhouse and join the joints with mortar.
Pros: Cheaper and quicker to complete than concrete screed.
For whom? Good for medium and small greenhouses.
Stone substrate
What is it? Stones laid along the base of the greenhouse, which can be further encased in concrete at the fixing points.
How to perform? Once the stones have been laid, backfill with soil and level the area.
Pros: Cheap, but labour-intensive.
For whom? Works well with small and lightweight greenhouses.
Wood substrate
What is it? Wooden beams (e.g. 100×100 mm) connected by carpentry angles.
How to perform? Connect the beams, impregnate the timber and set the whole into the ground.
Pros: Easy and quick installation.
For whom? For those looking for simple solutions for the short term. Remember to waterproof regularly though!
Galvanised steel substrate
What is it? The finished metal frame on which the greenhouse is set.
How to perform? It does not require much preparation - all you need to do is level the ground and fix the structure.
Pros: Quick to install, weatherproof.
For whom? For those who value comfort and durability.
Supply and installation of greenhouses
The ordered greenhouse will be delivered to you in two transports.
1. shipment by courier includes:
- confirmation of purchase
- assembly instructions
- the small accessories needed to assemble it. The second package is bulky: with polycarbonate sheets and the skeleton of the structure
2. dedicated transport from our distribution centre
- polycarbonate
- large structural components
Remember: When assembling the greenhouse, pFollow the enclosed installation instructions. When building a greenhouse, make sure you have enough space. Assembling a greenhouse takes an average of a few hours.
| Greenhouse dimensions | 3×4 m, 3×6 m, 3×8 m, 3×10 m, 3×12 m |
|---|---|
| Thickness of polycarbonate | 4 mm, 6 mm |



There are no reviews yet.